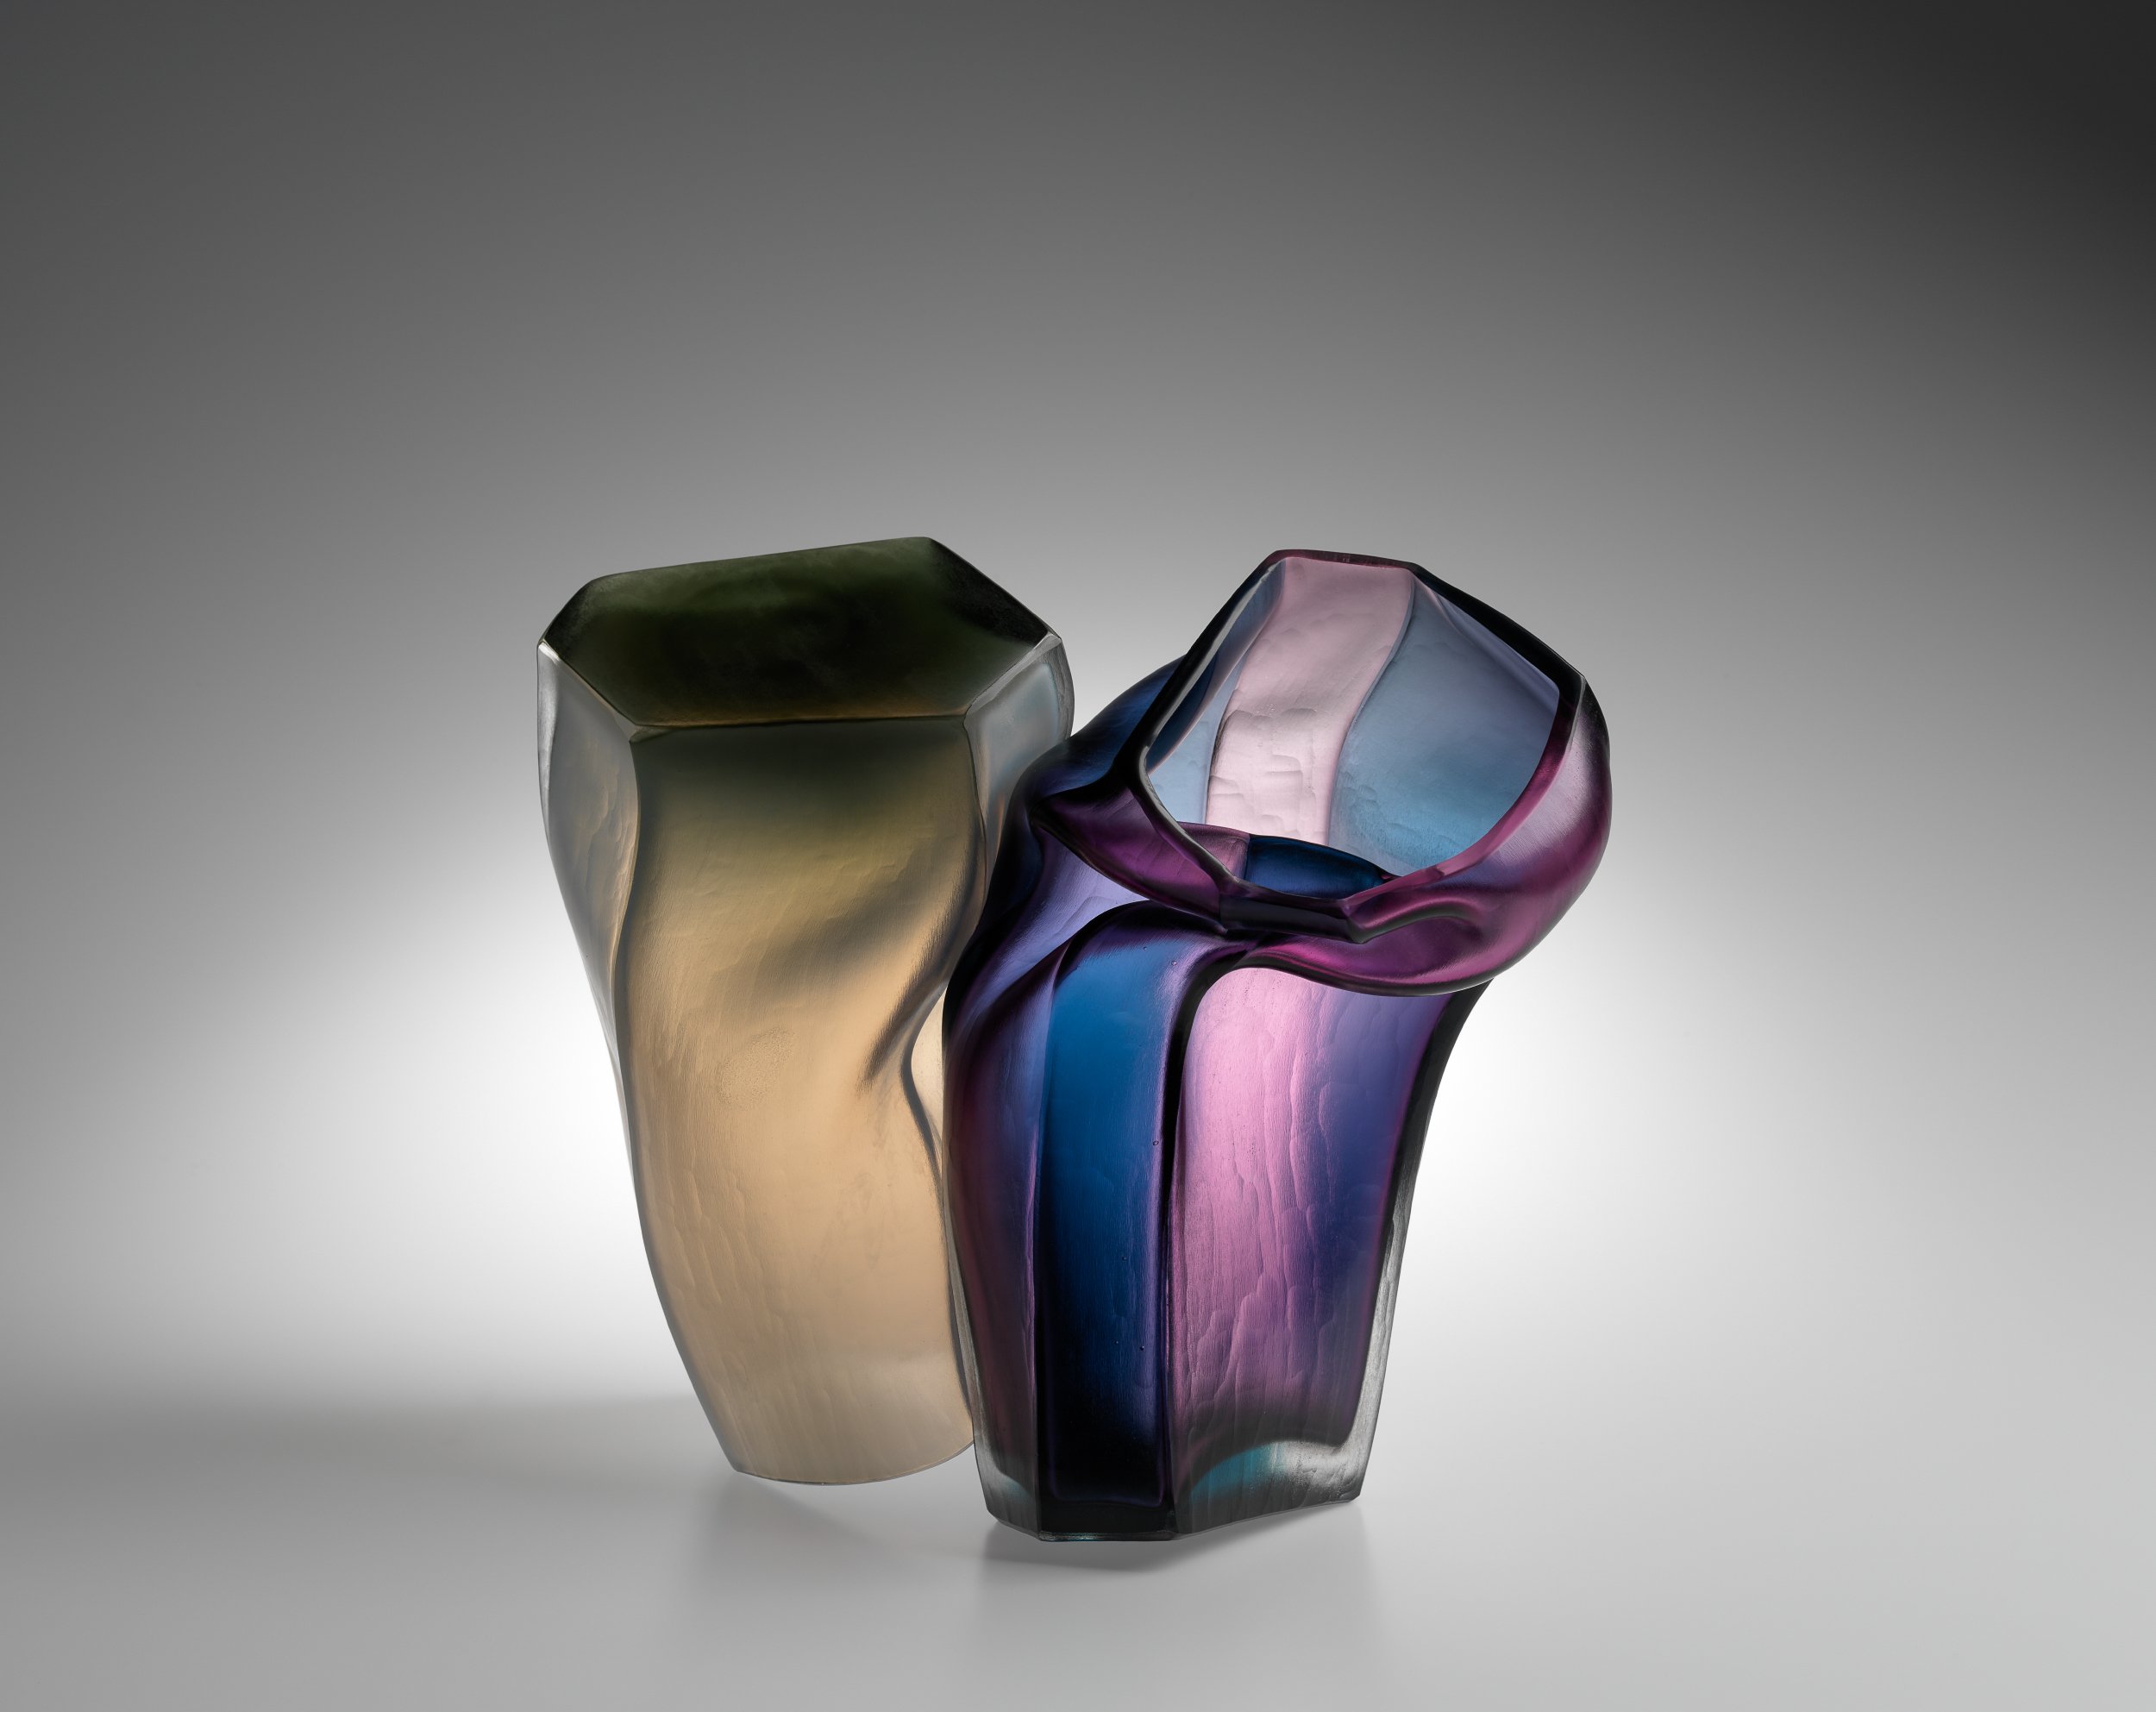
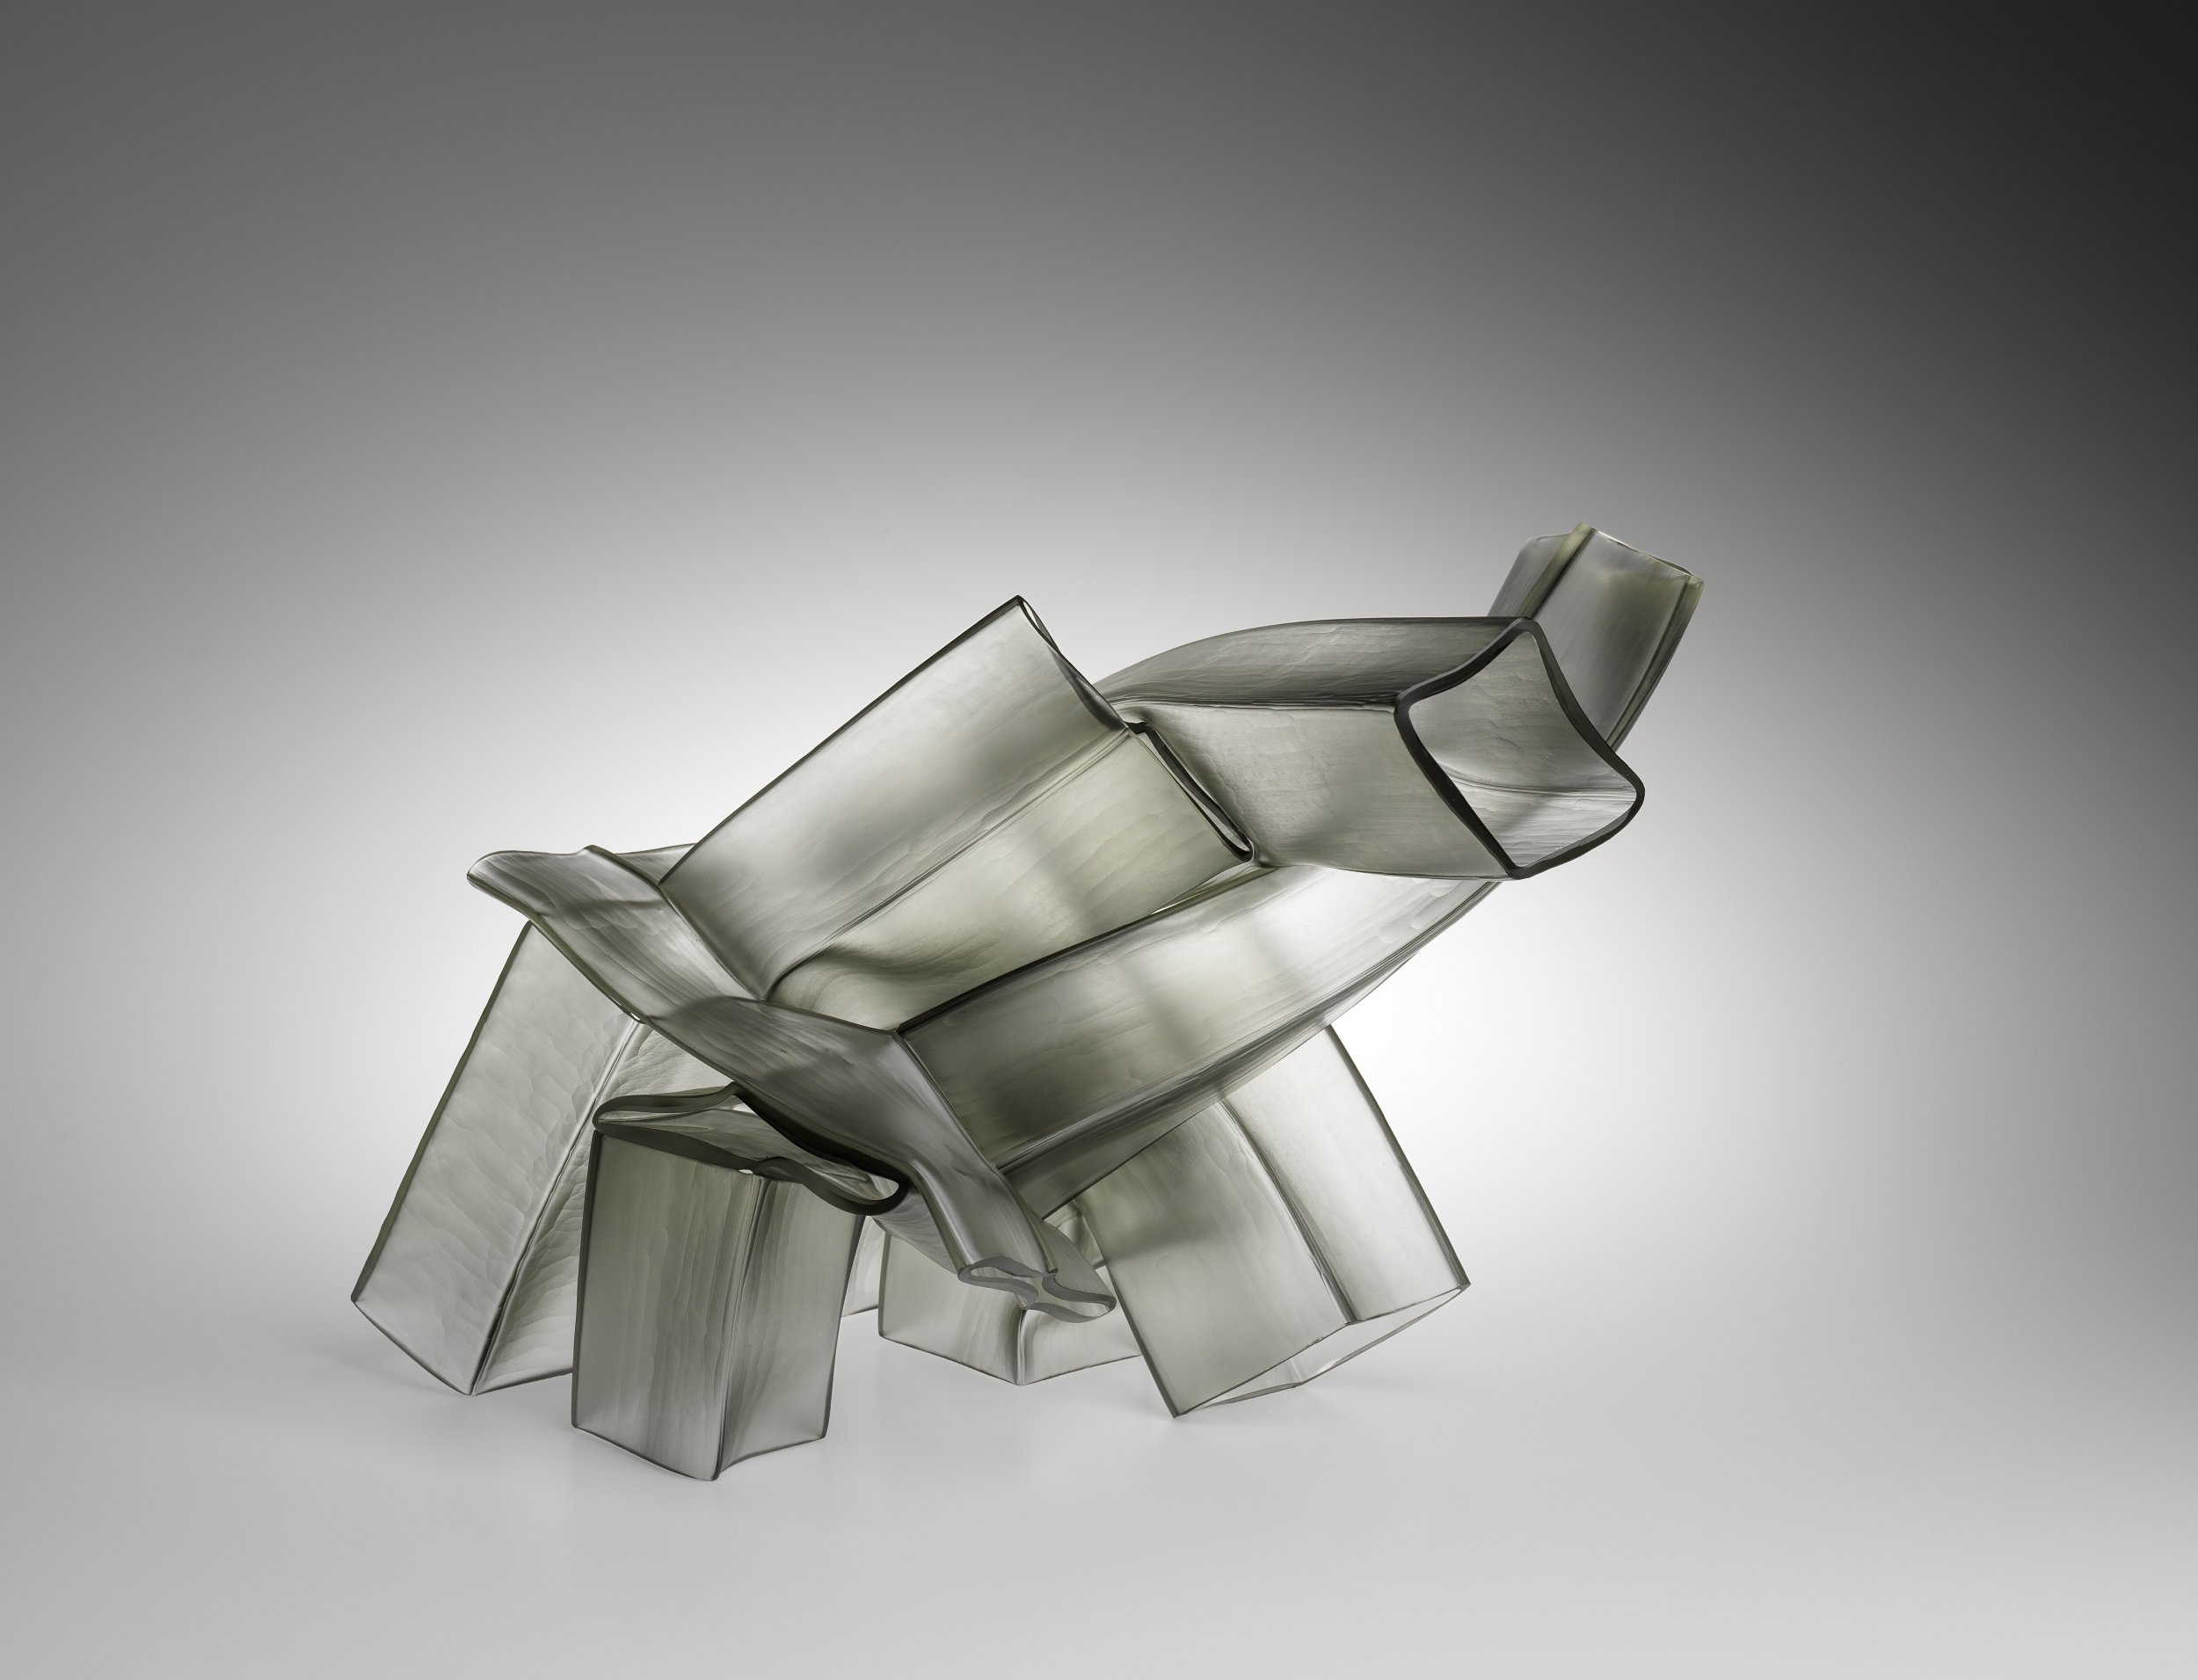
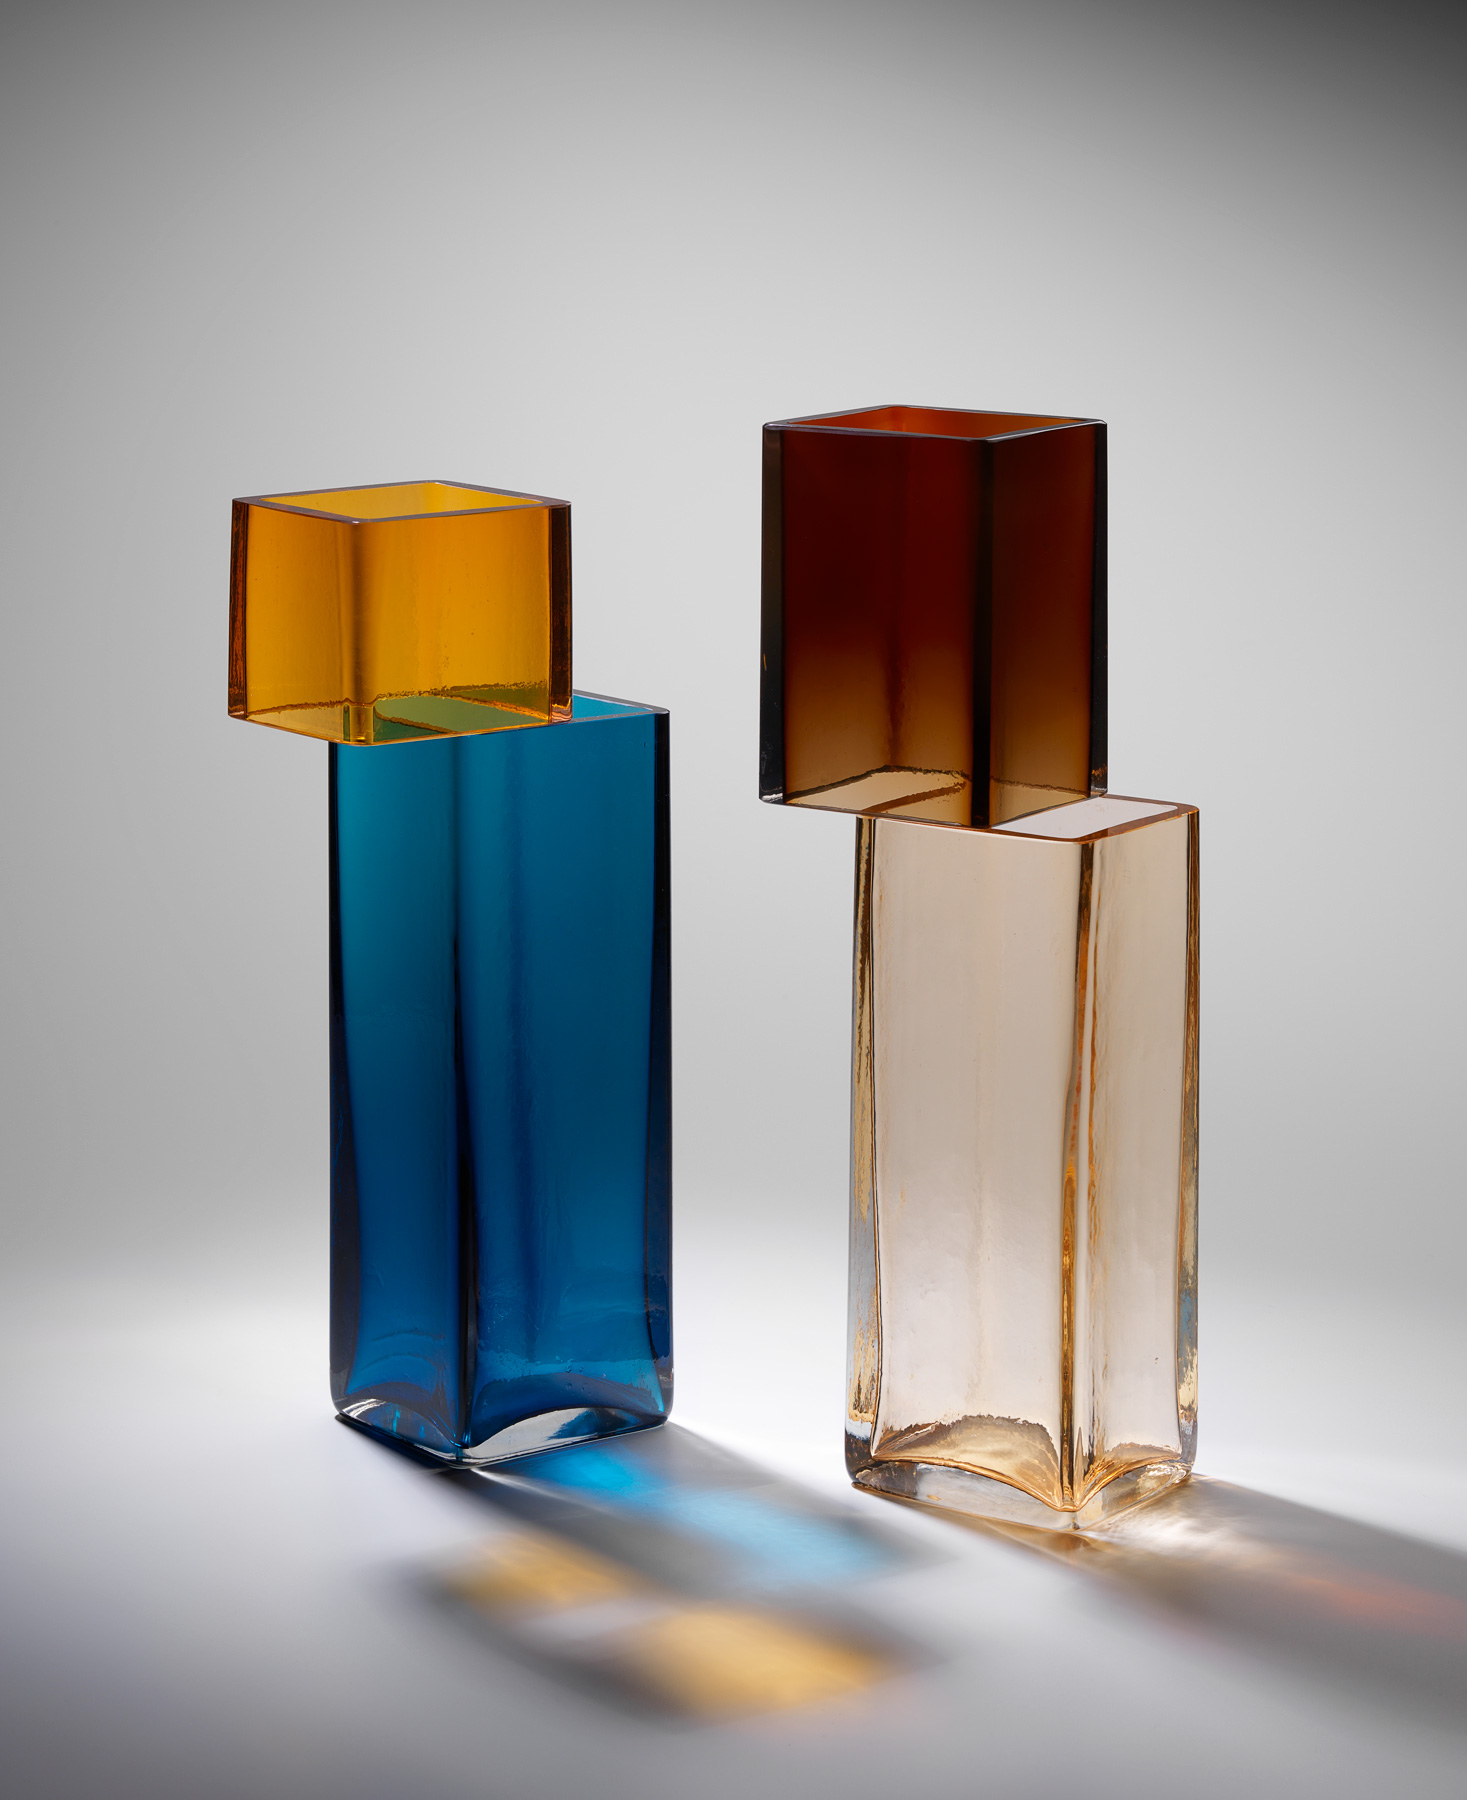
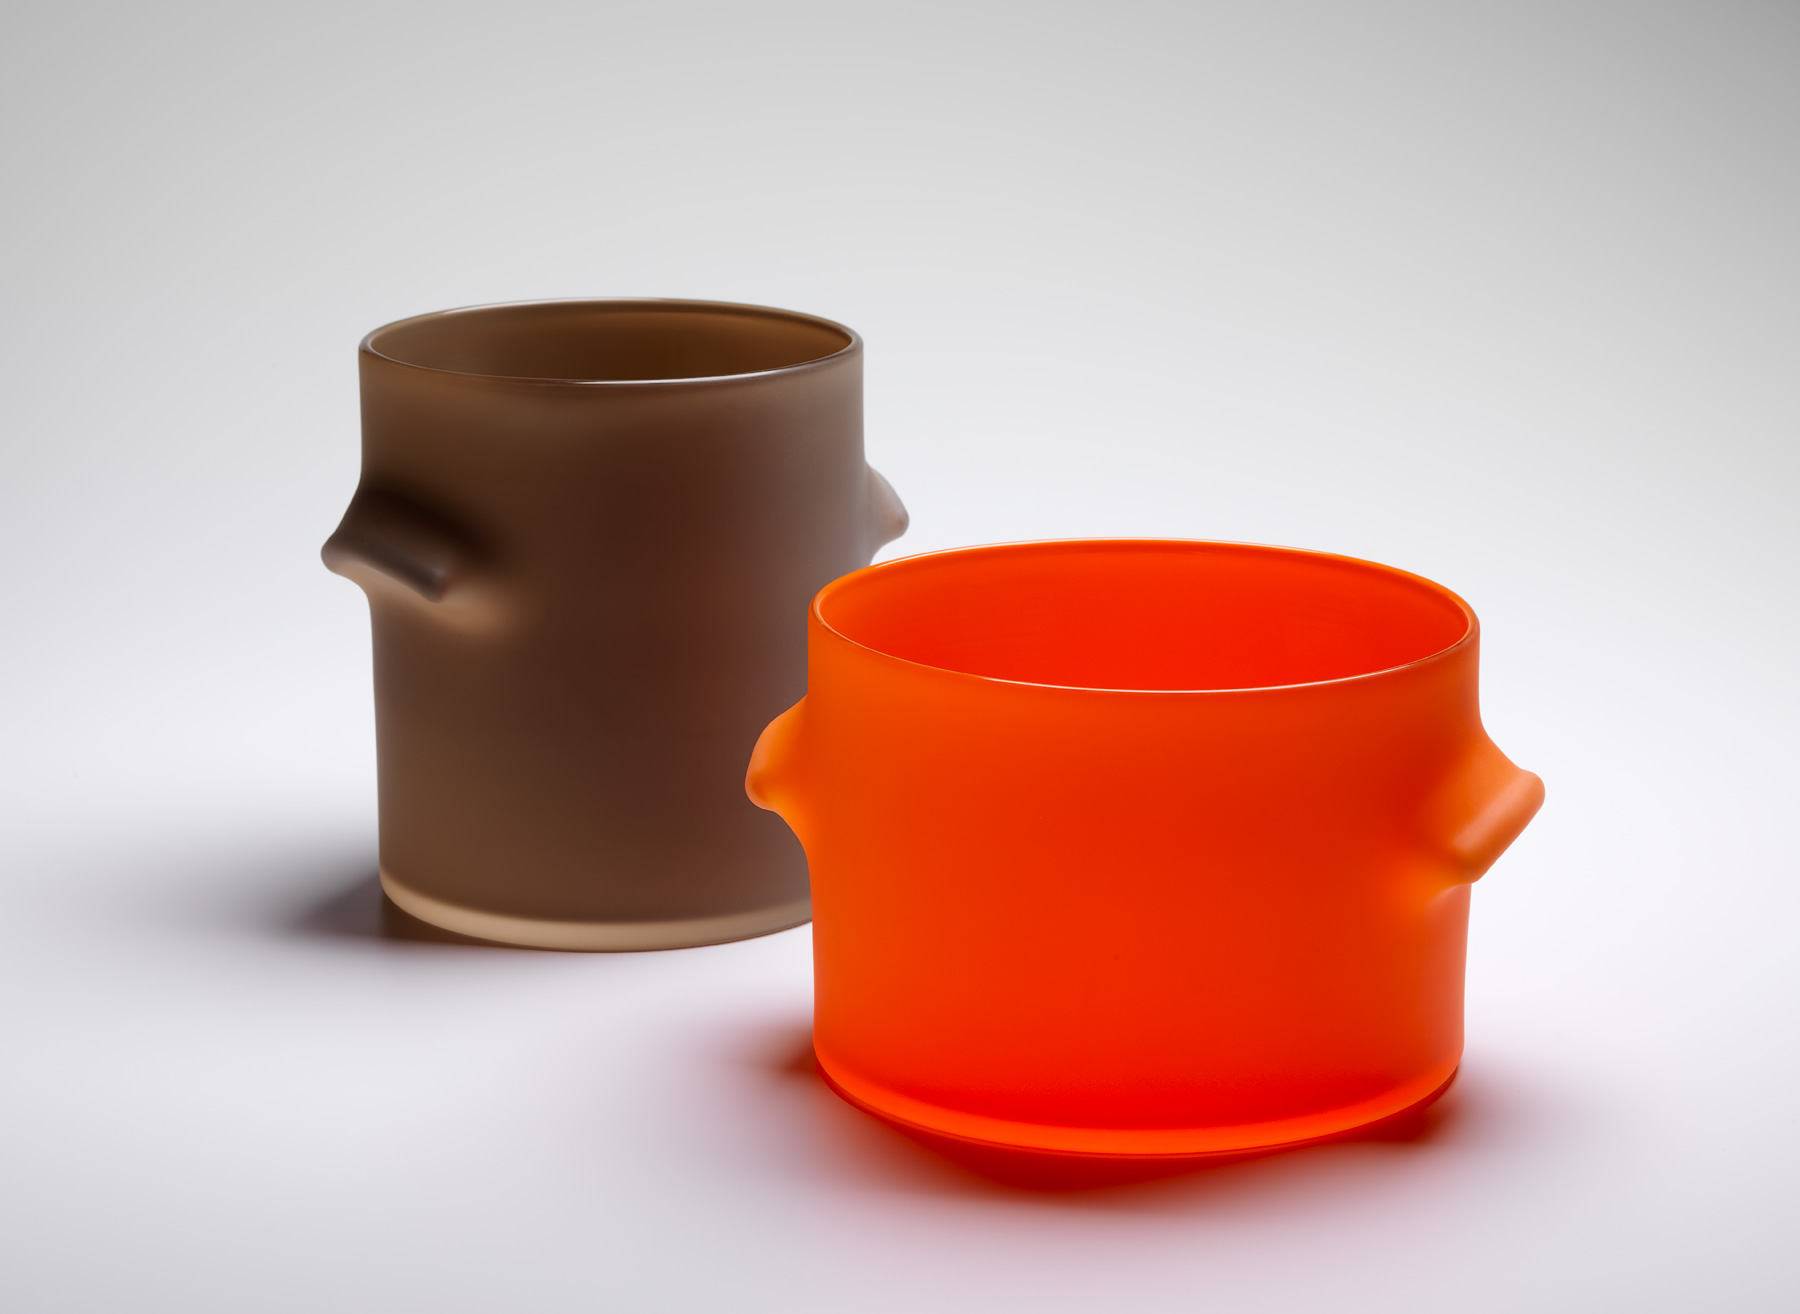
Glass,
2023,
530x410x370mm
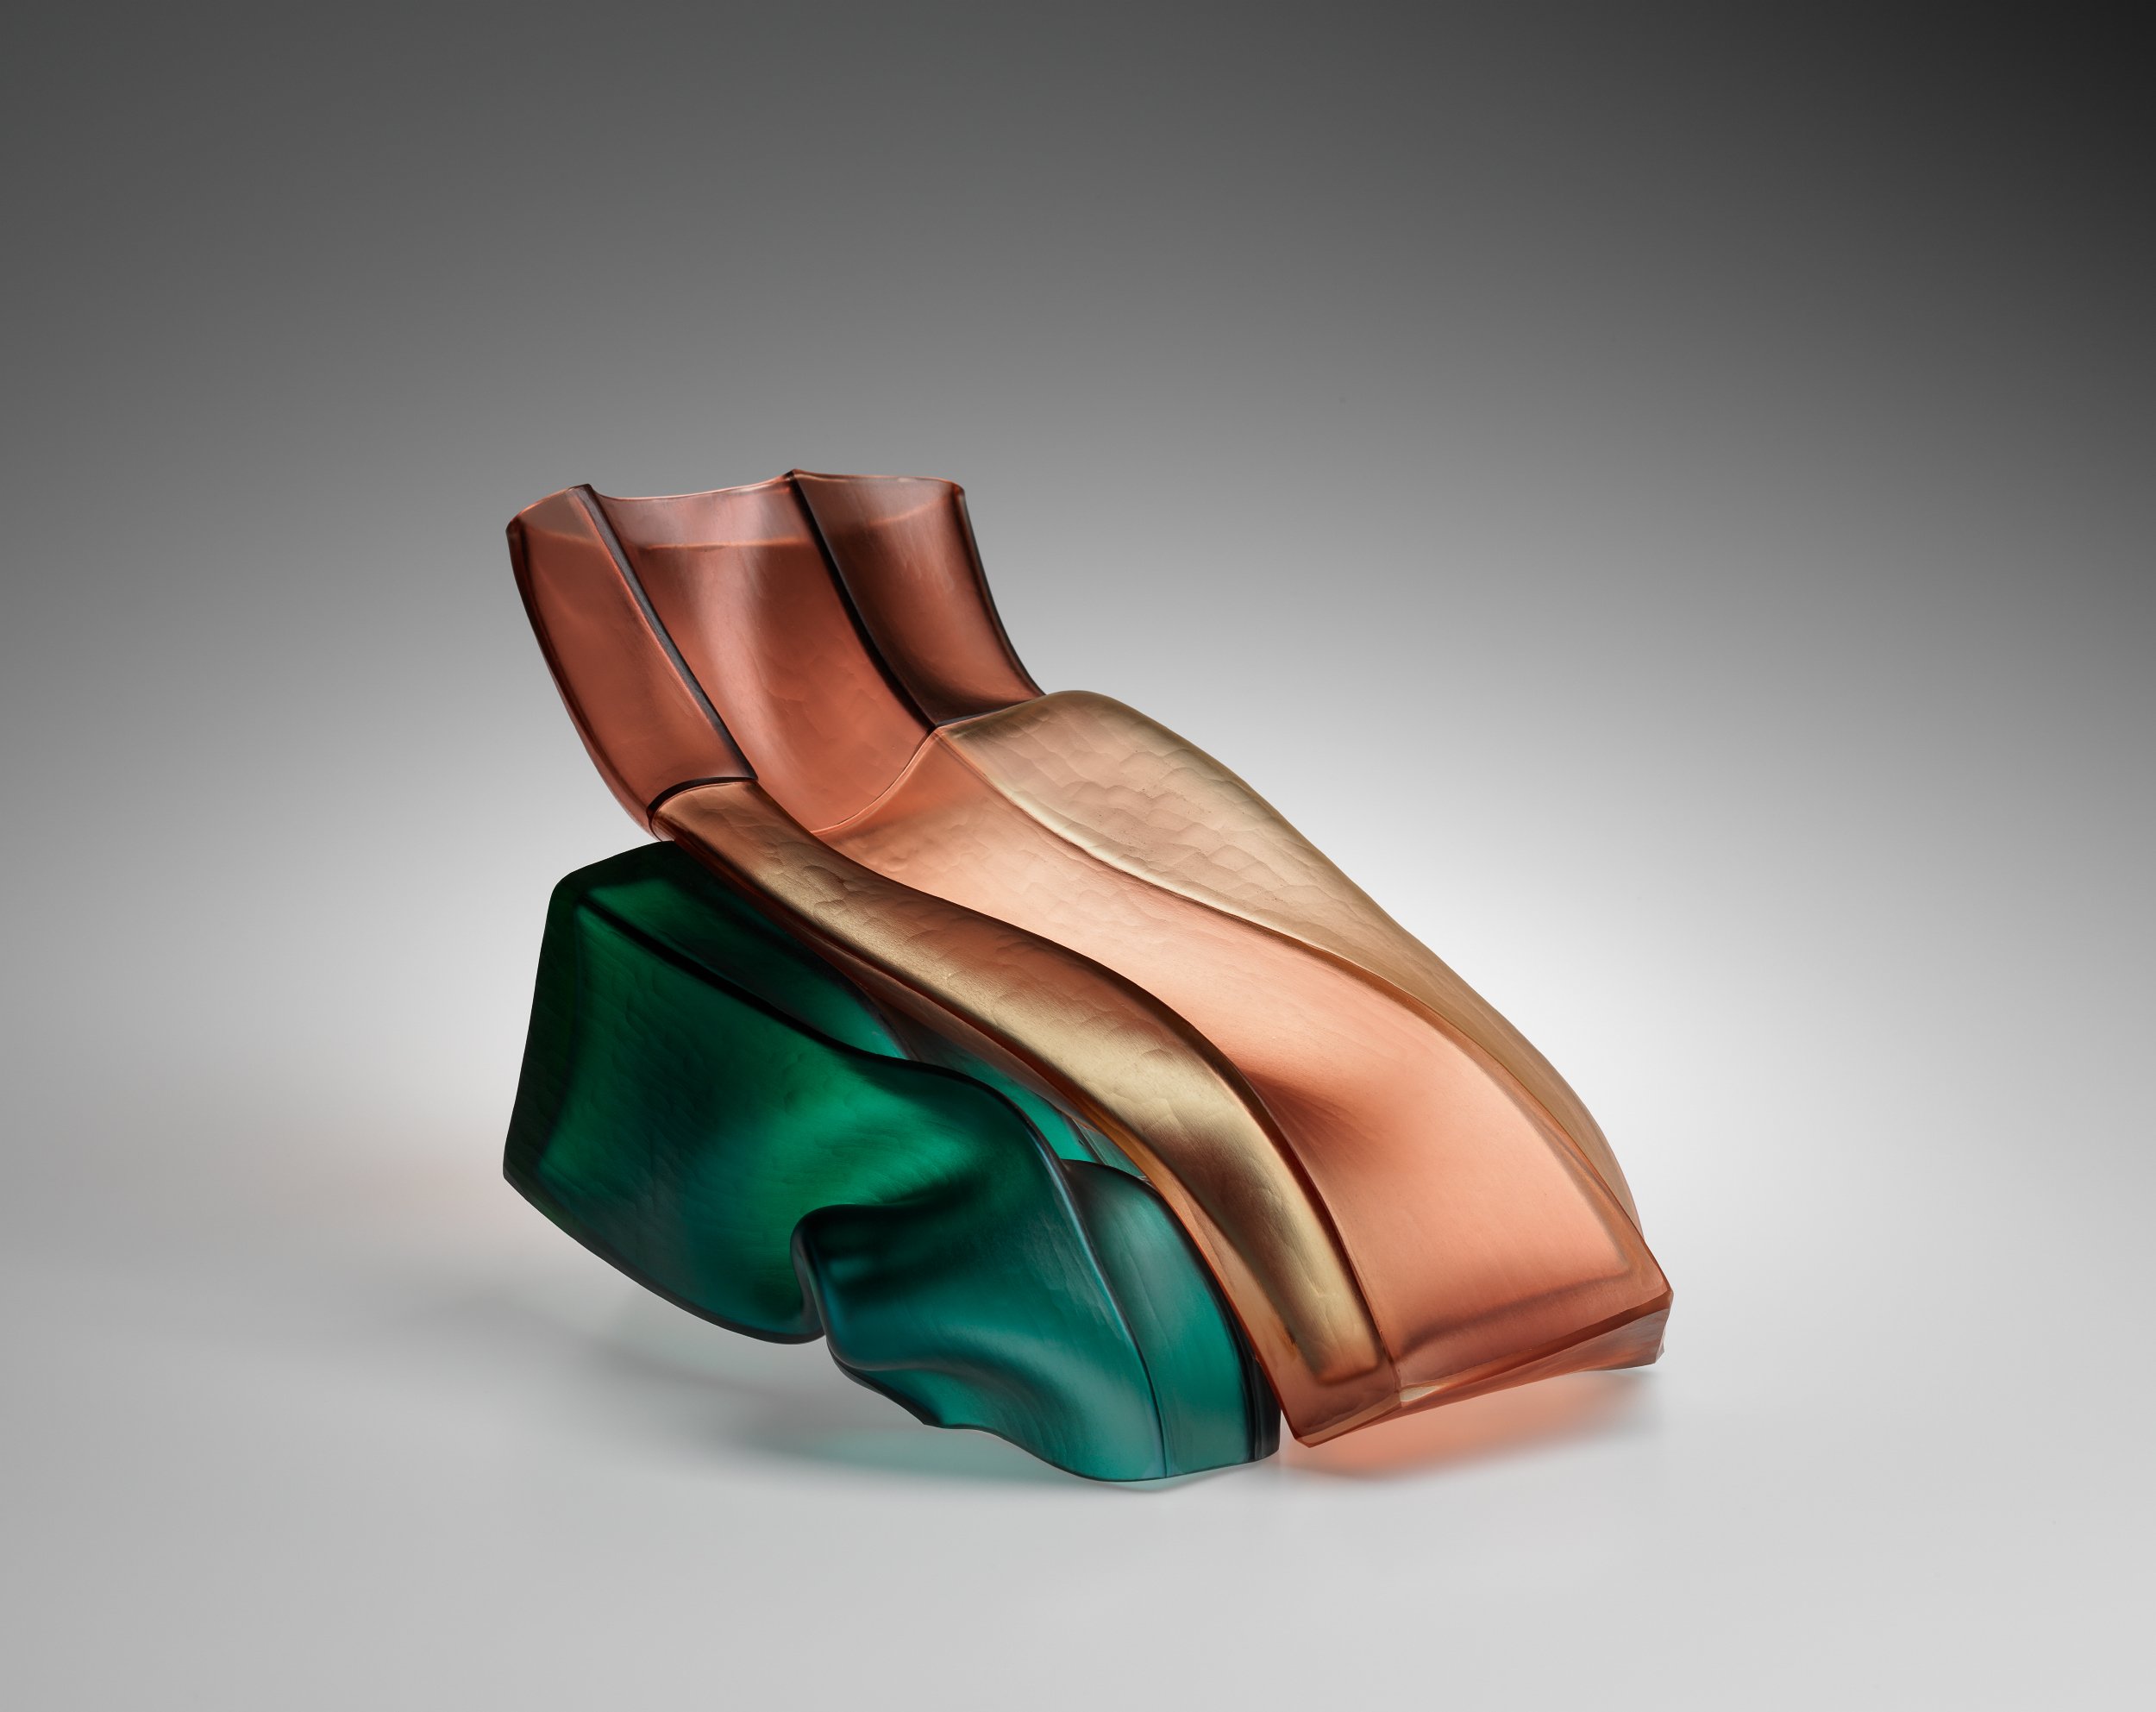
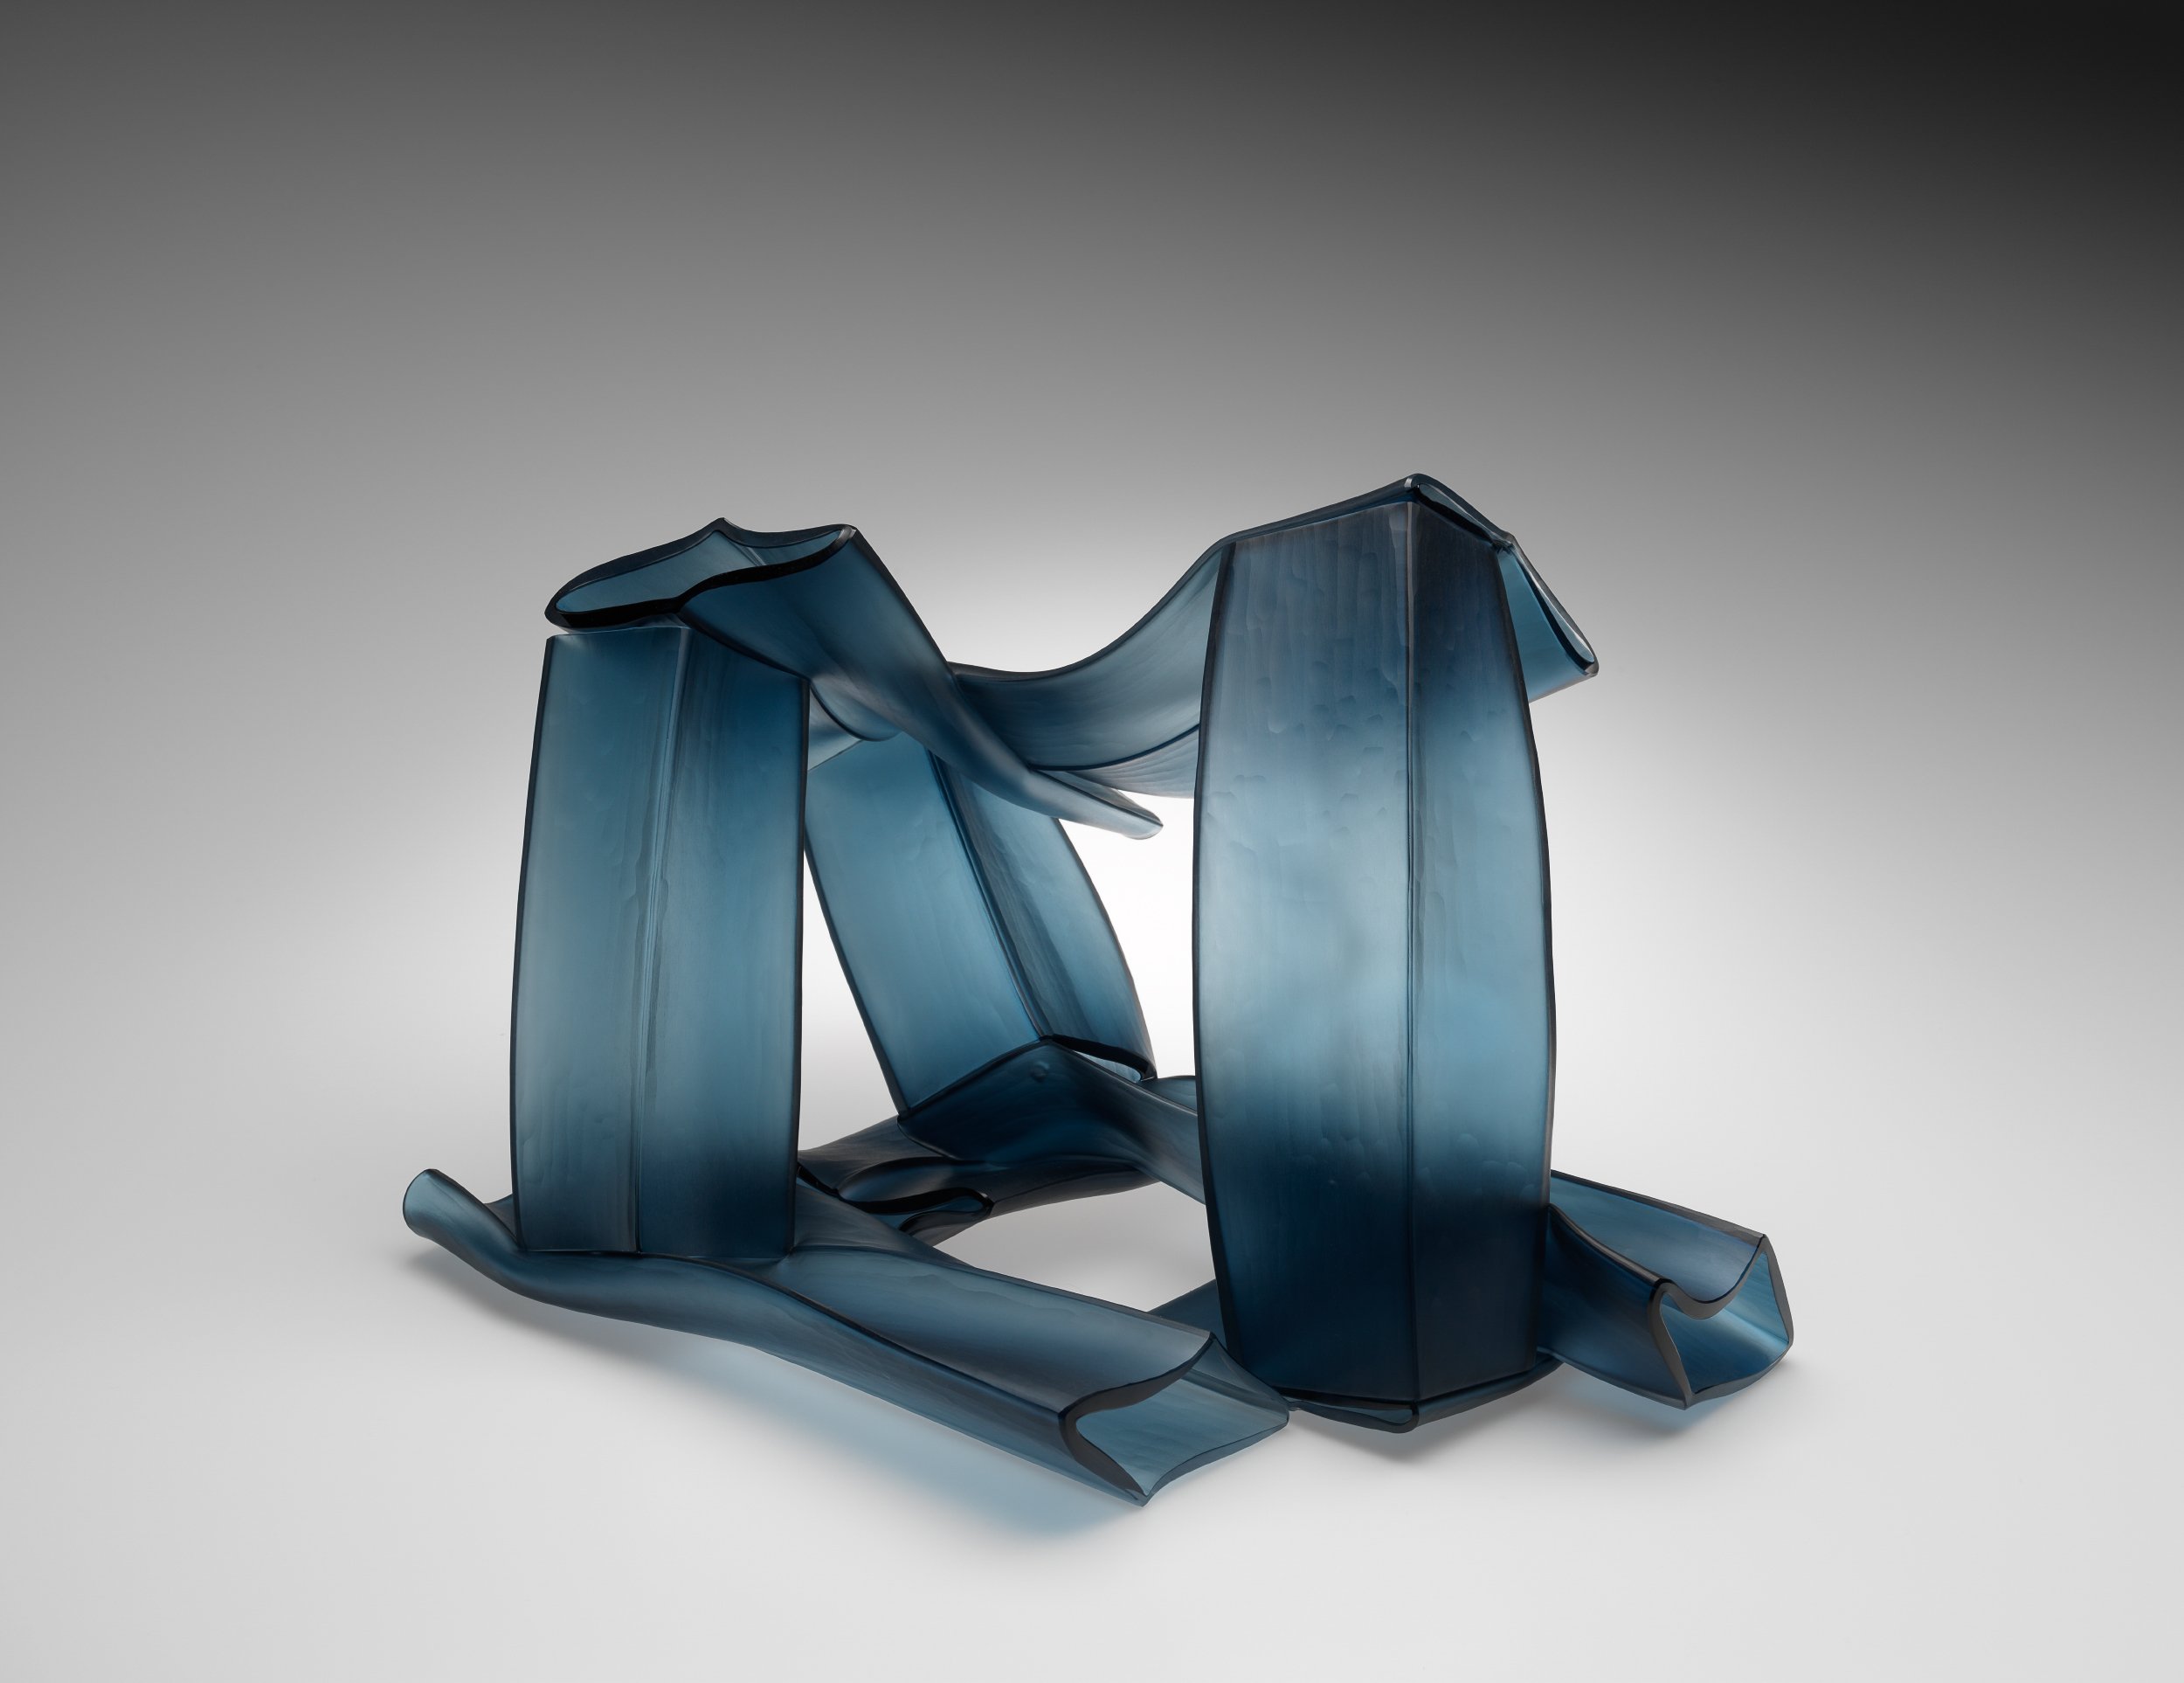
Glass,
2023,
550x530x600mm
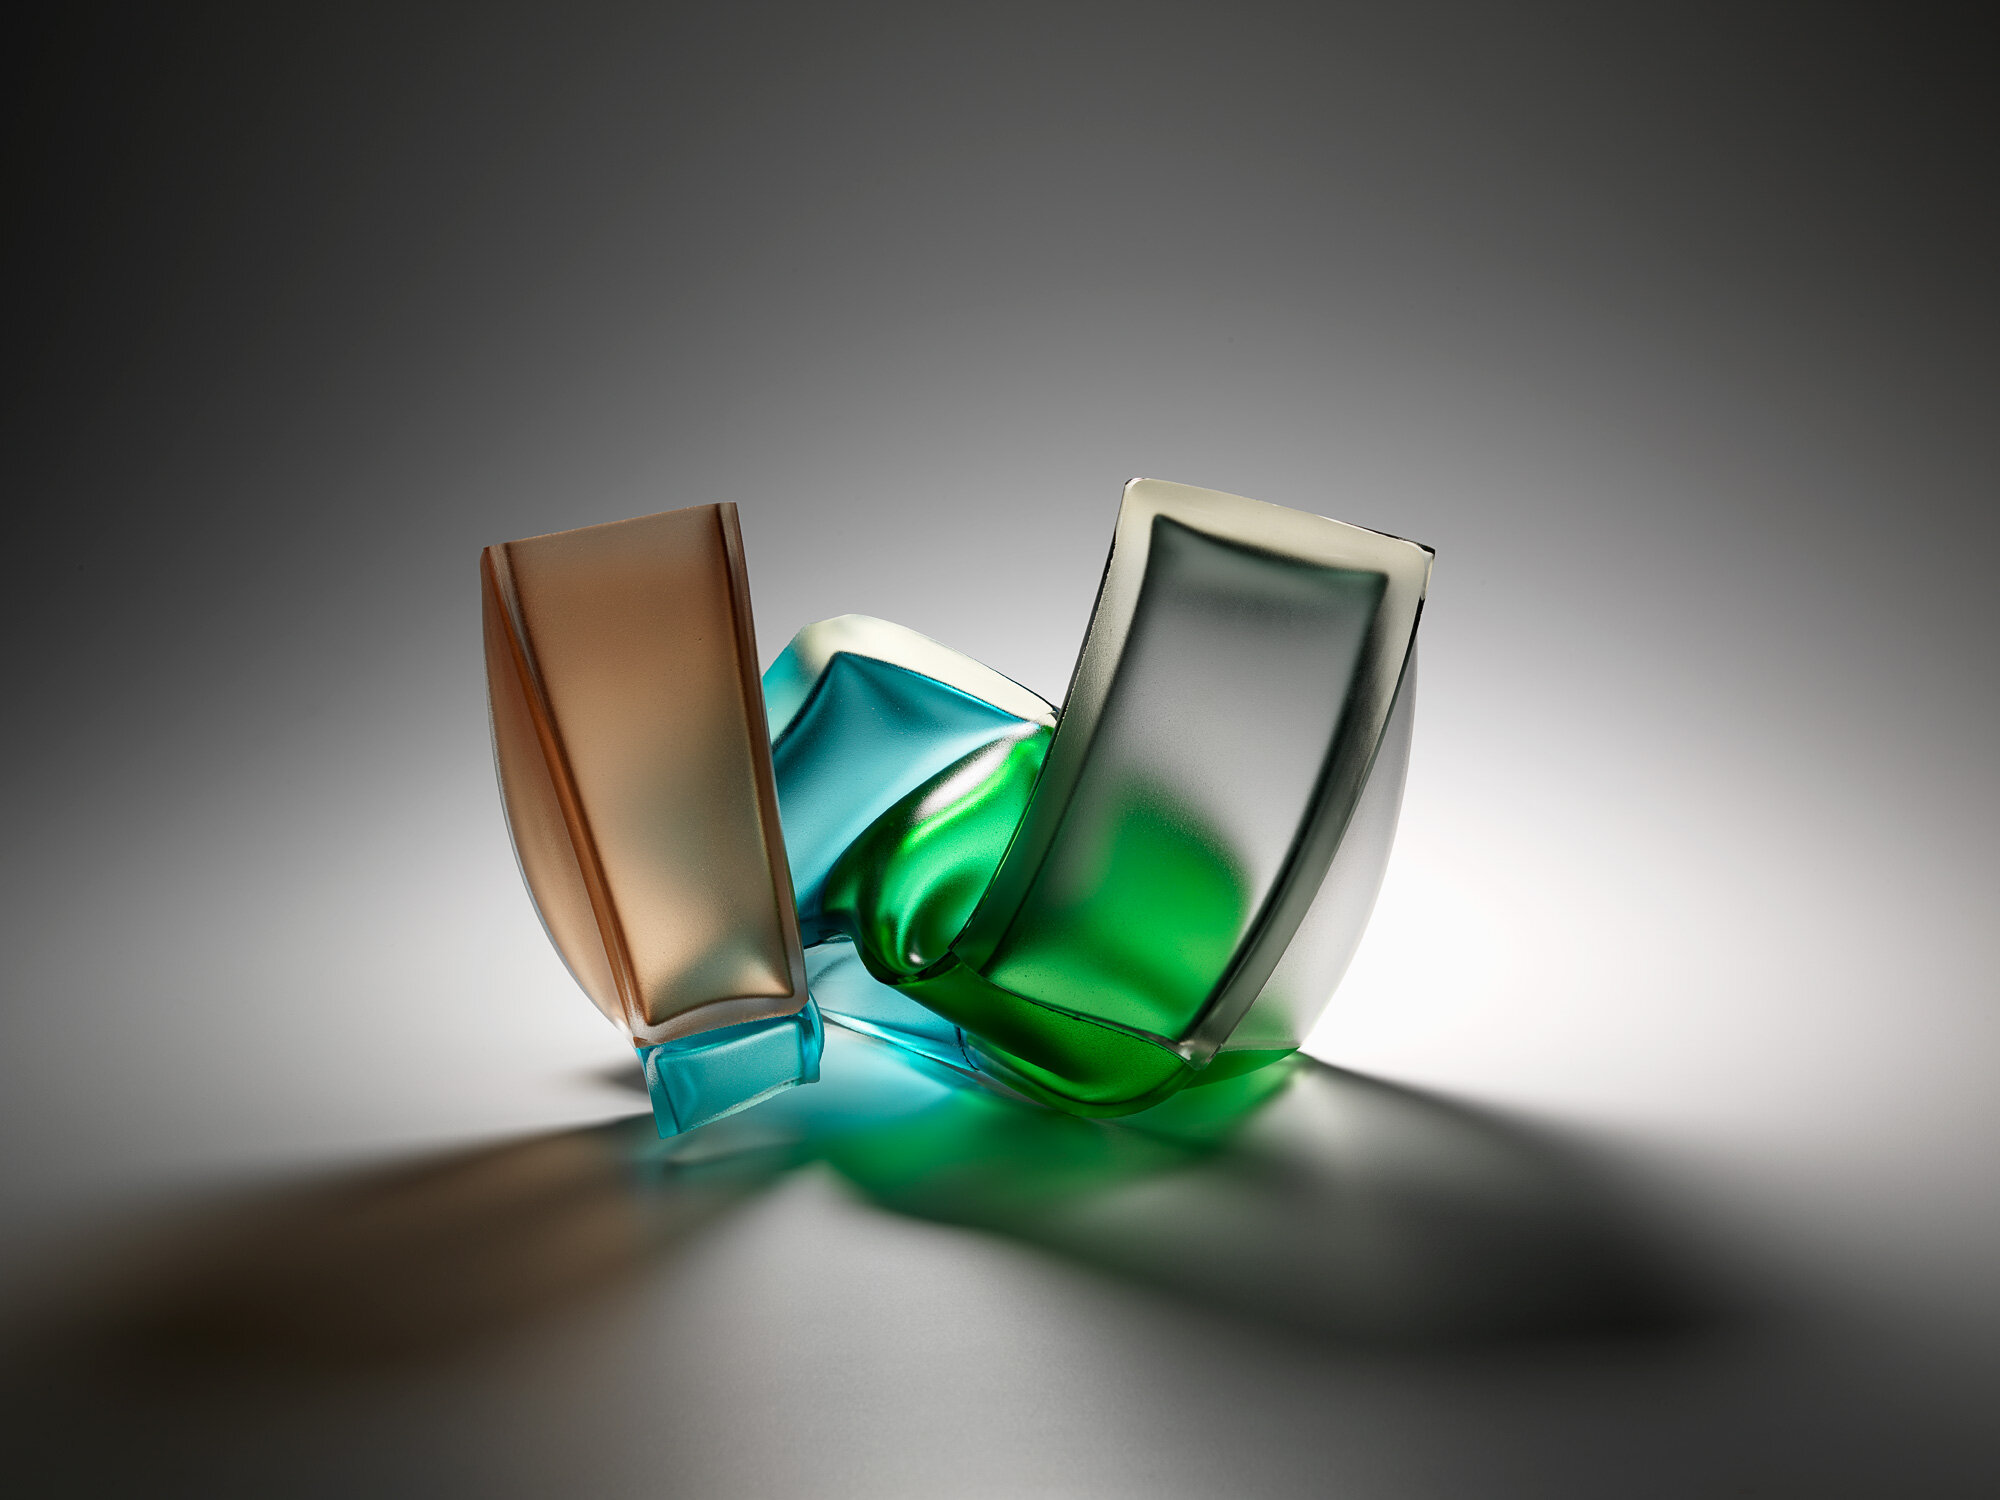
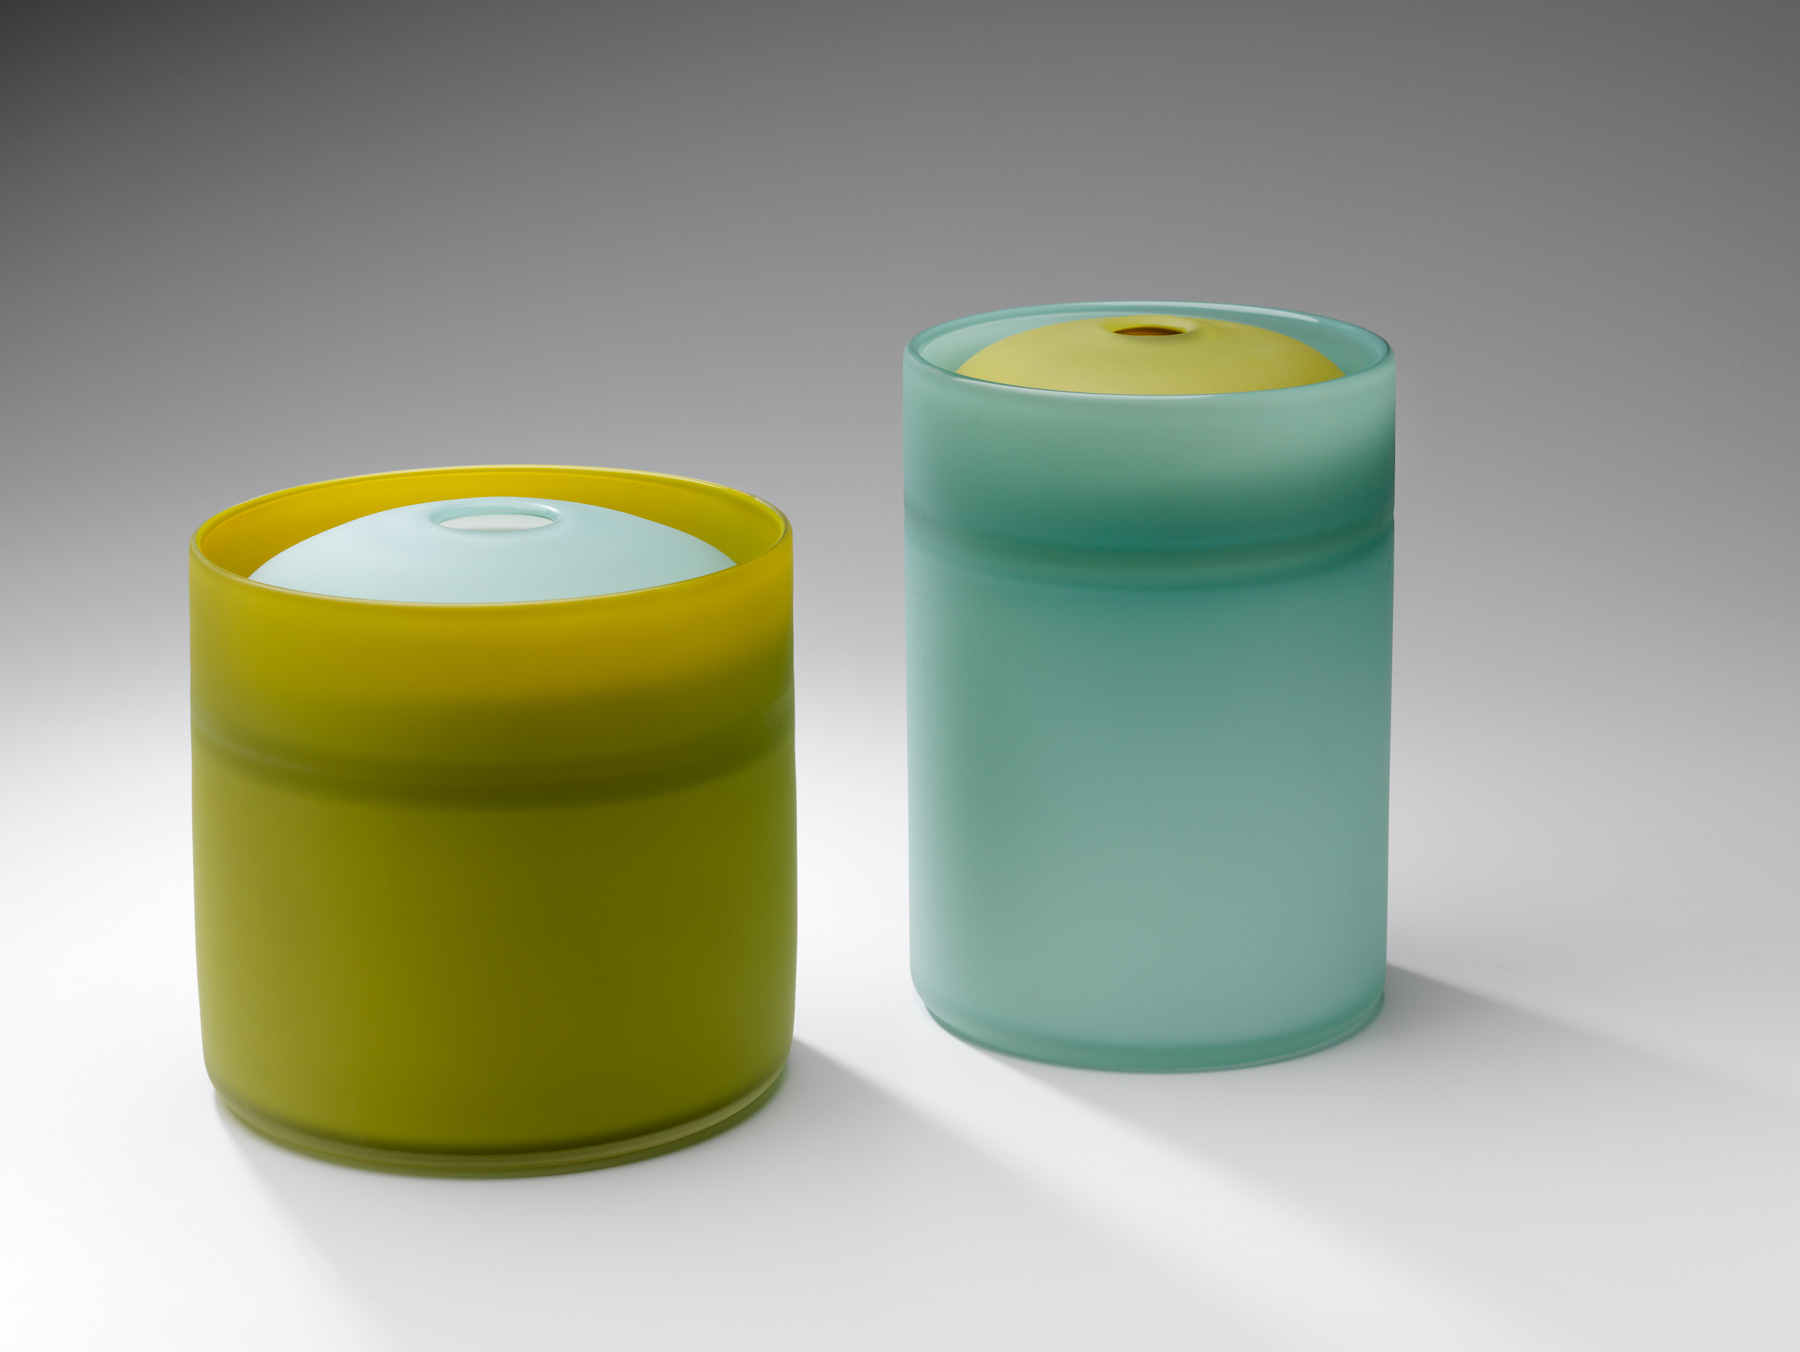
Glass,
2023,
630x280x180mm
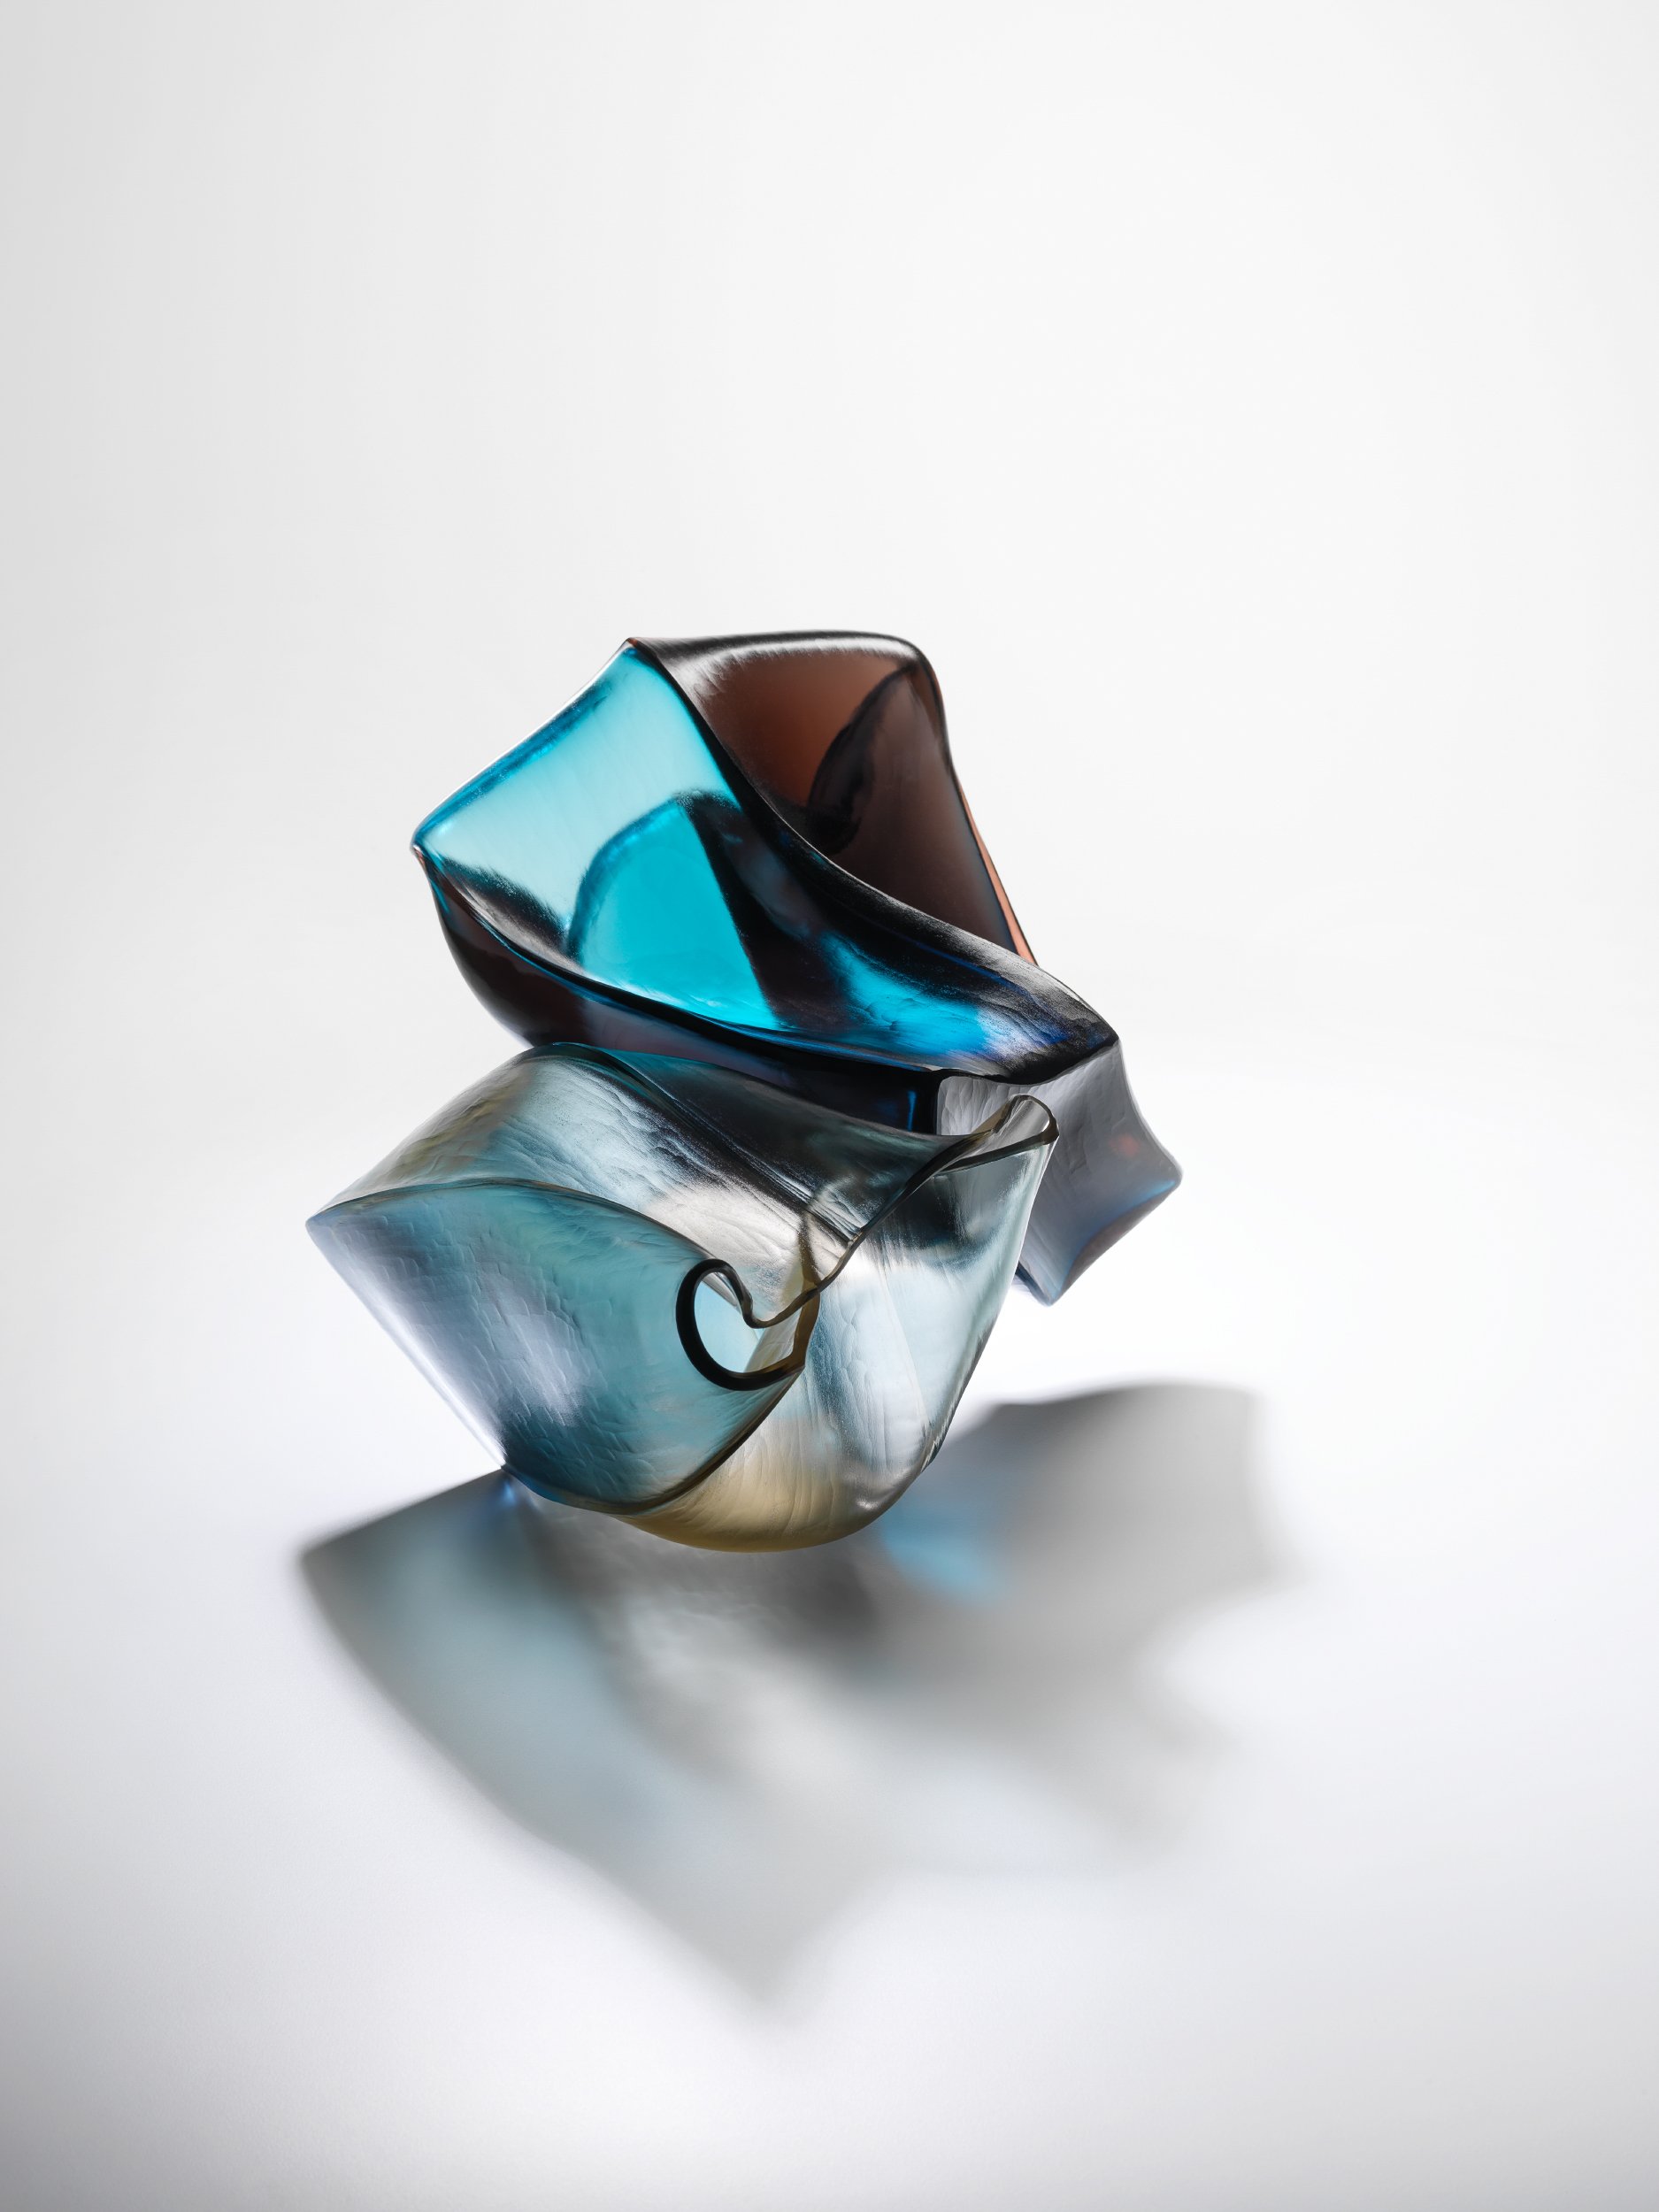
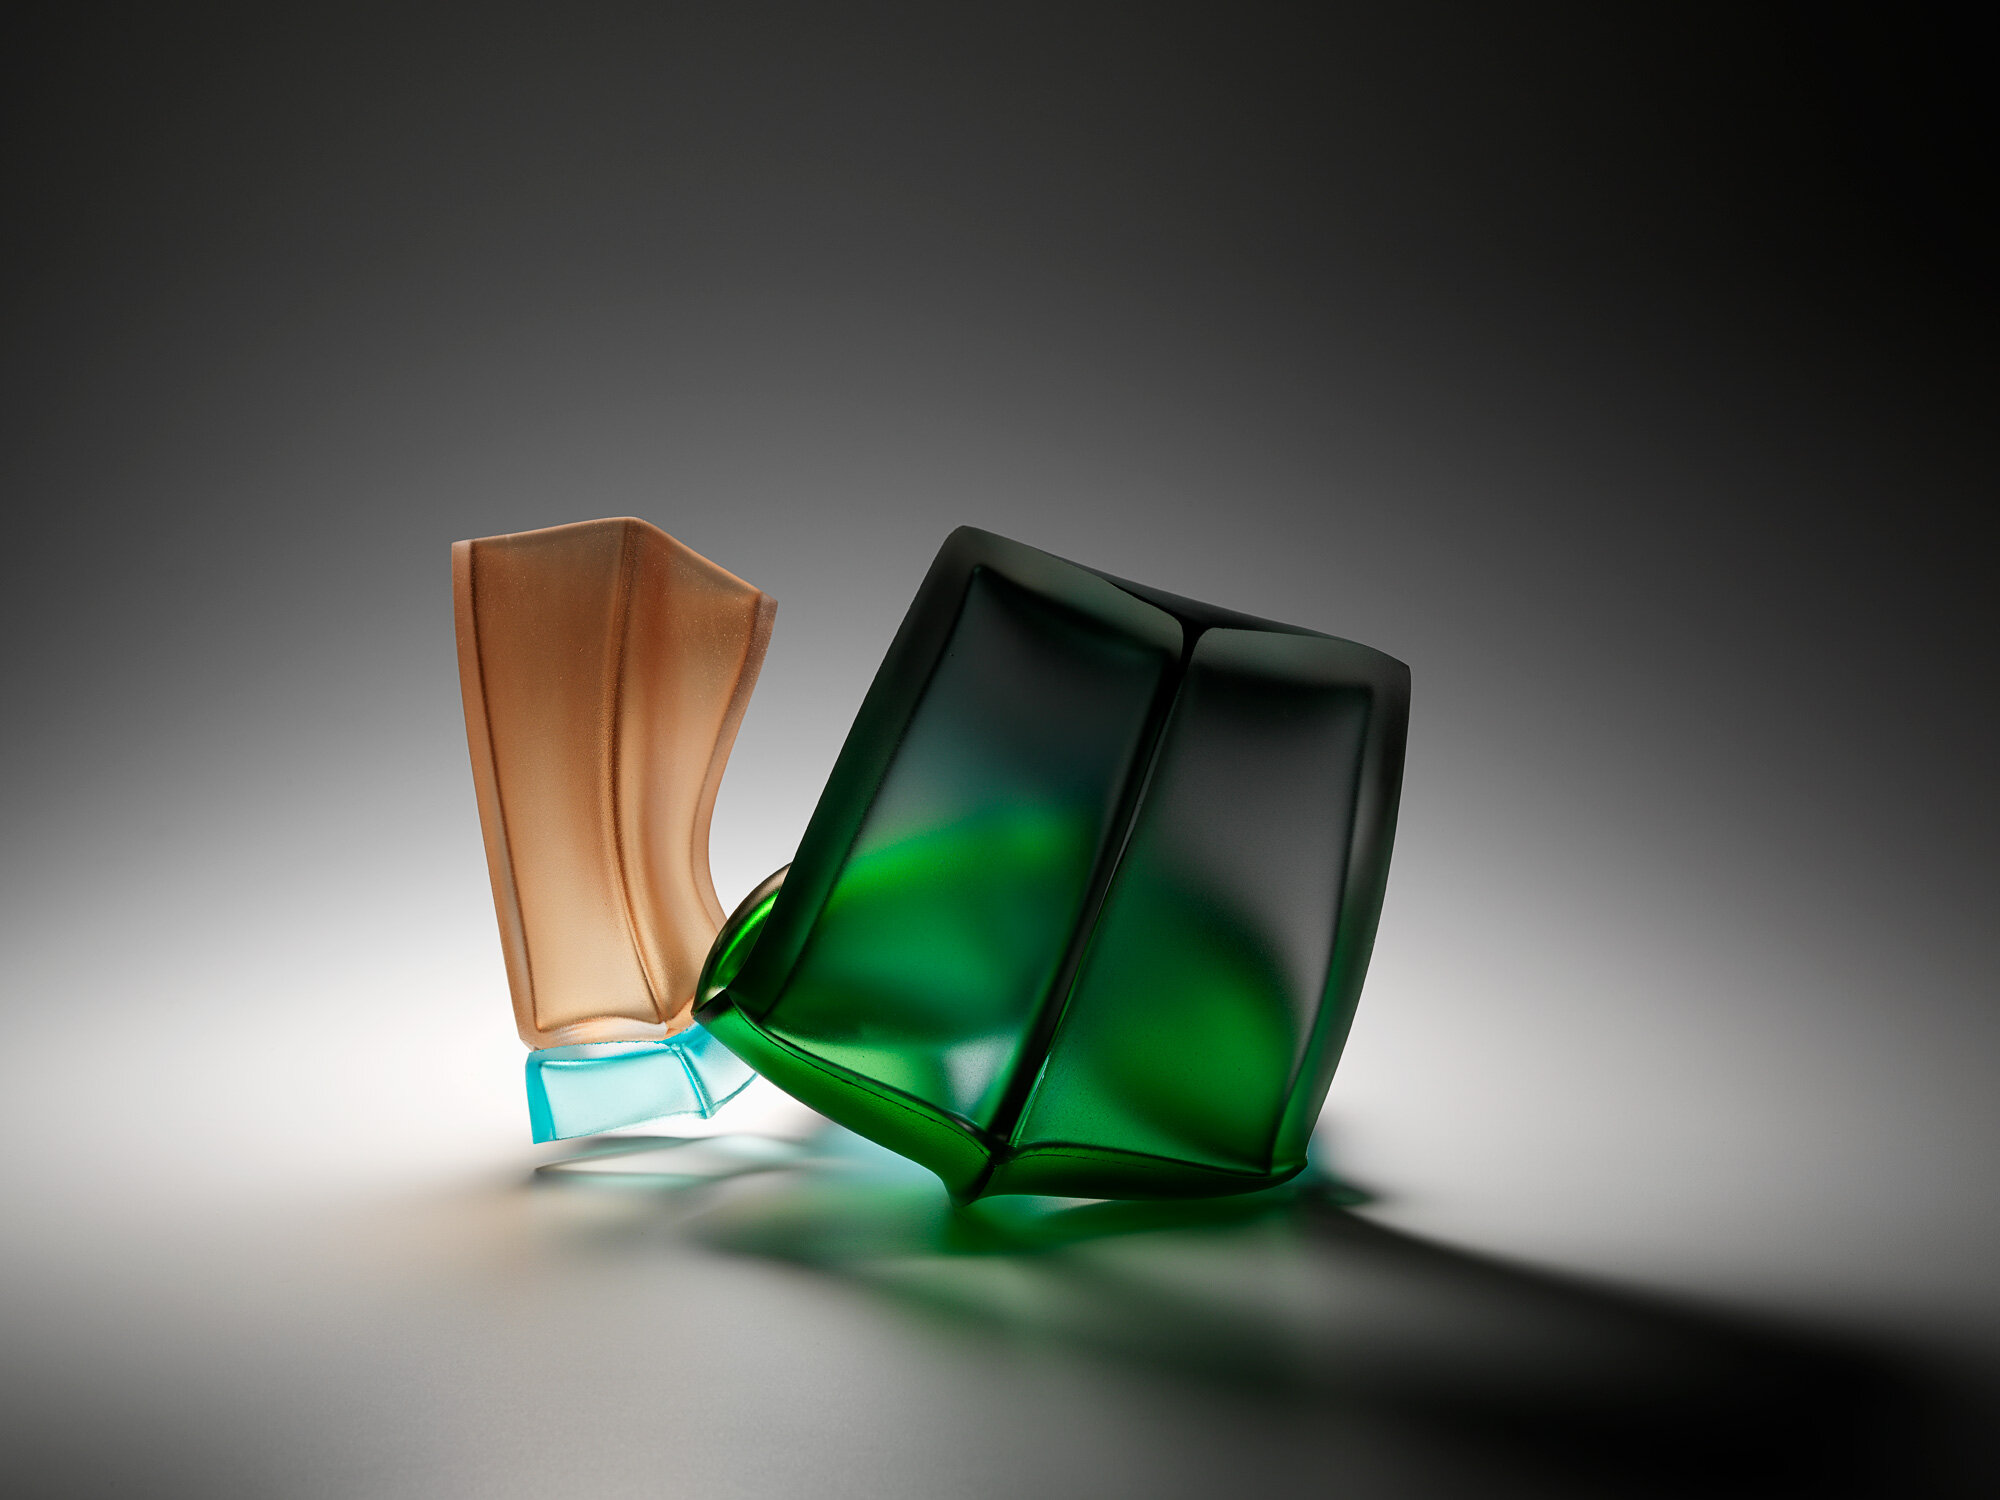
Glass,
2023,
570x280x180mm
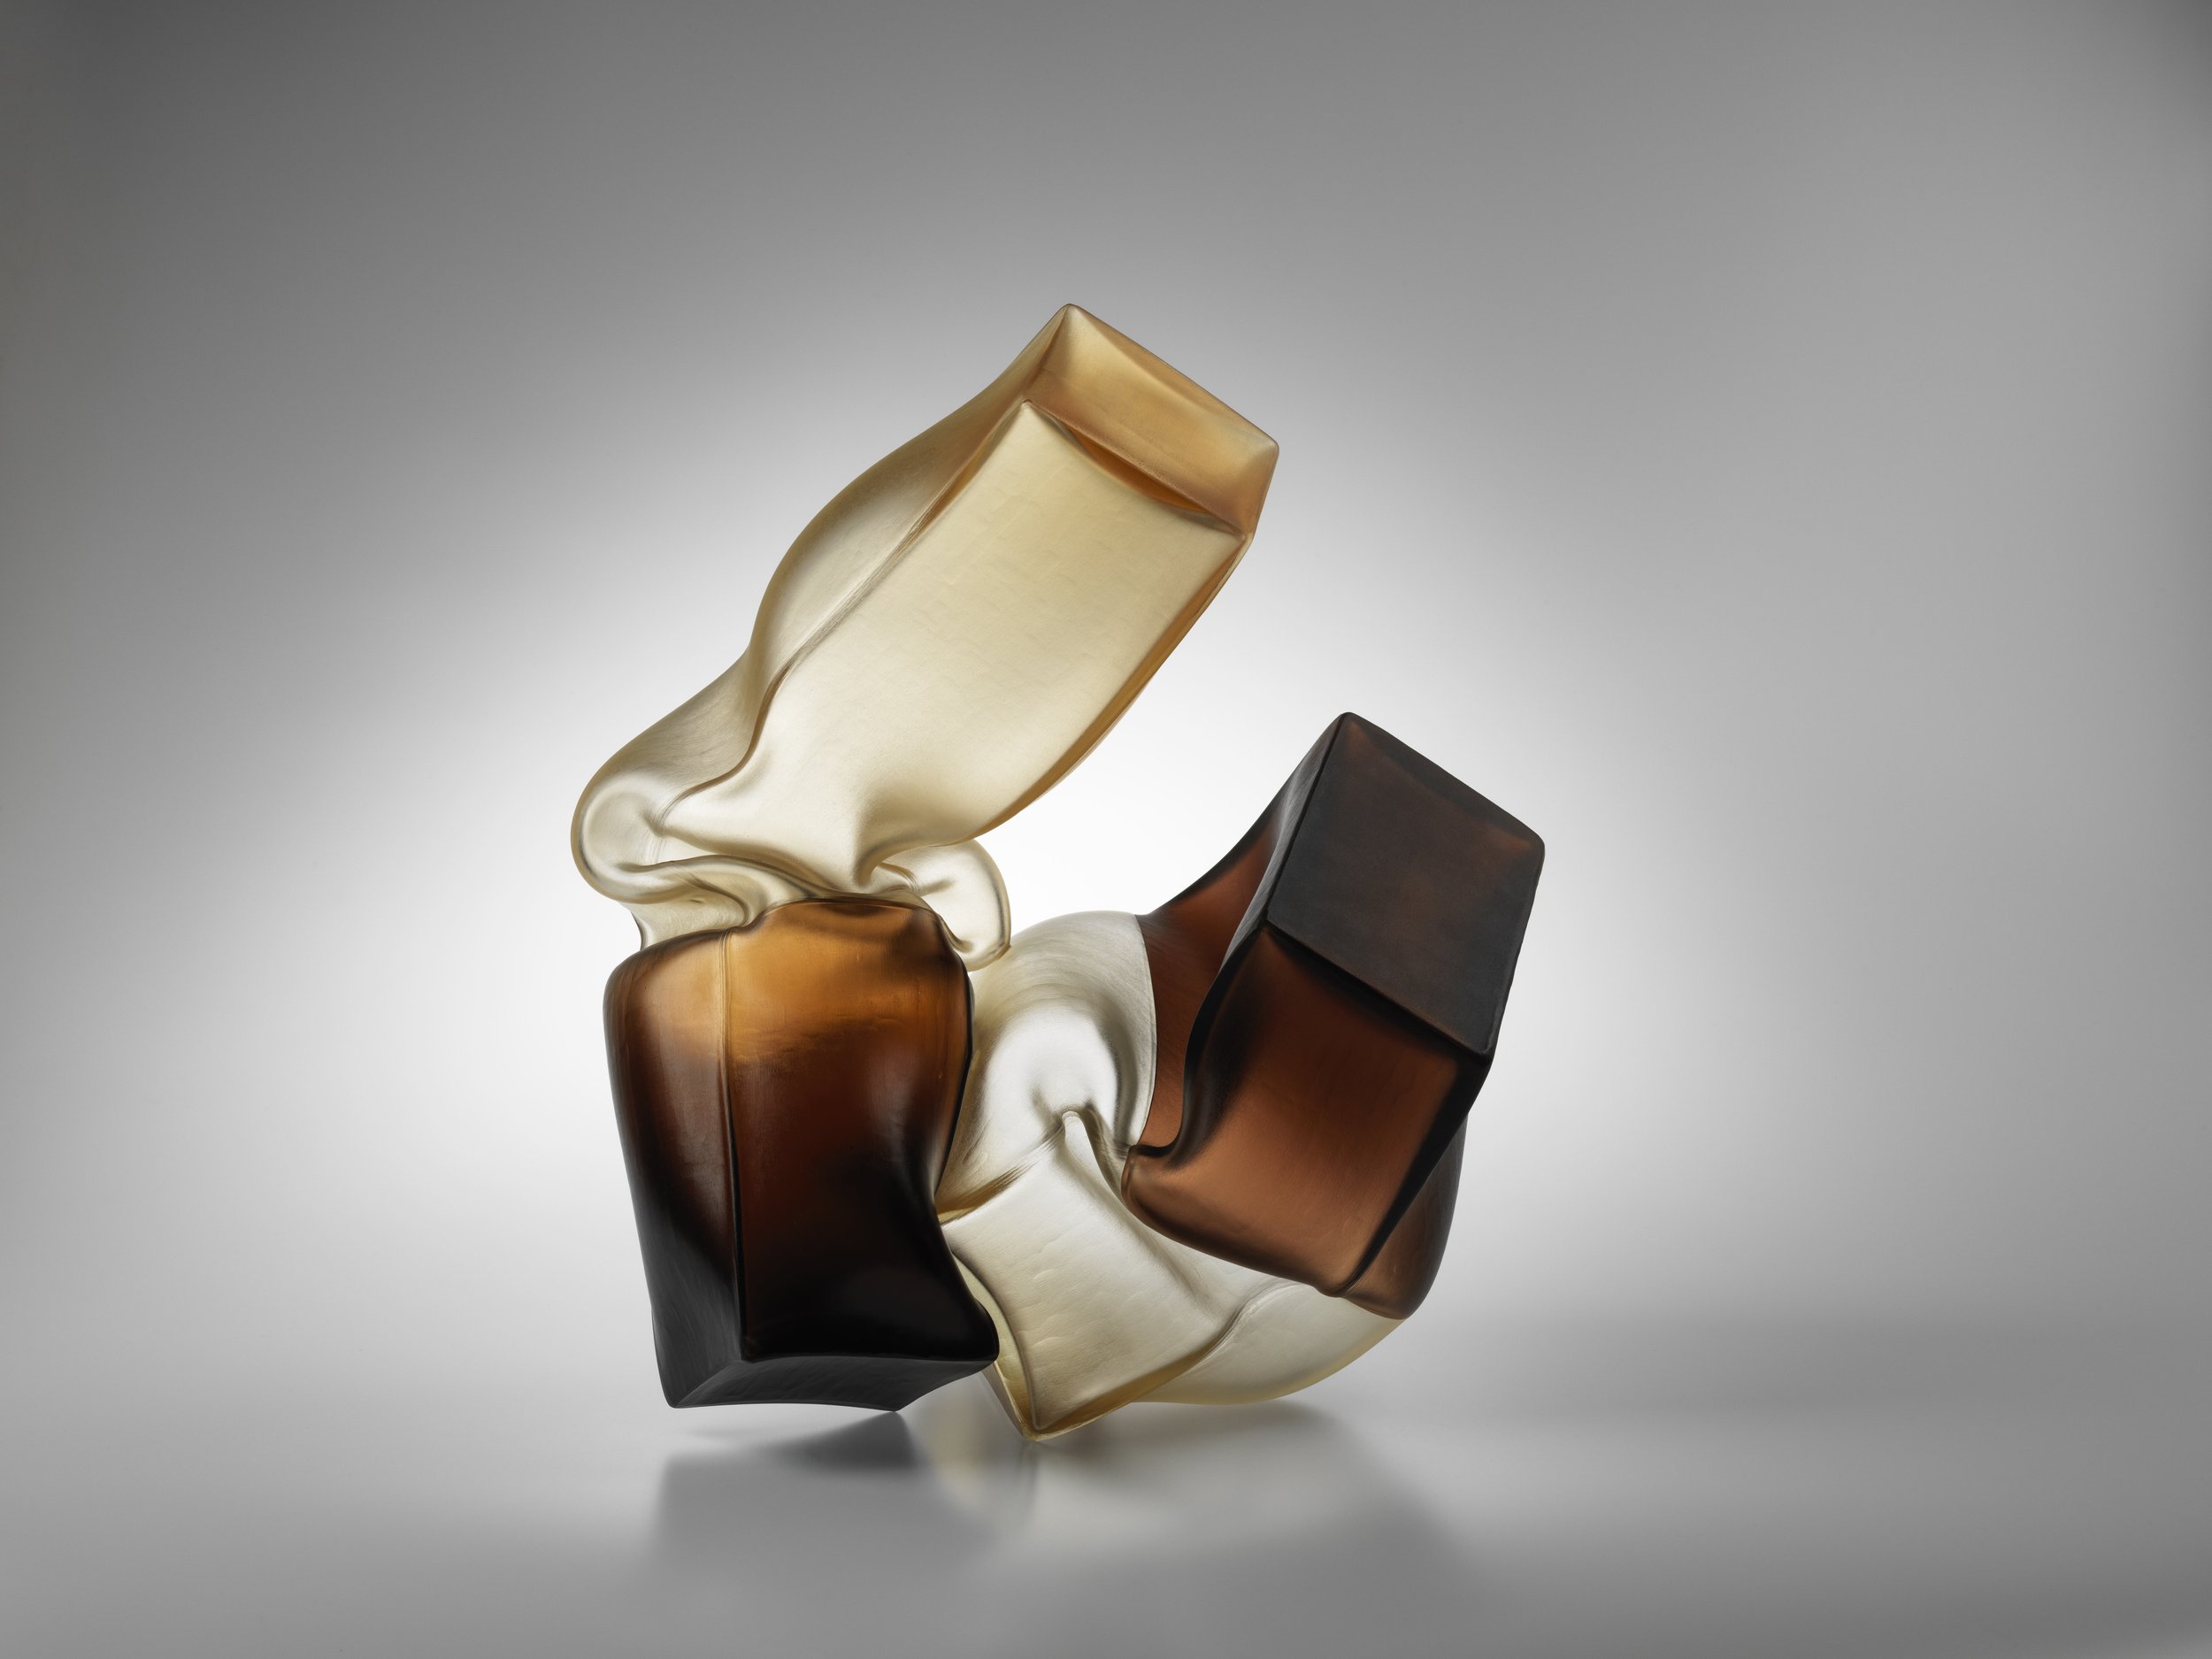
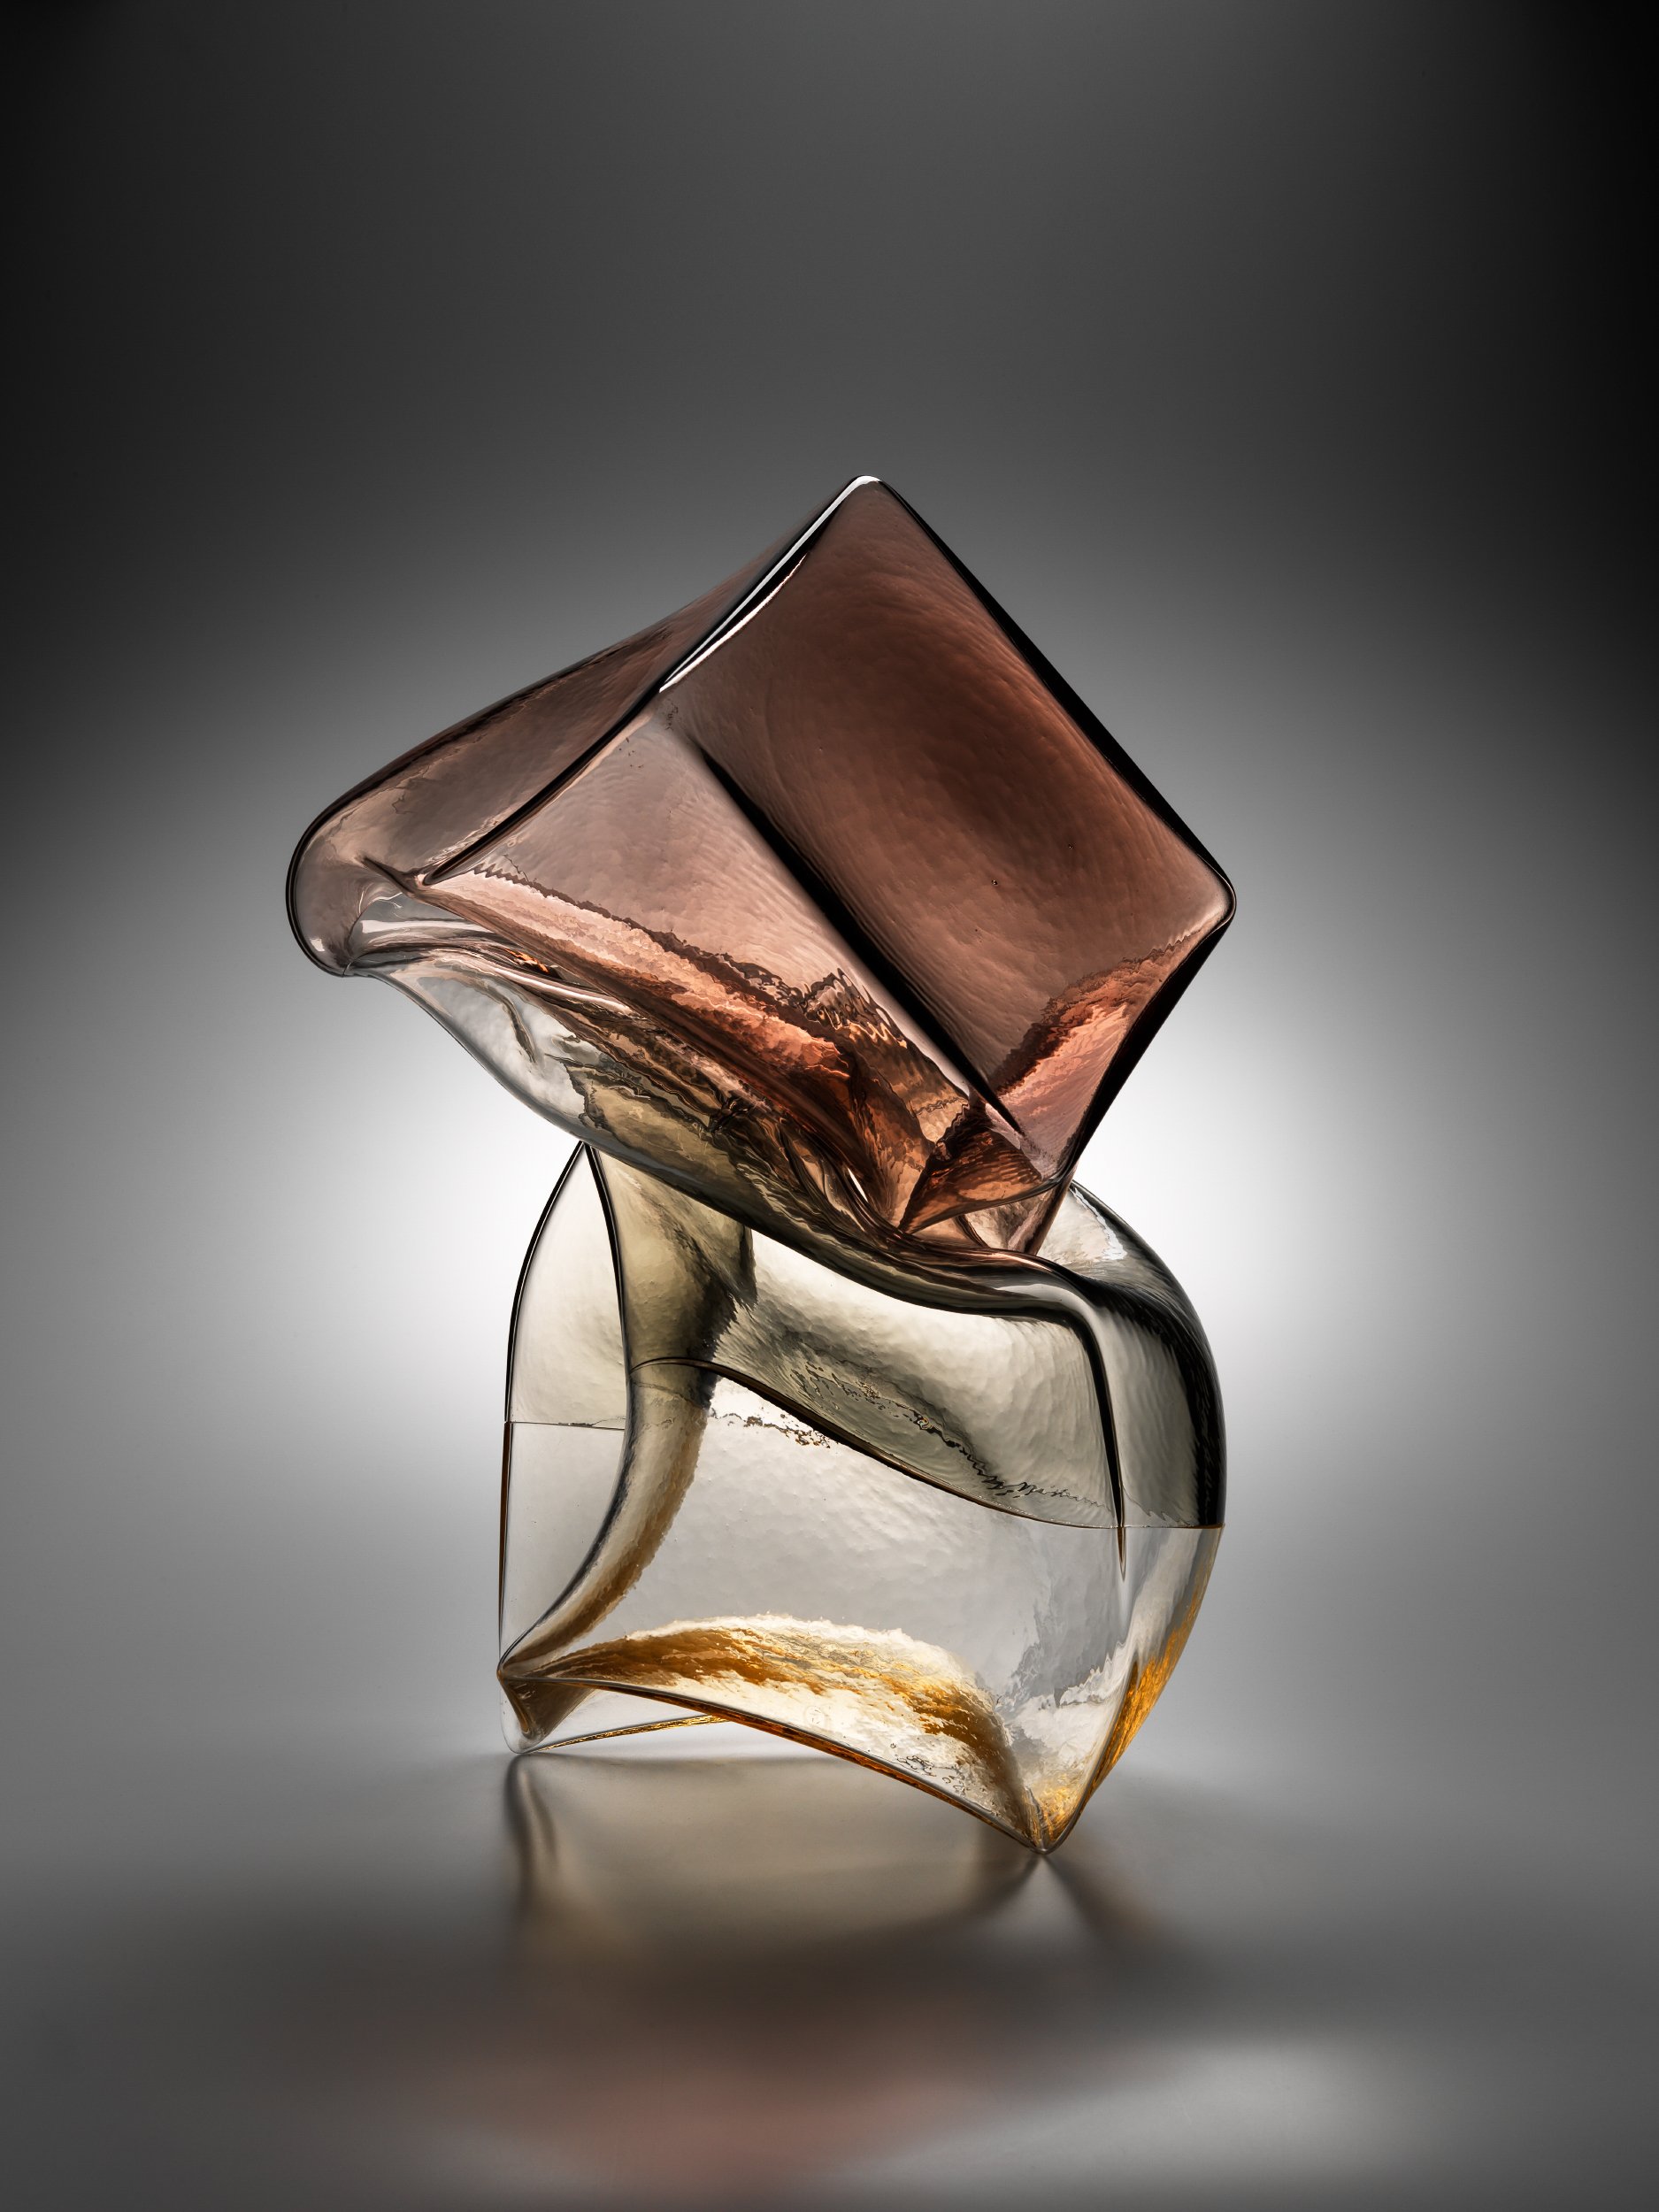
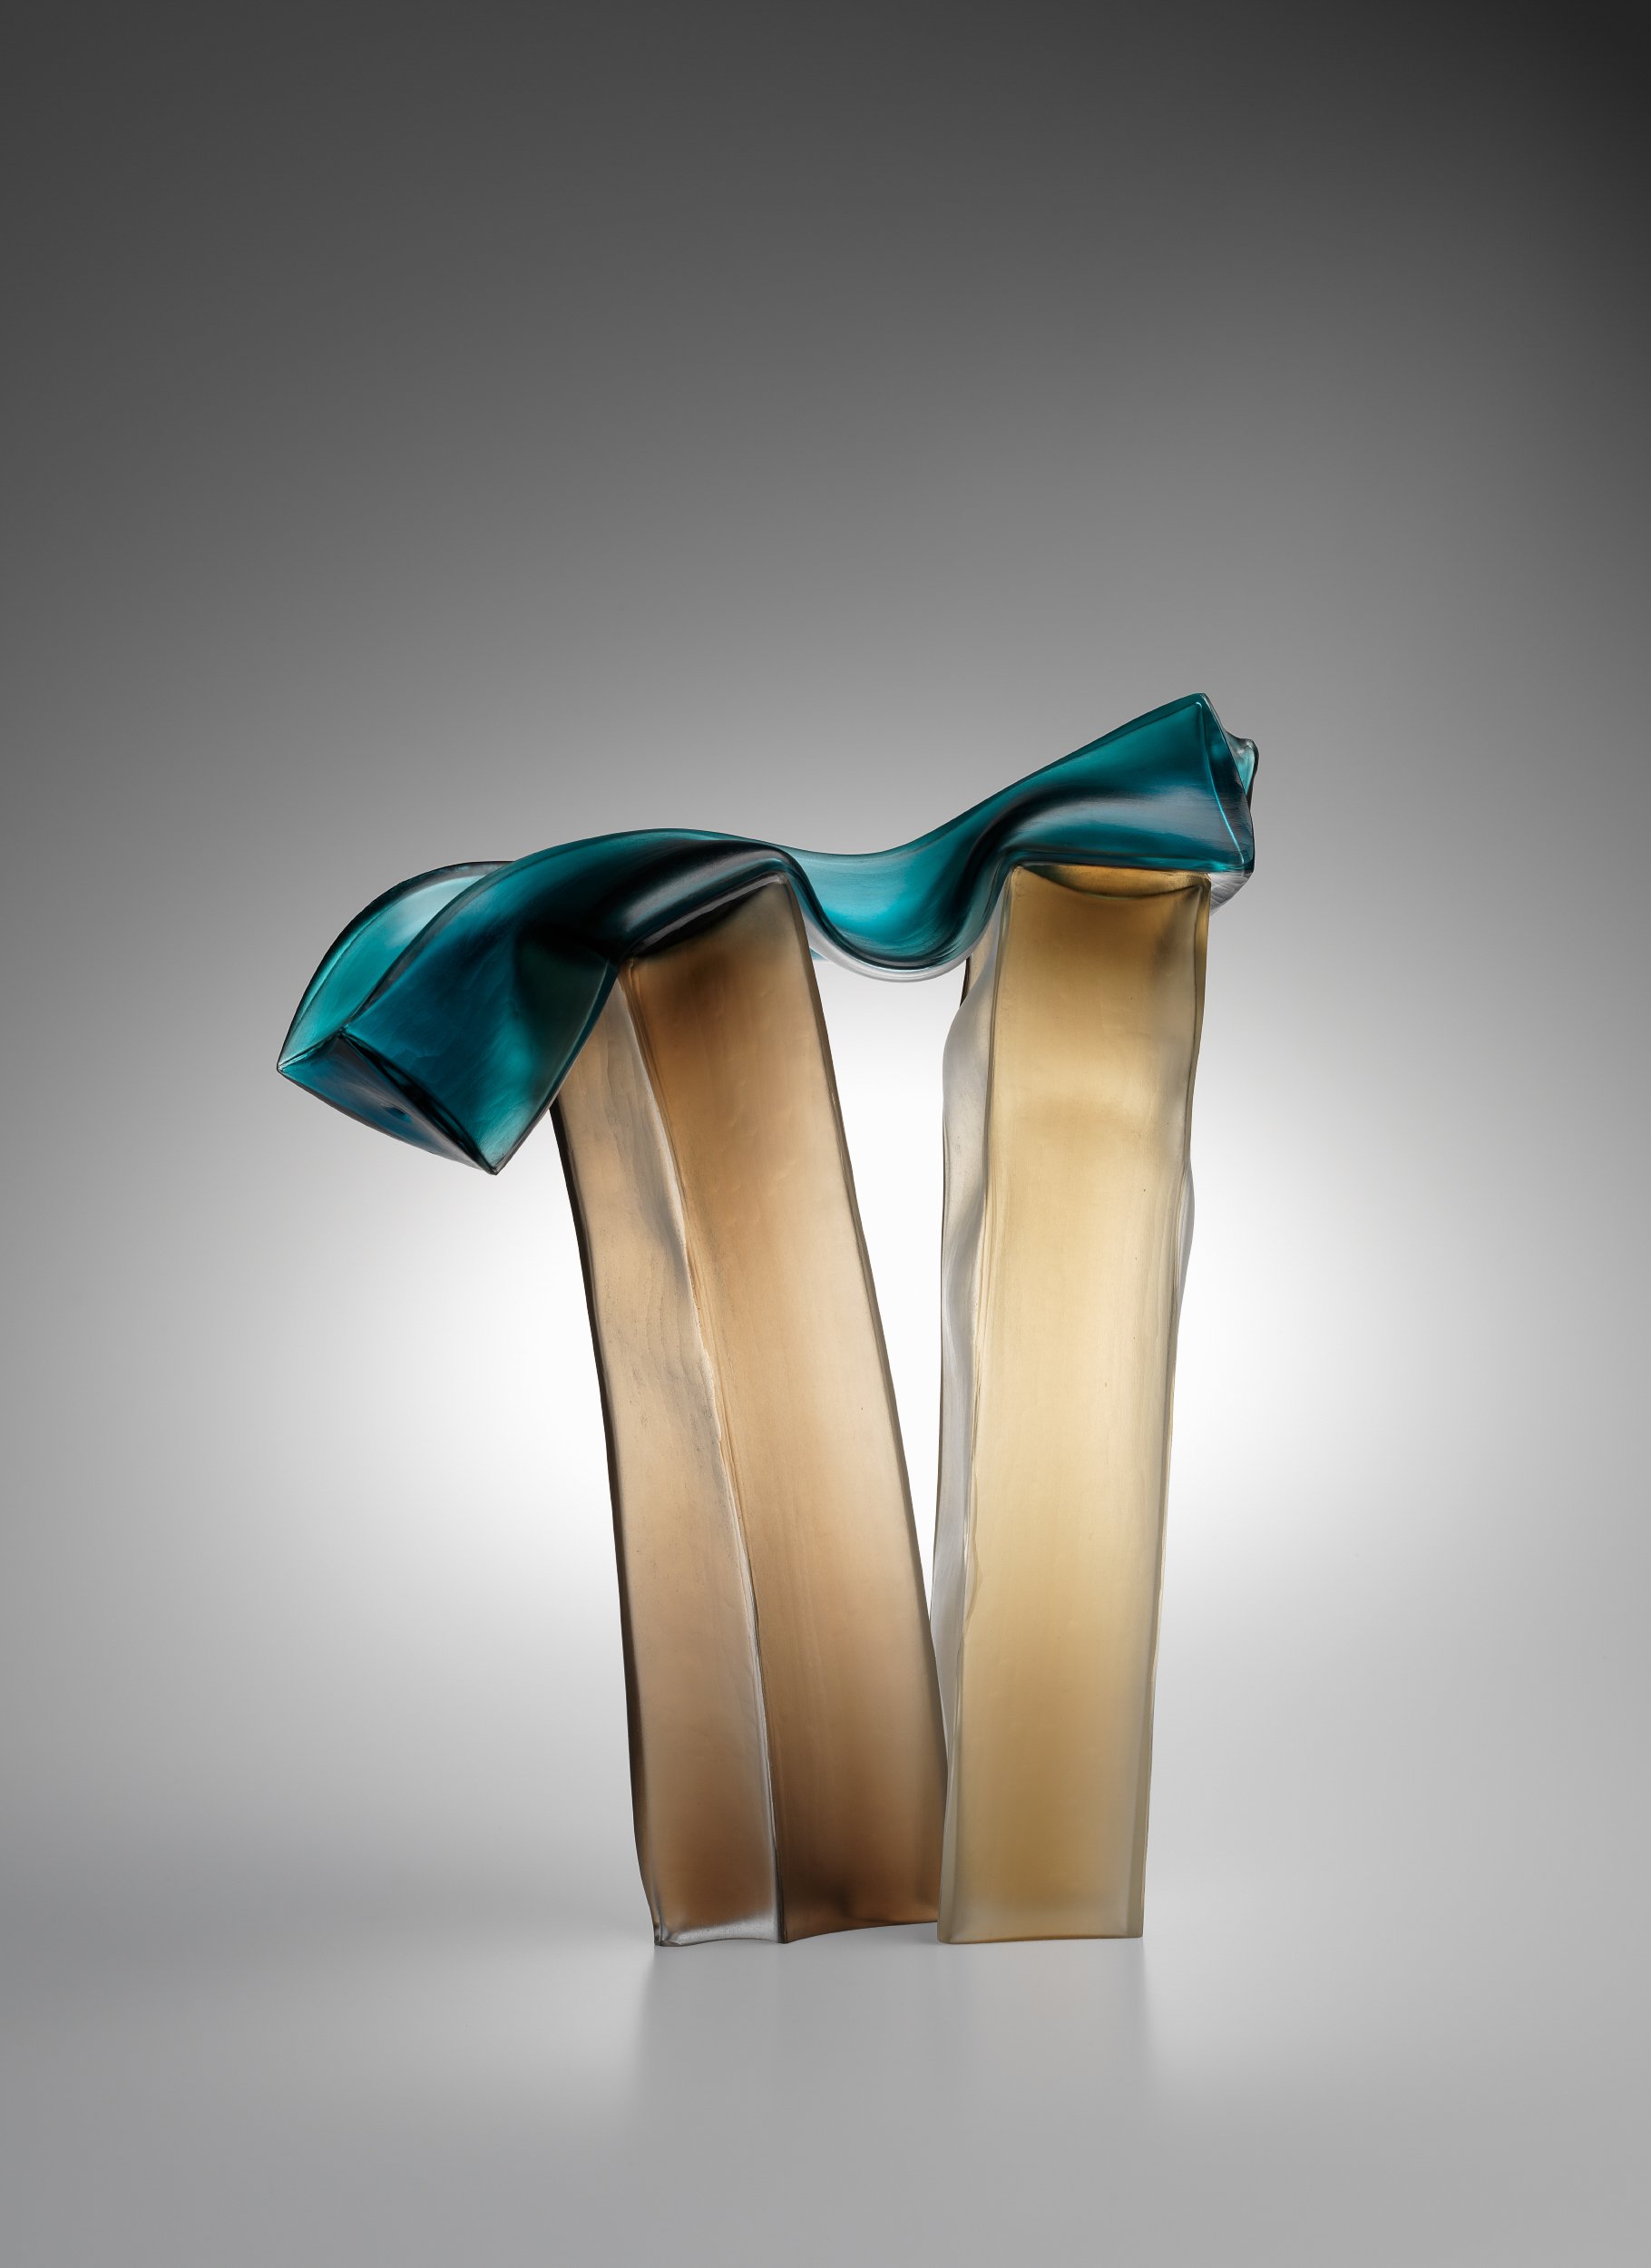
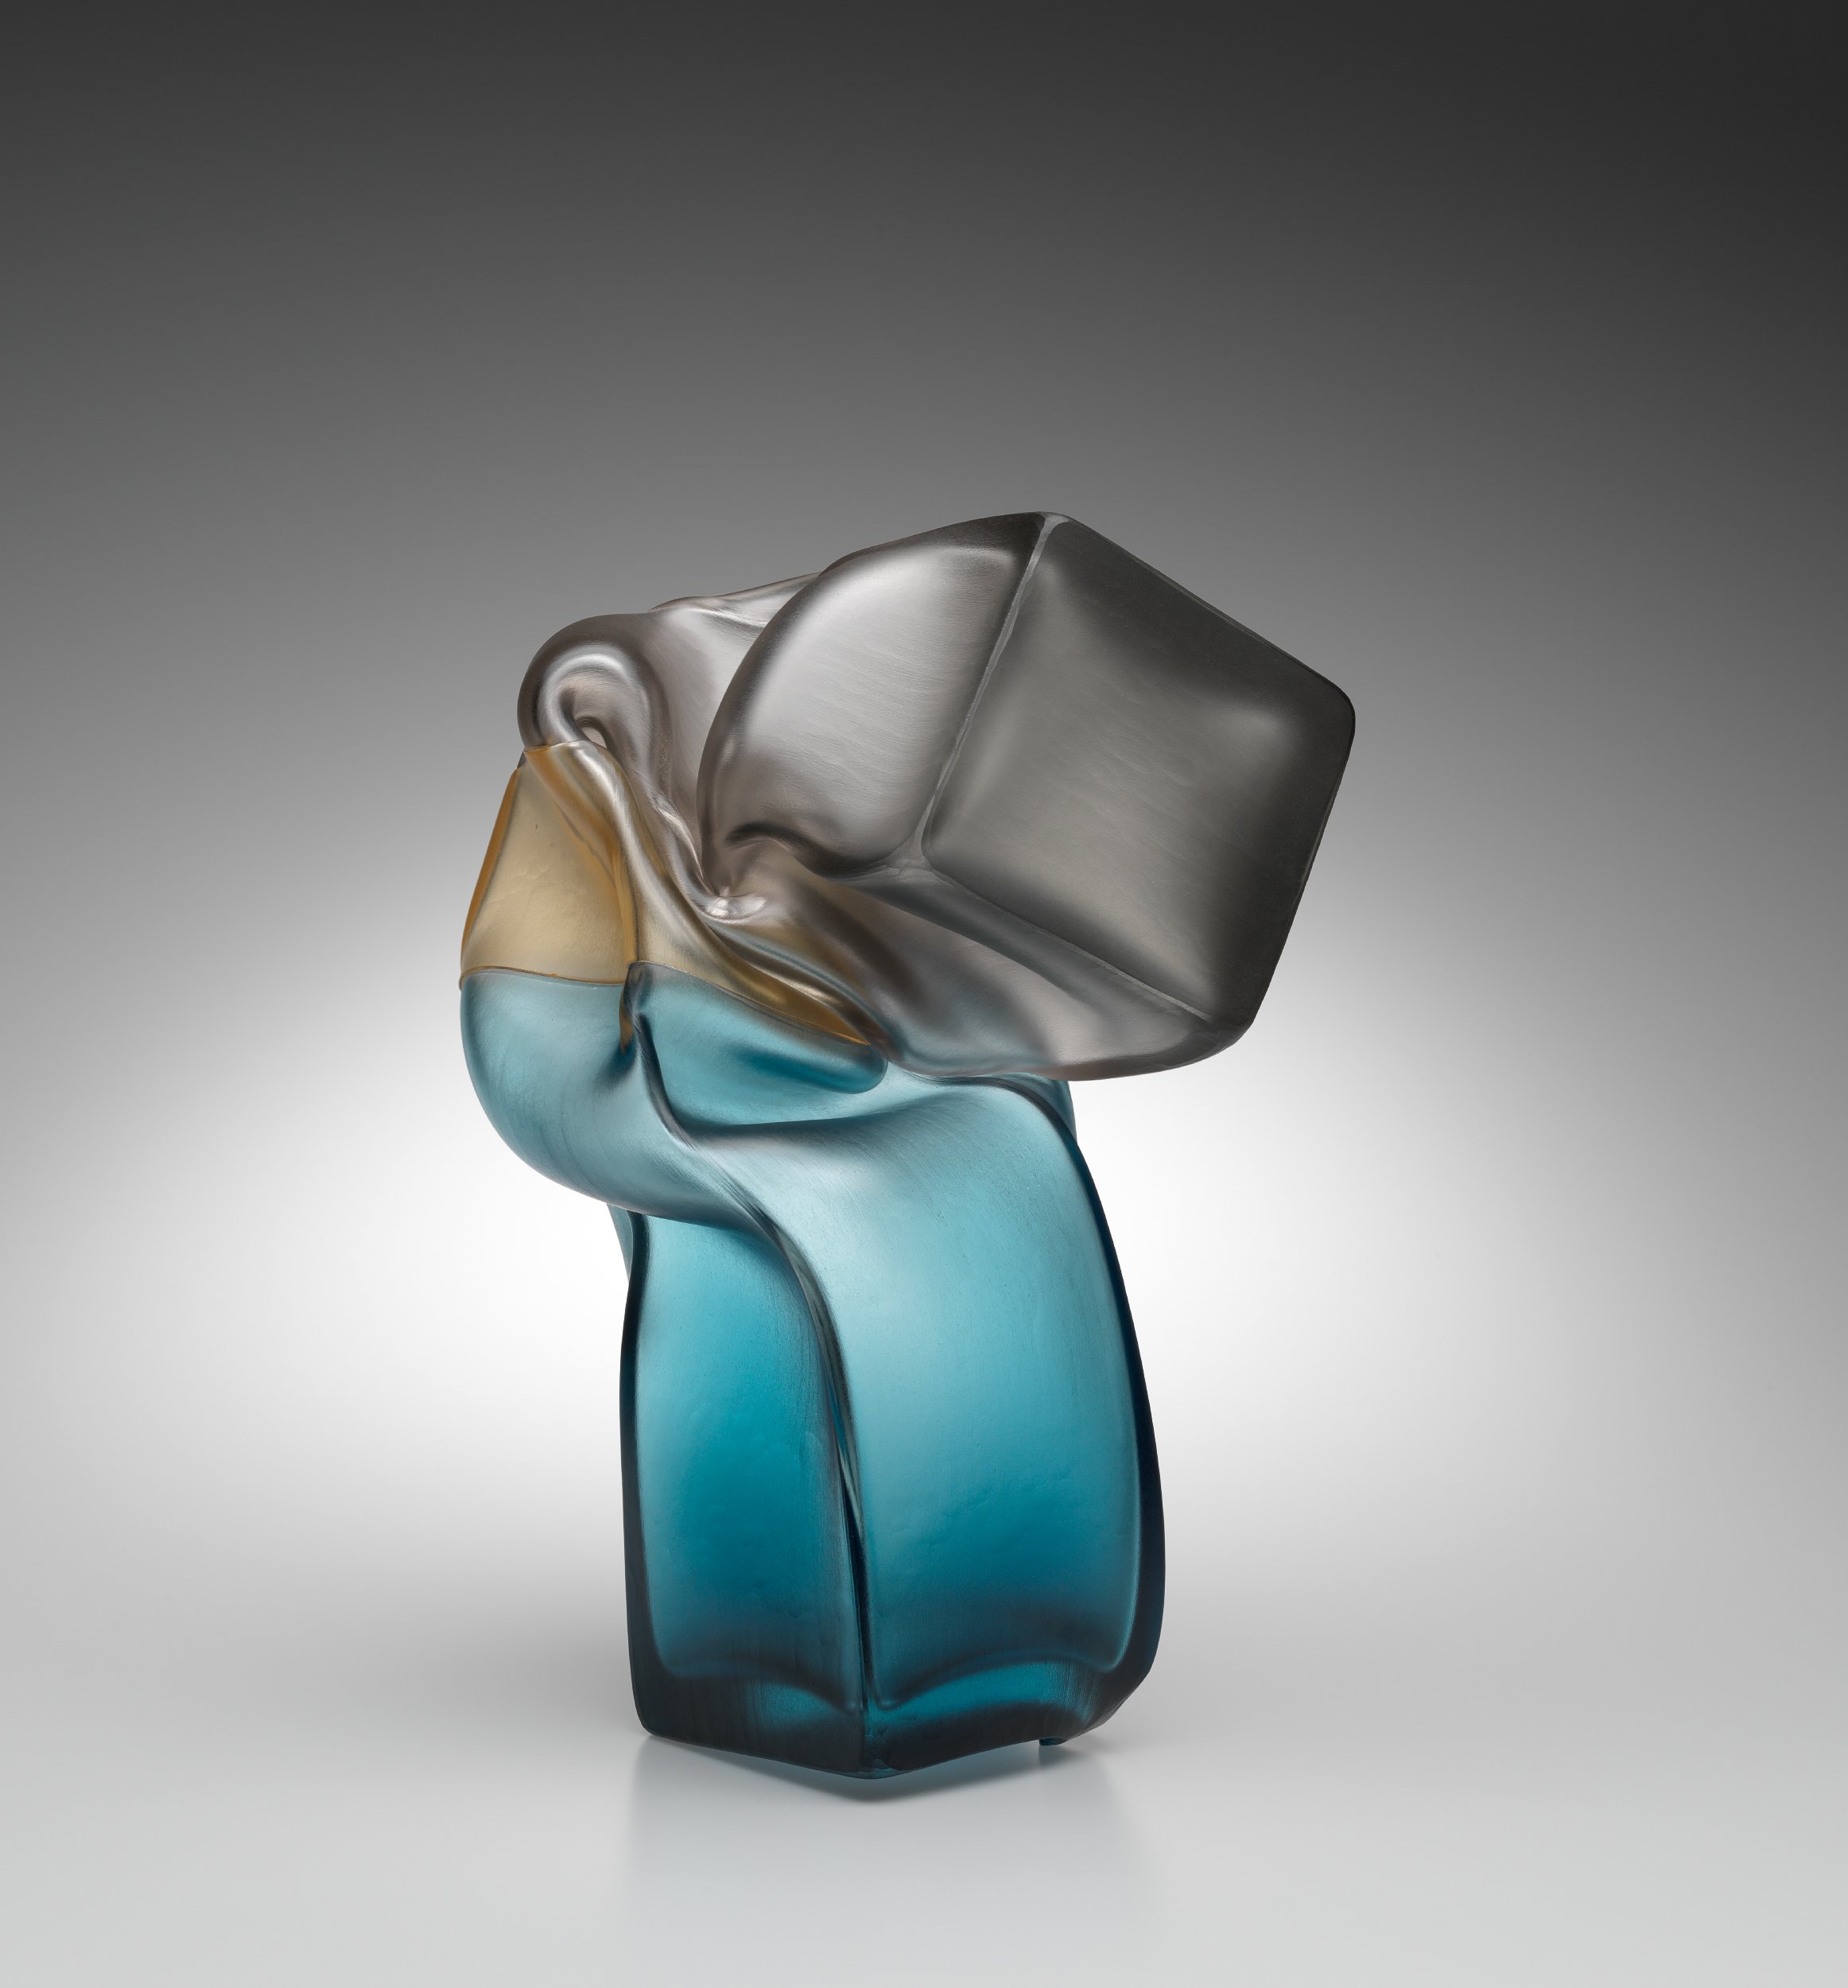
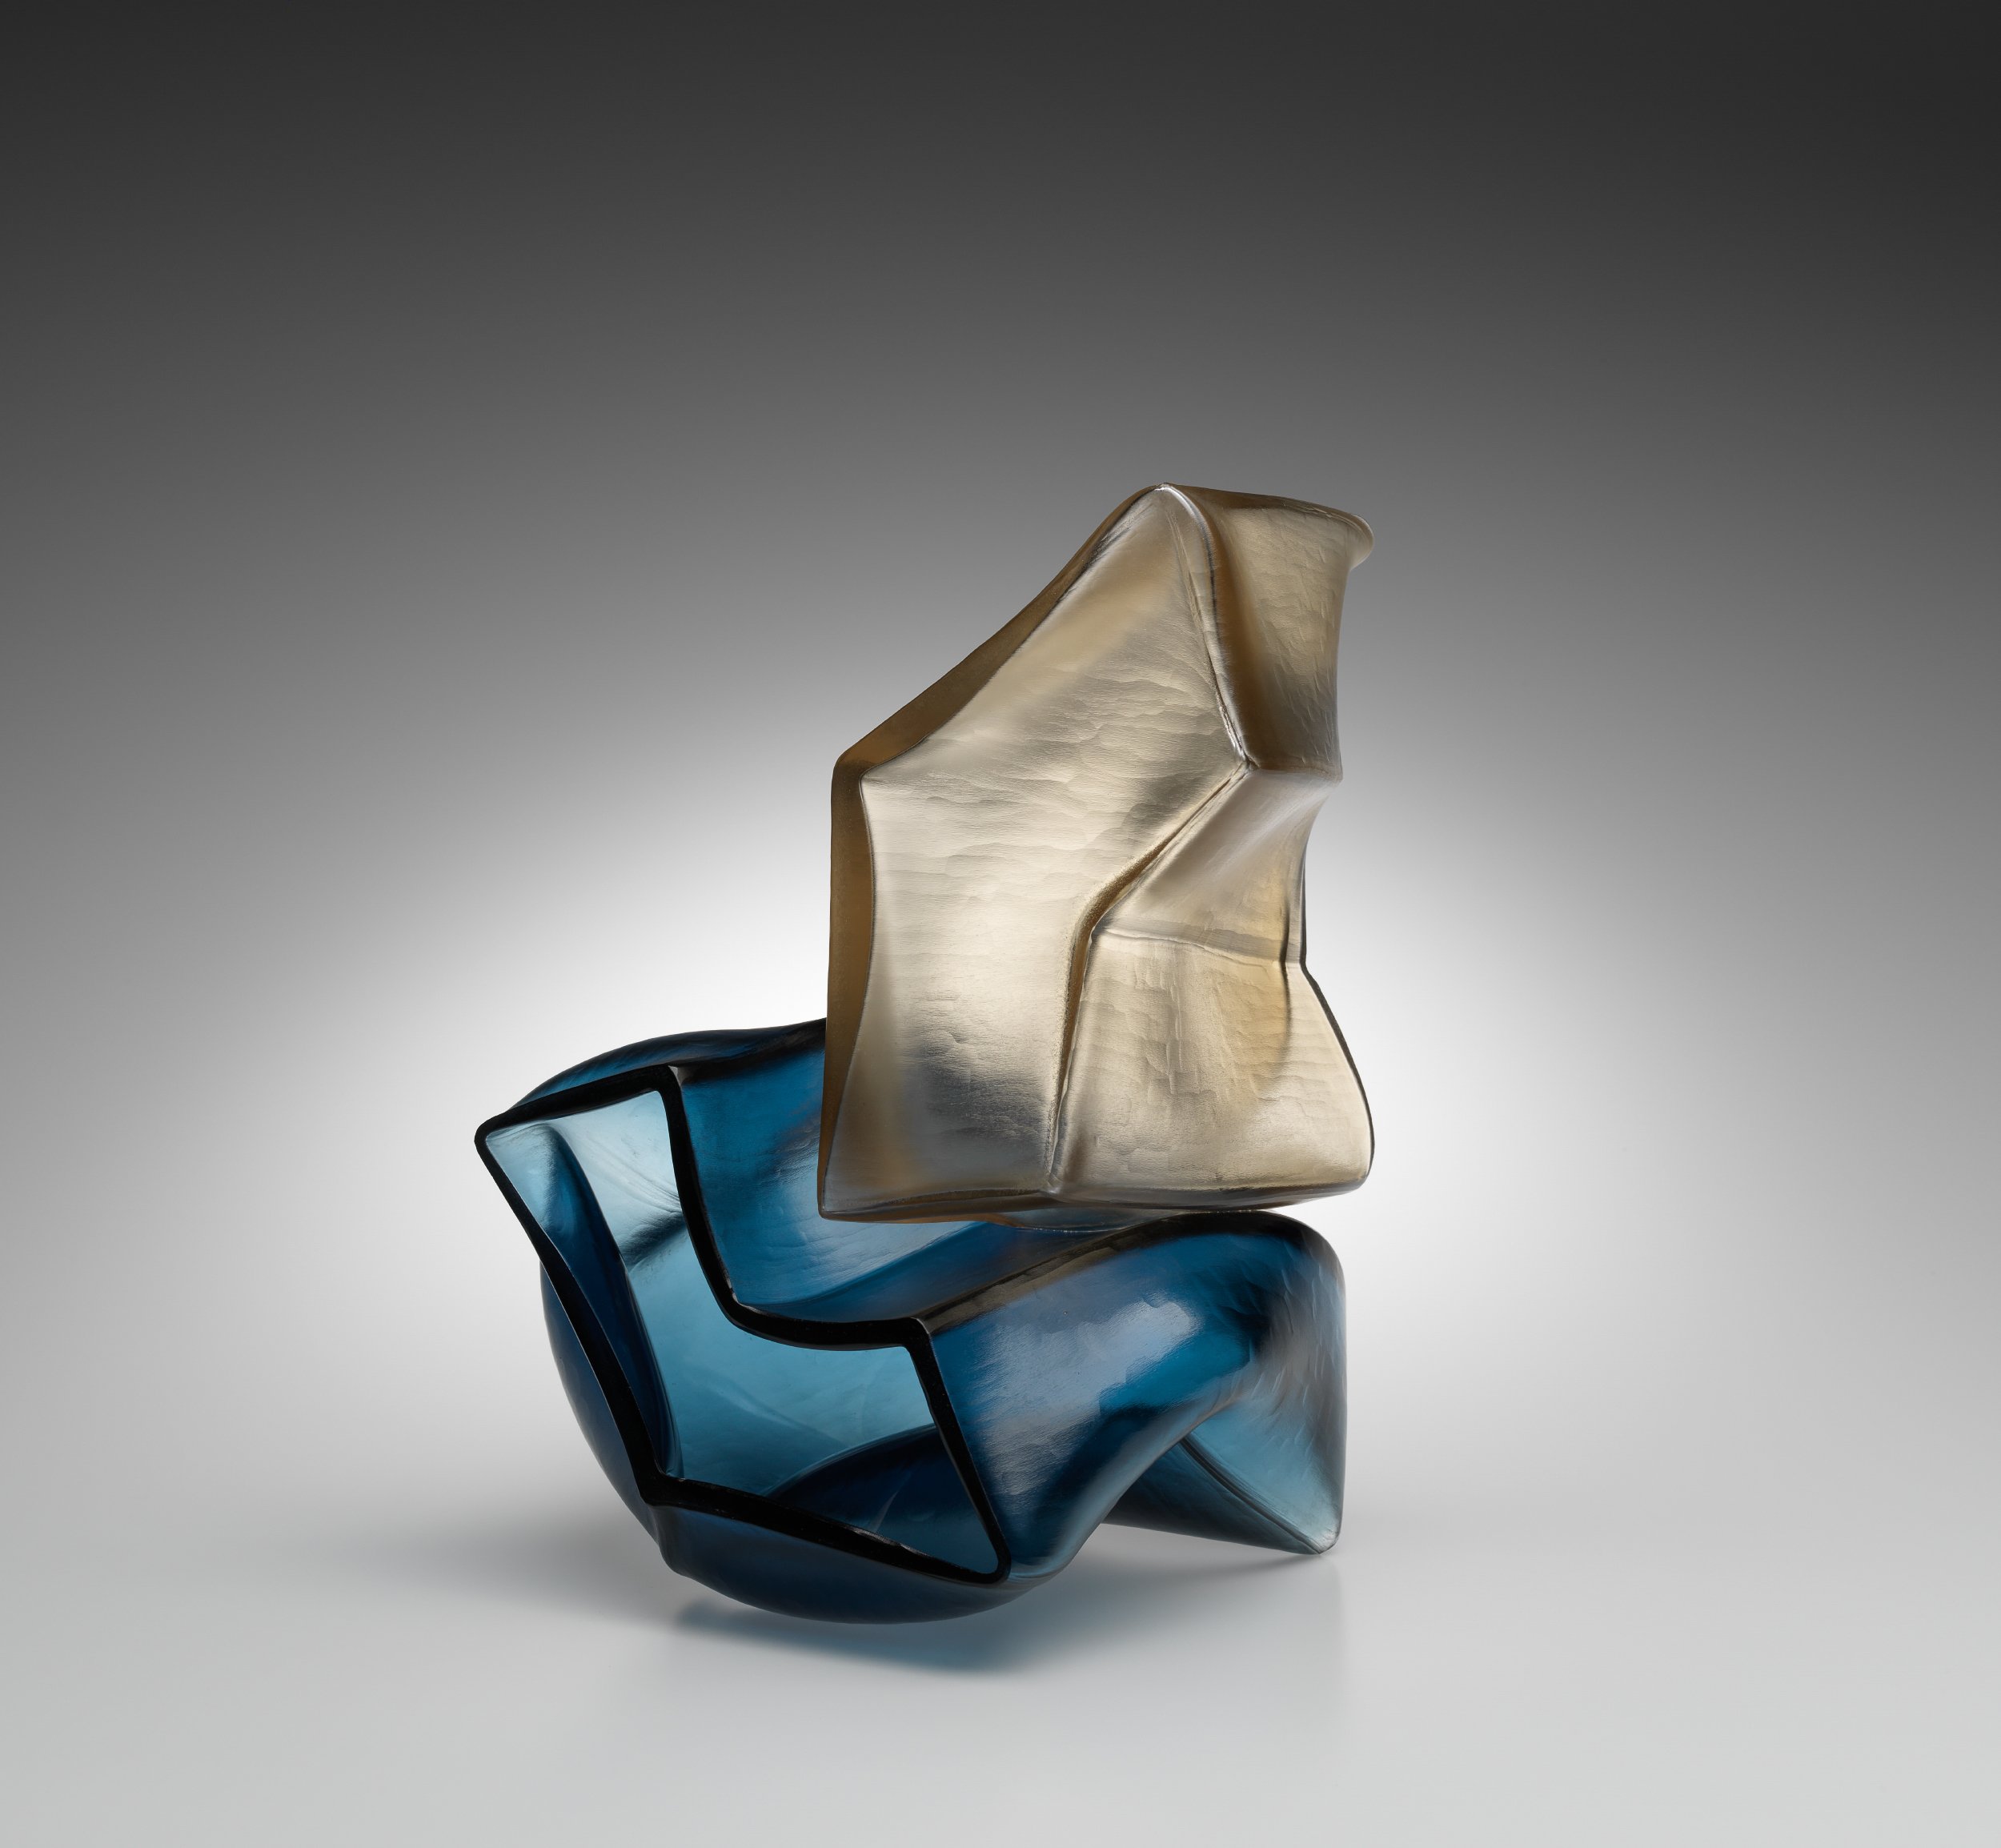
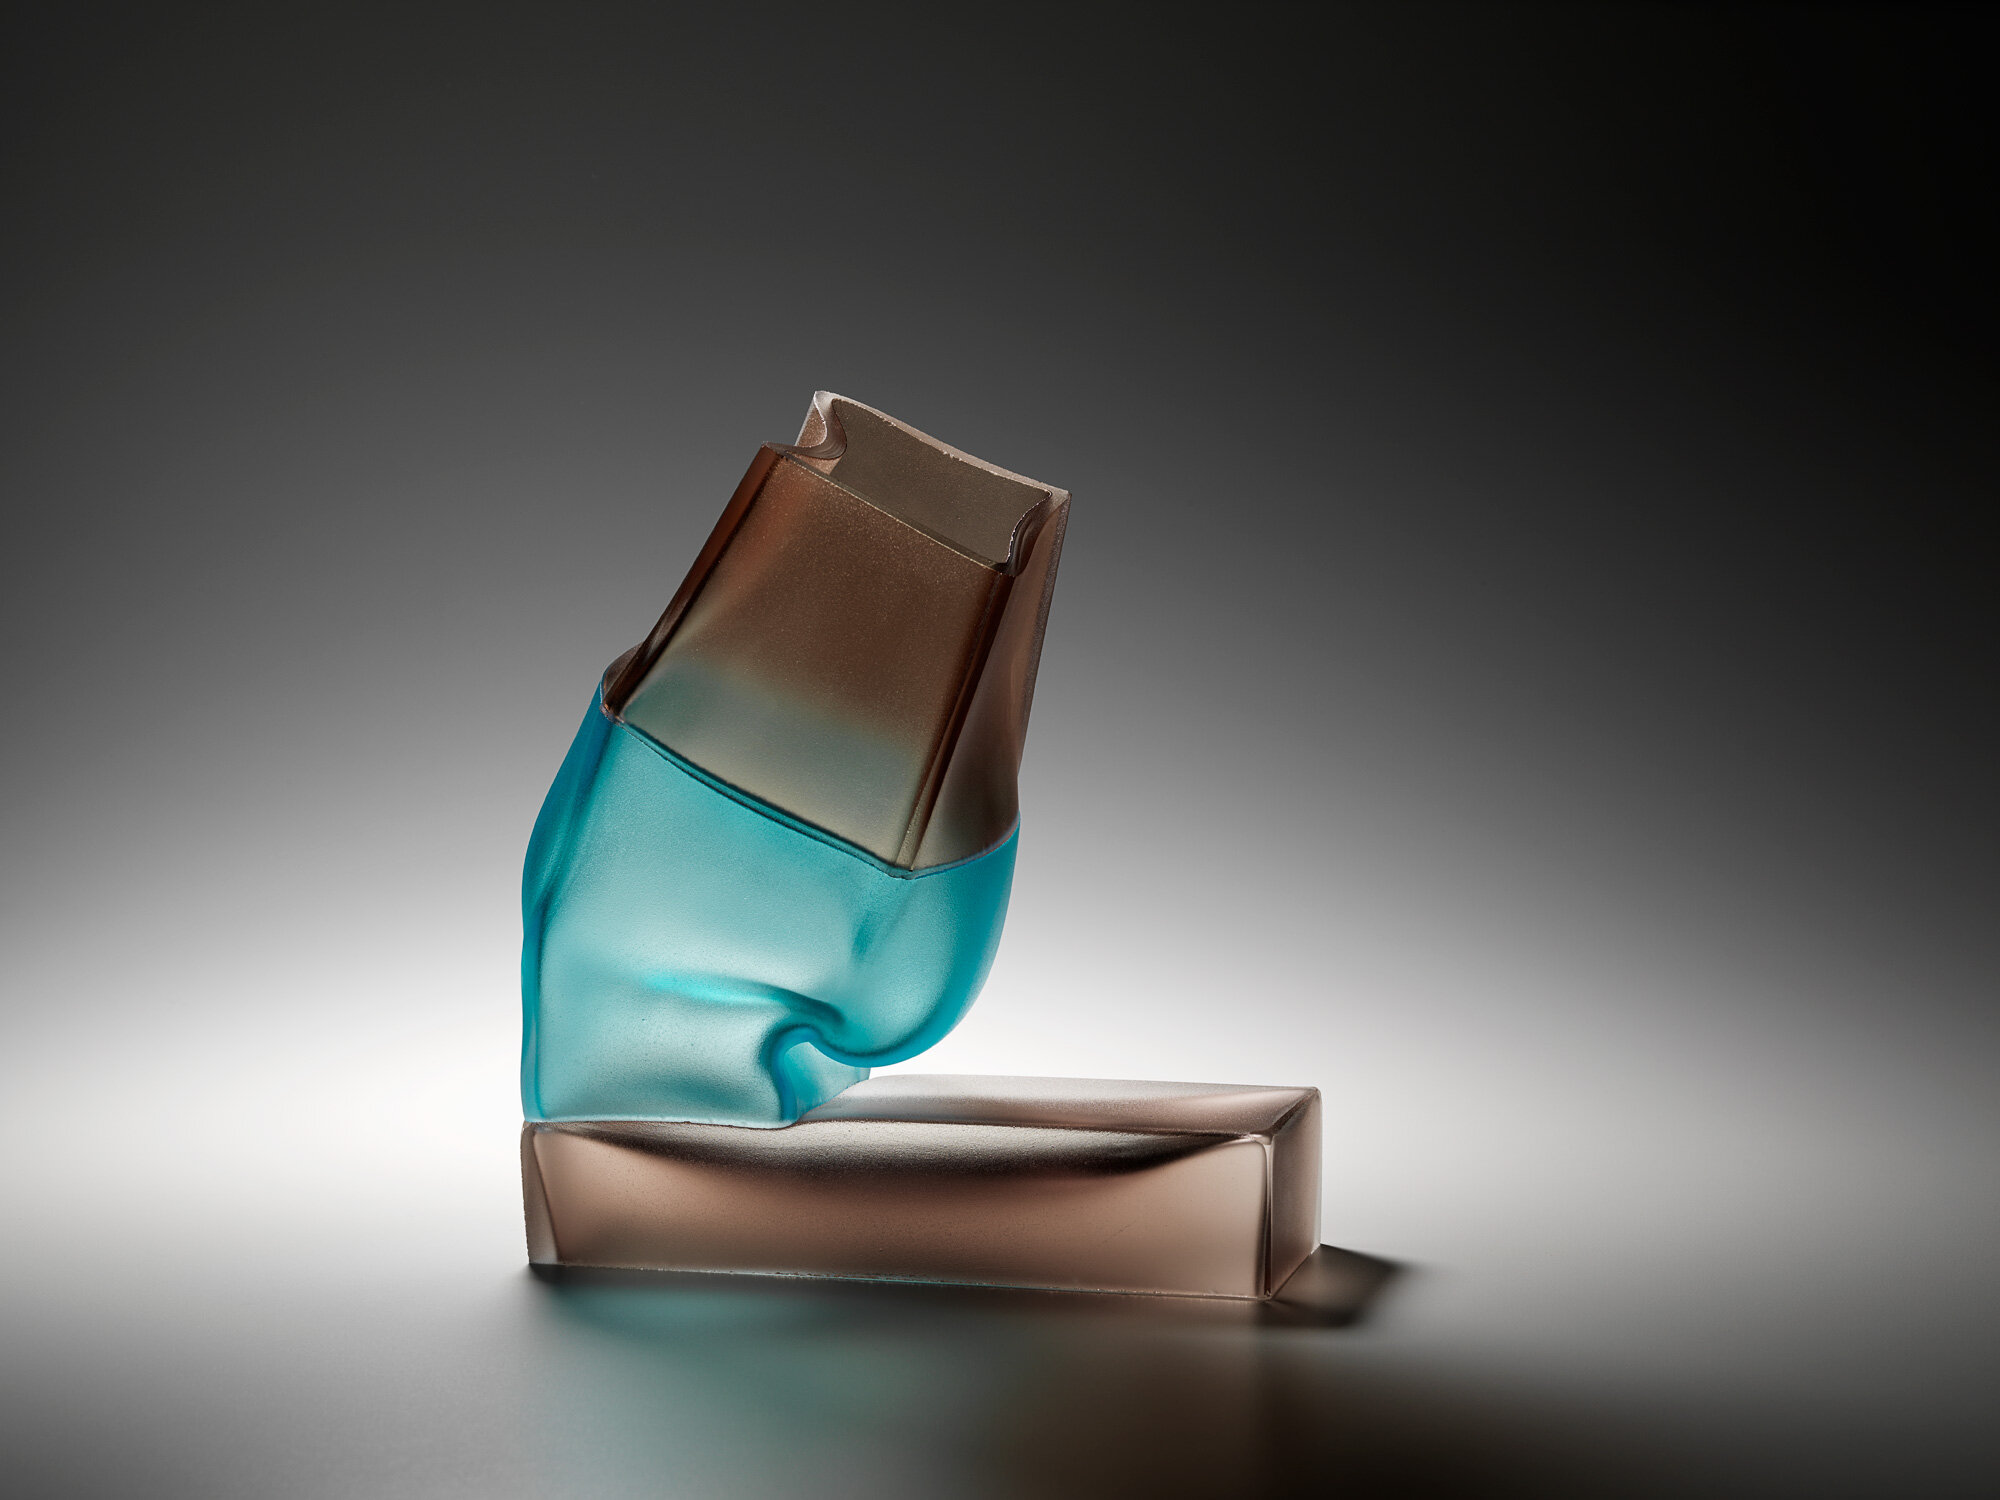
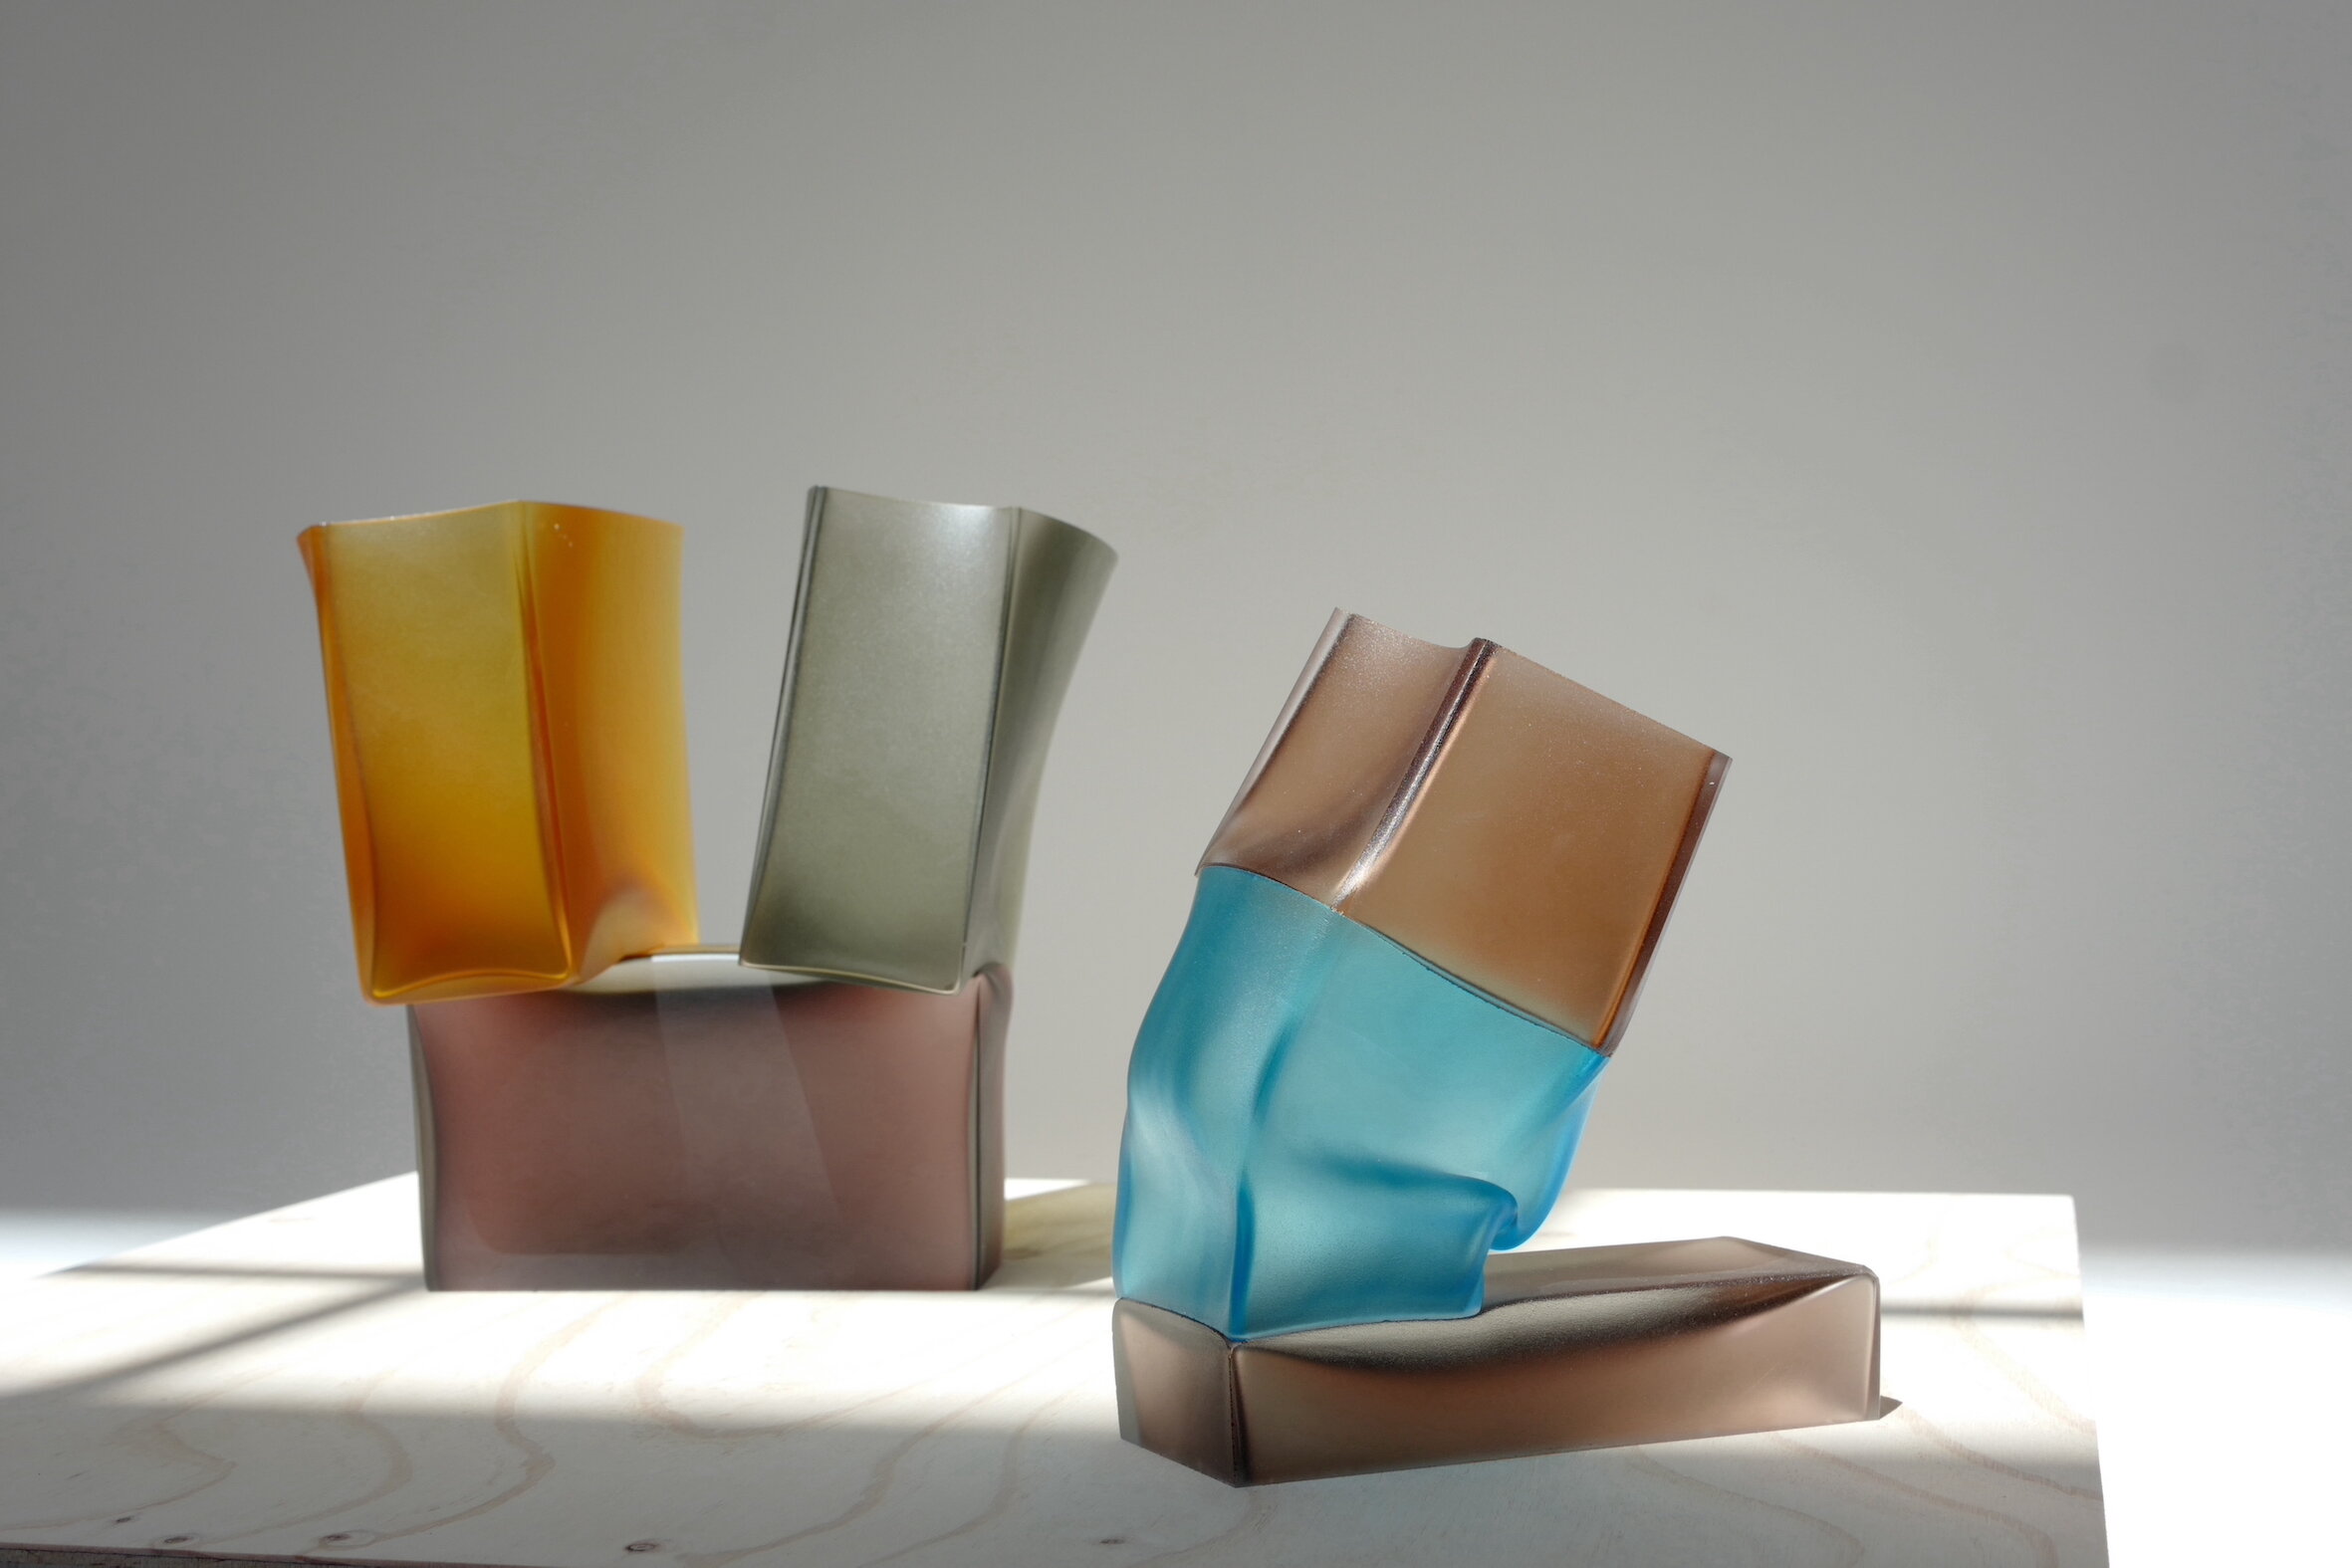
2023, mould blown glass, cold worked, fused and slumped, 430 h x 420 w x 260mm d
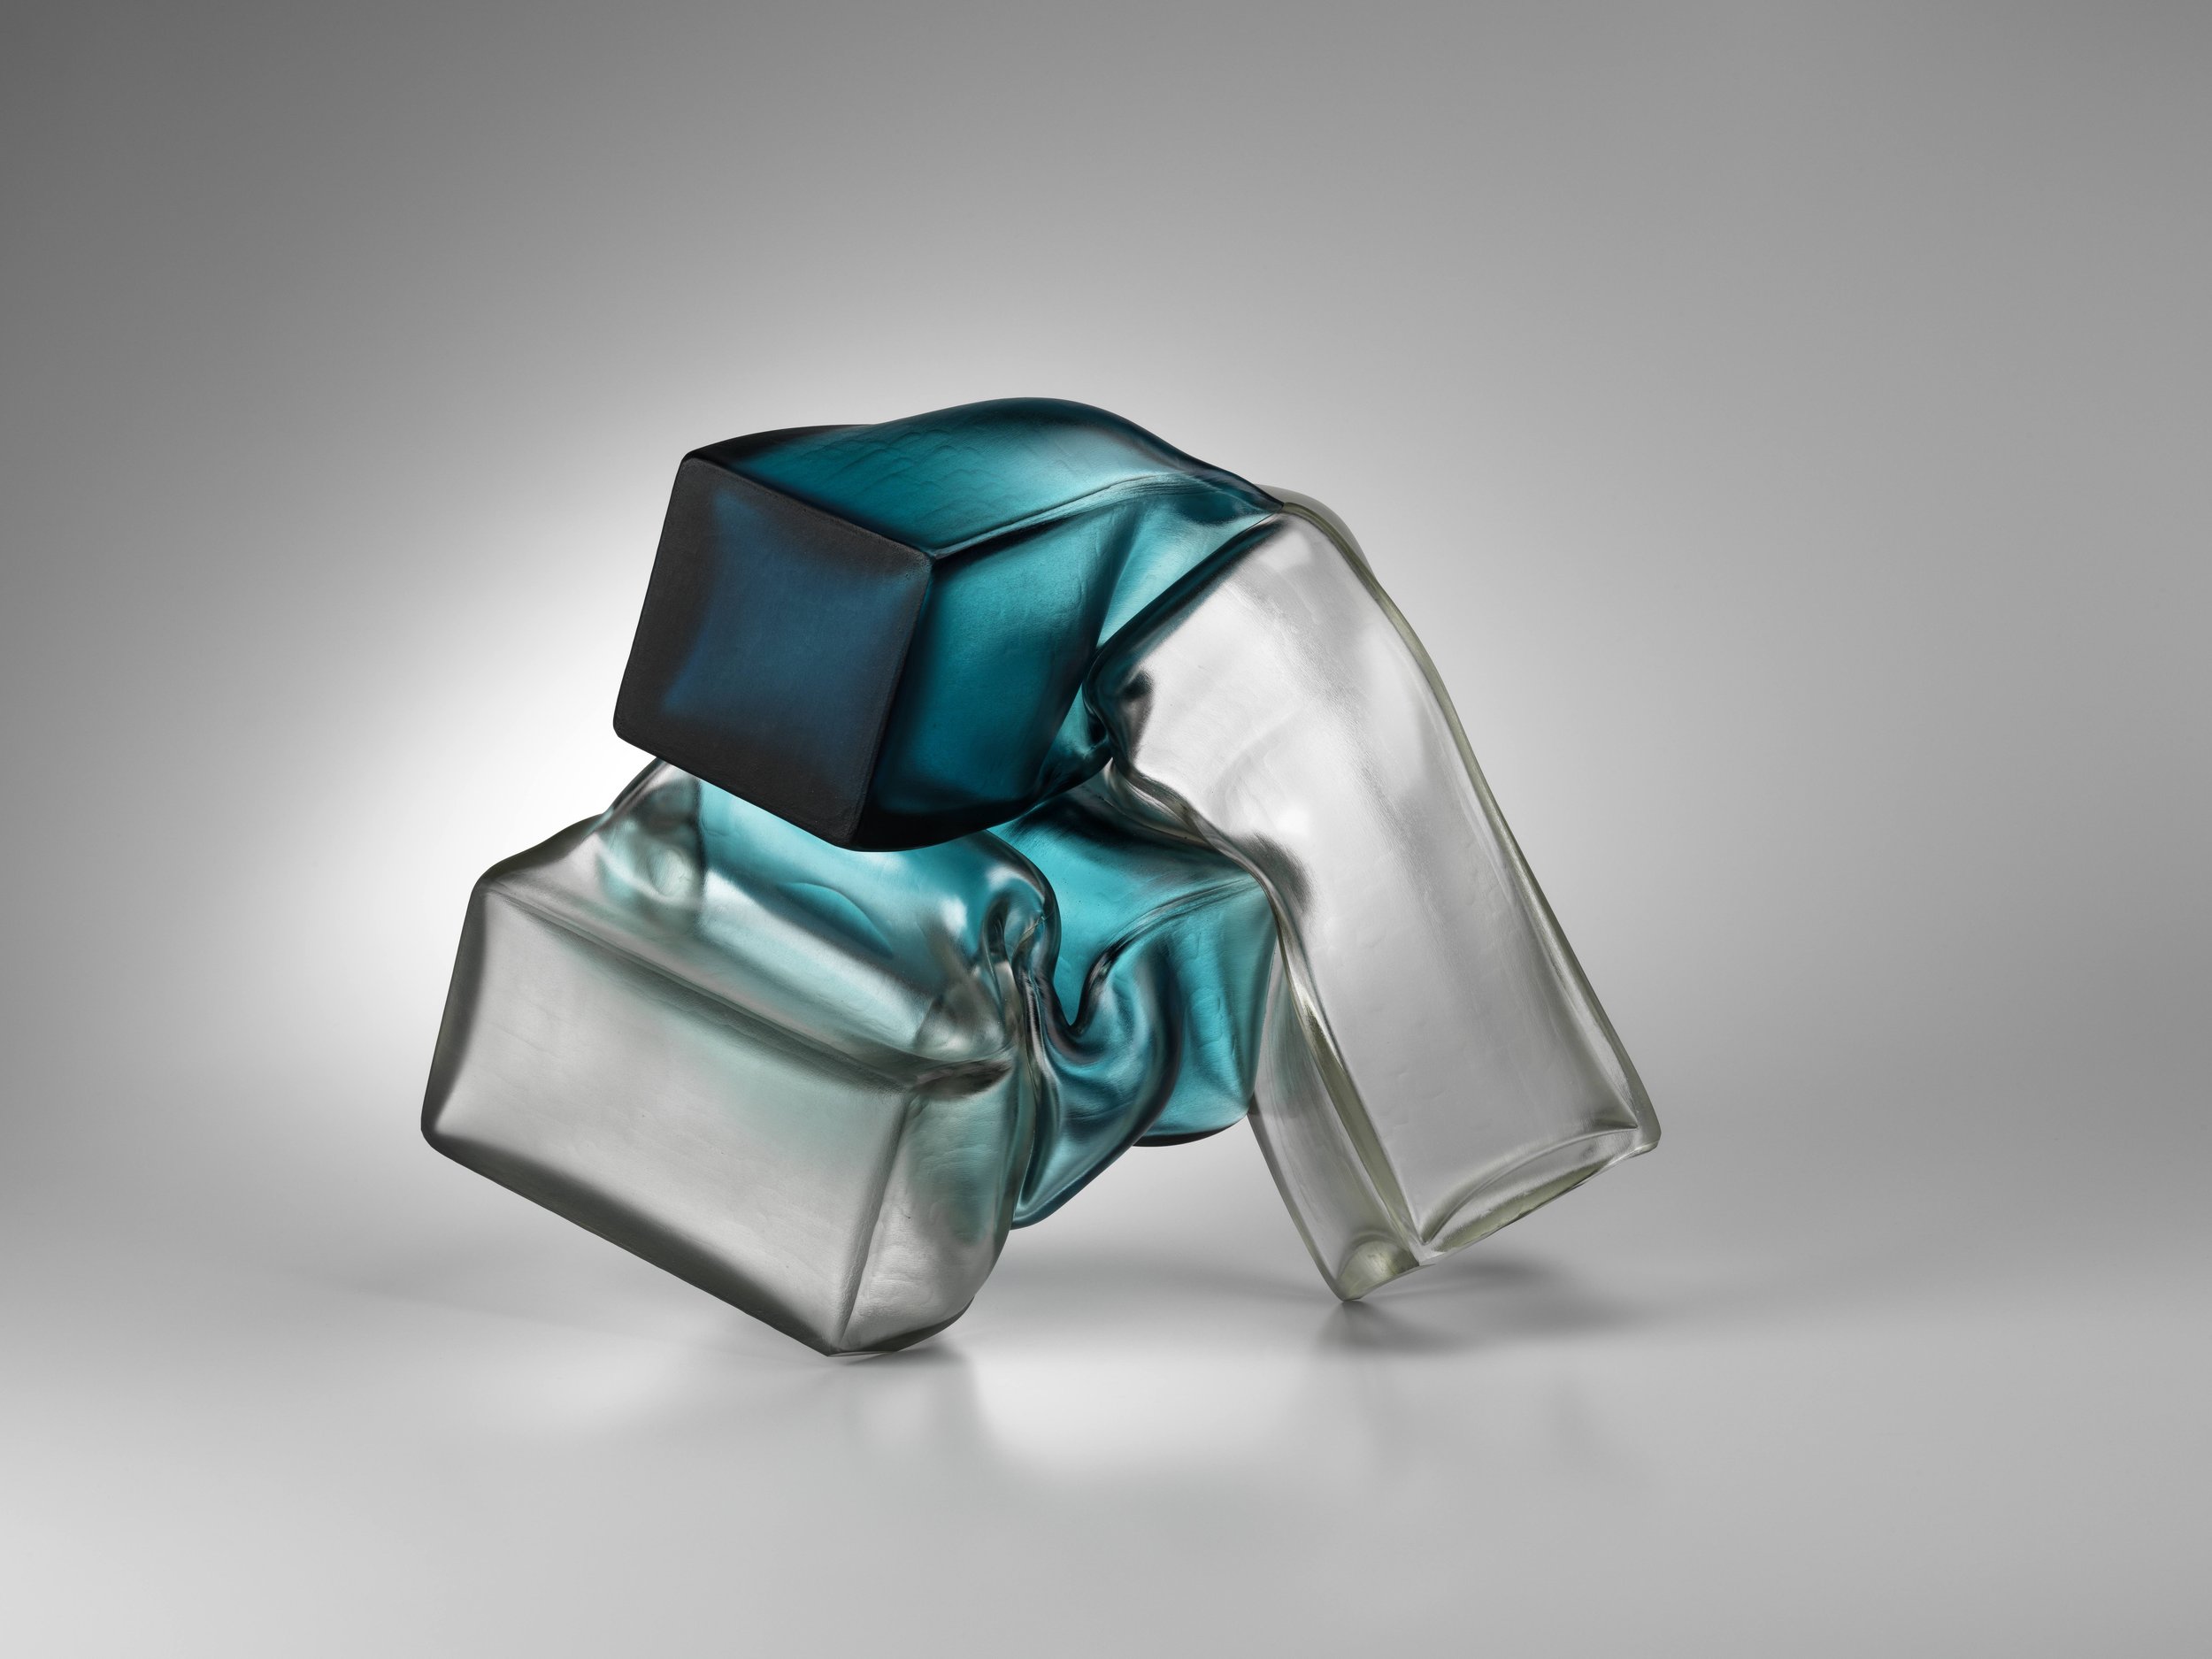
2023, mould blown glass, cold worked, fused and slumped, 295 h x 435 w x 330mm d
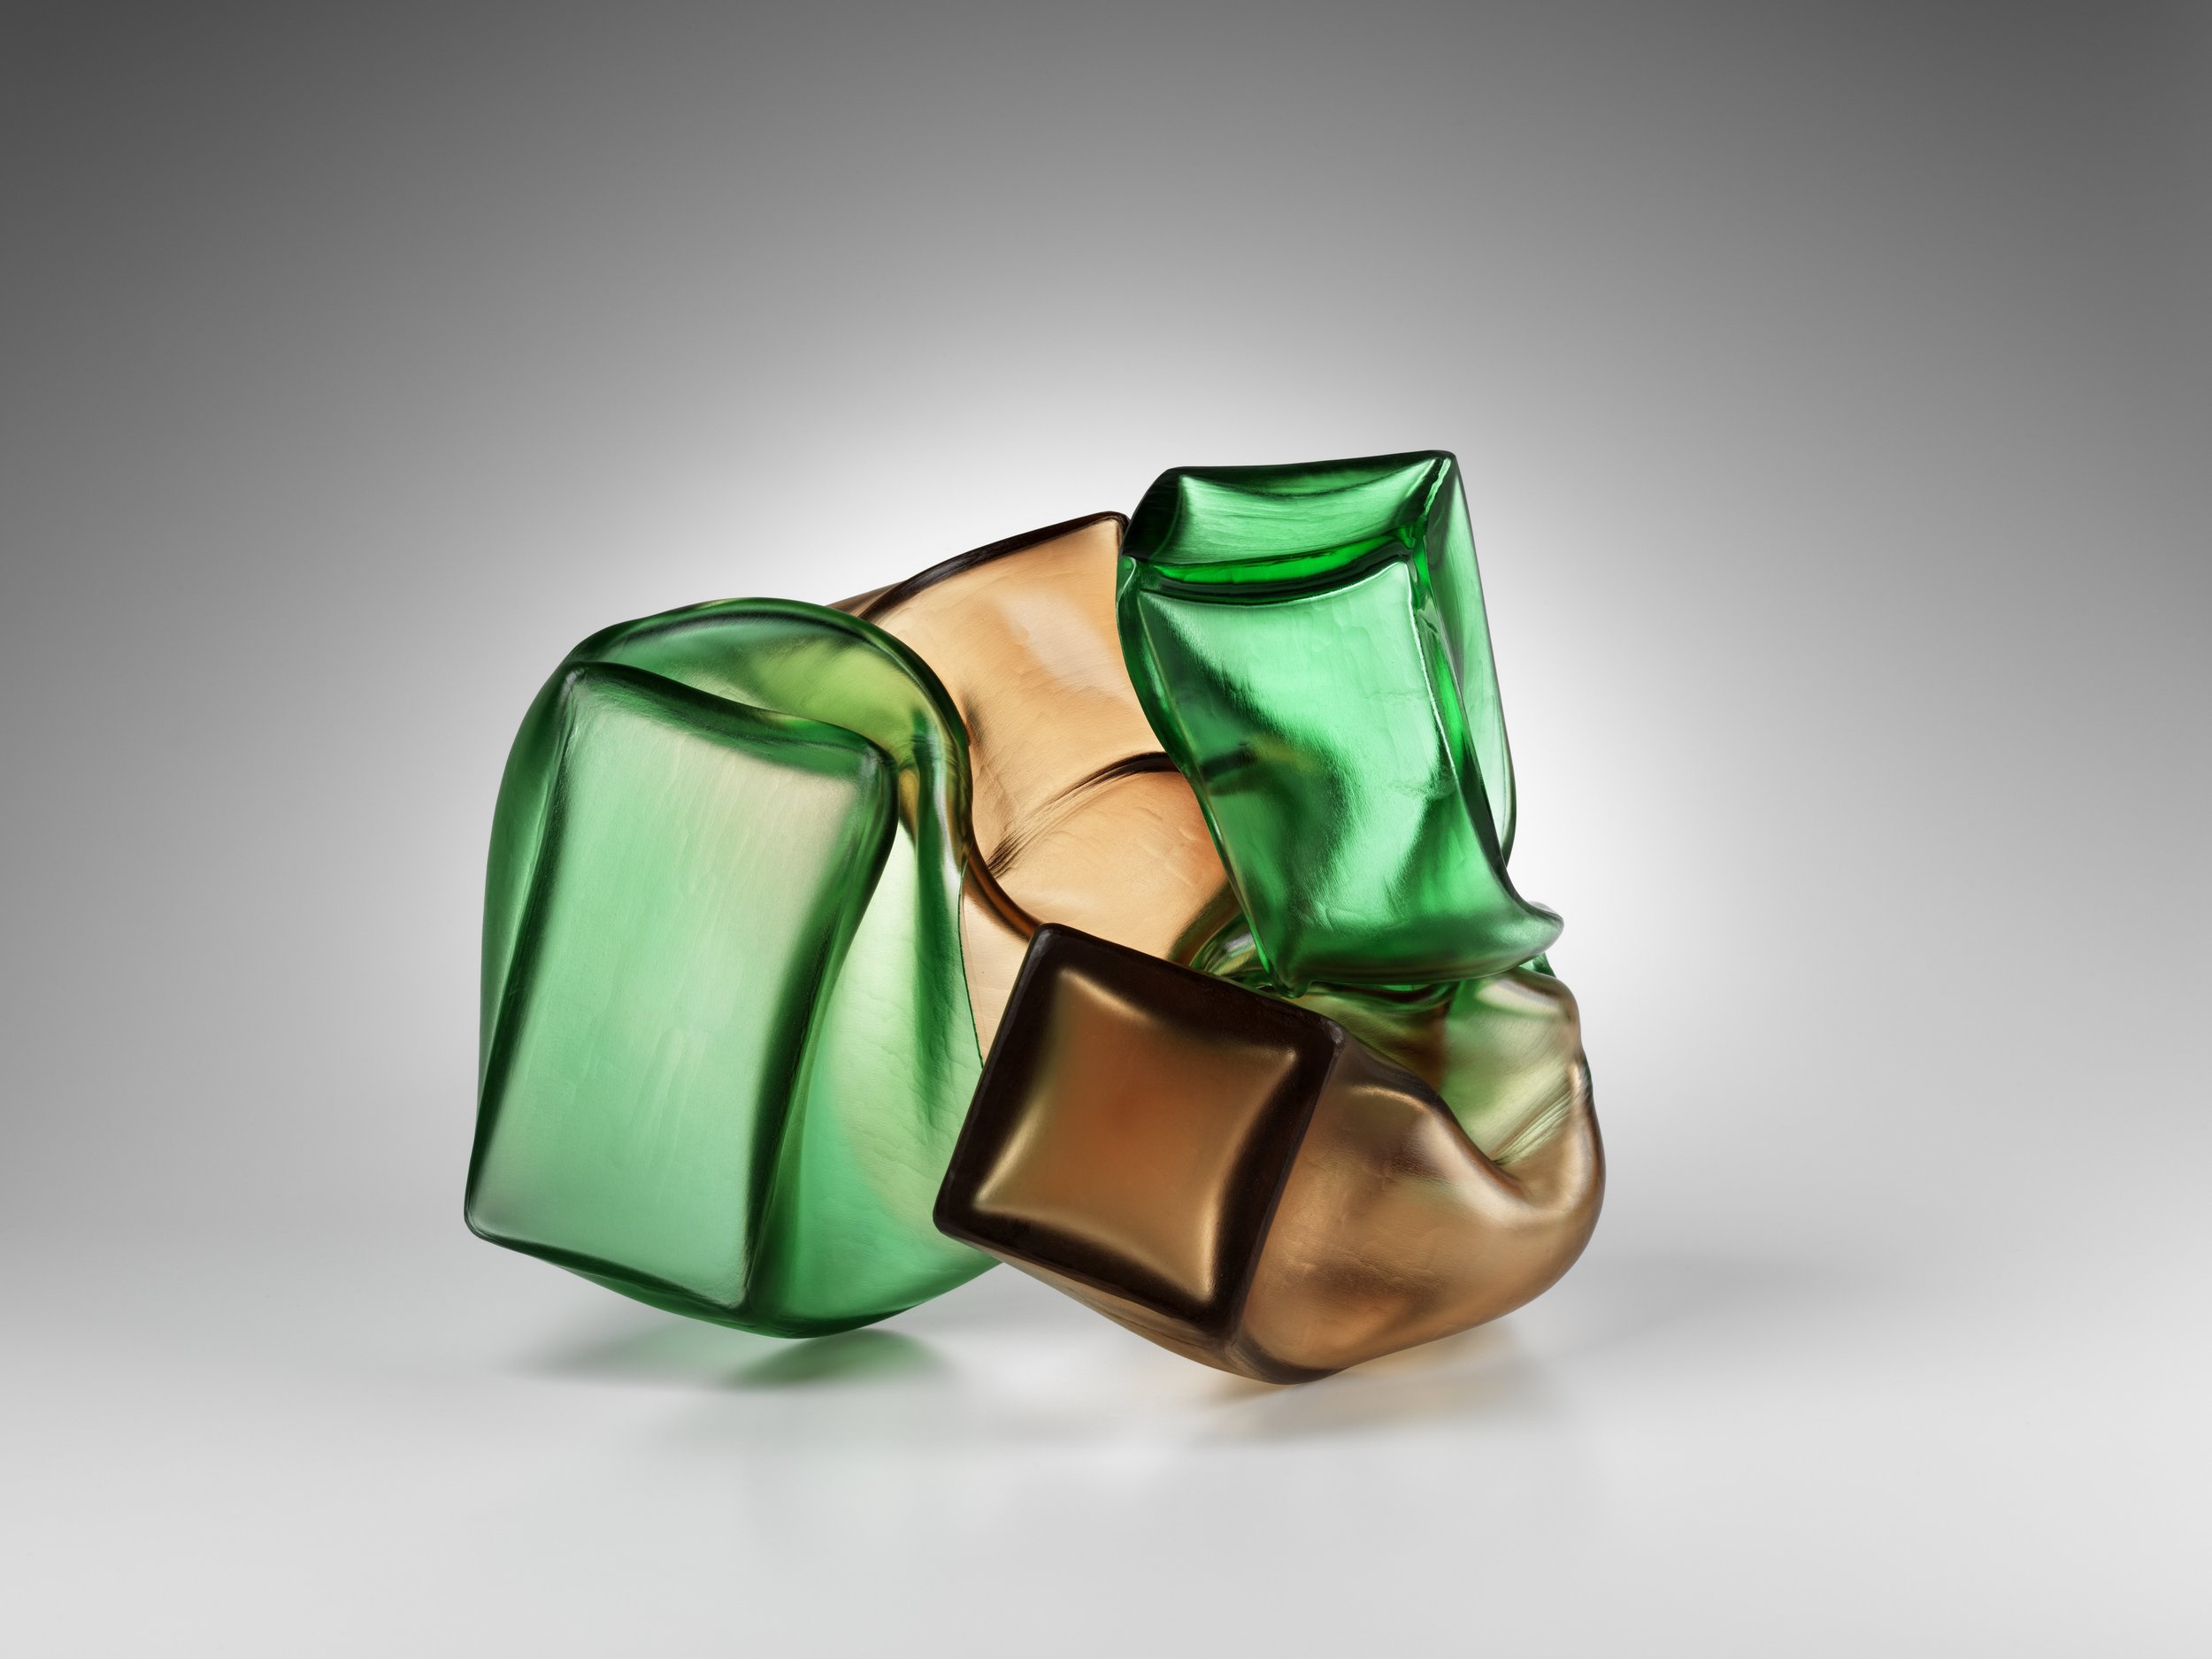
2023, mould blown glass, cold worked, fused and slumped, 300 h x 360 w x 340mm d
2022, Mould Blown glass, Coldworked, Fused and Slumped, 270x420x300
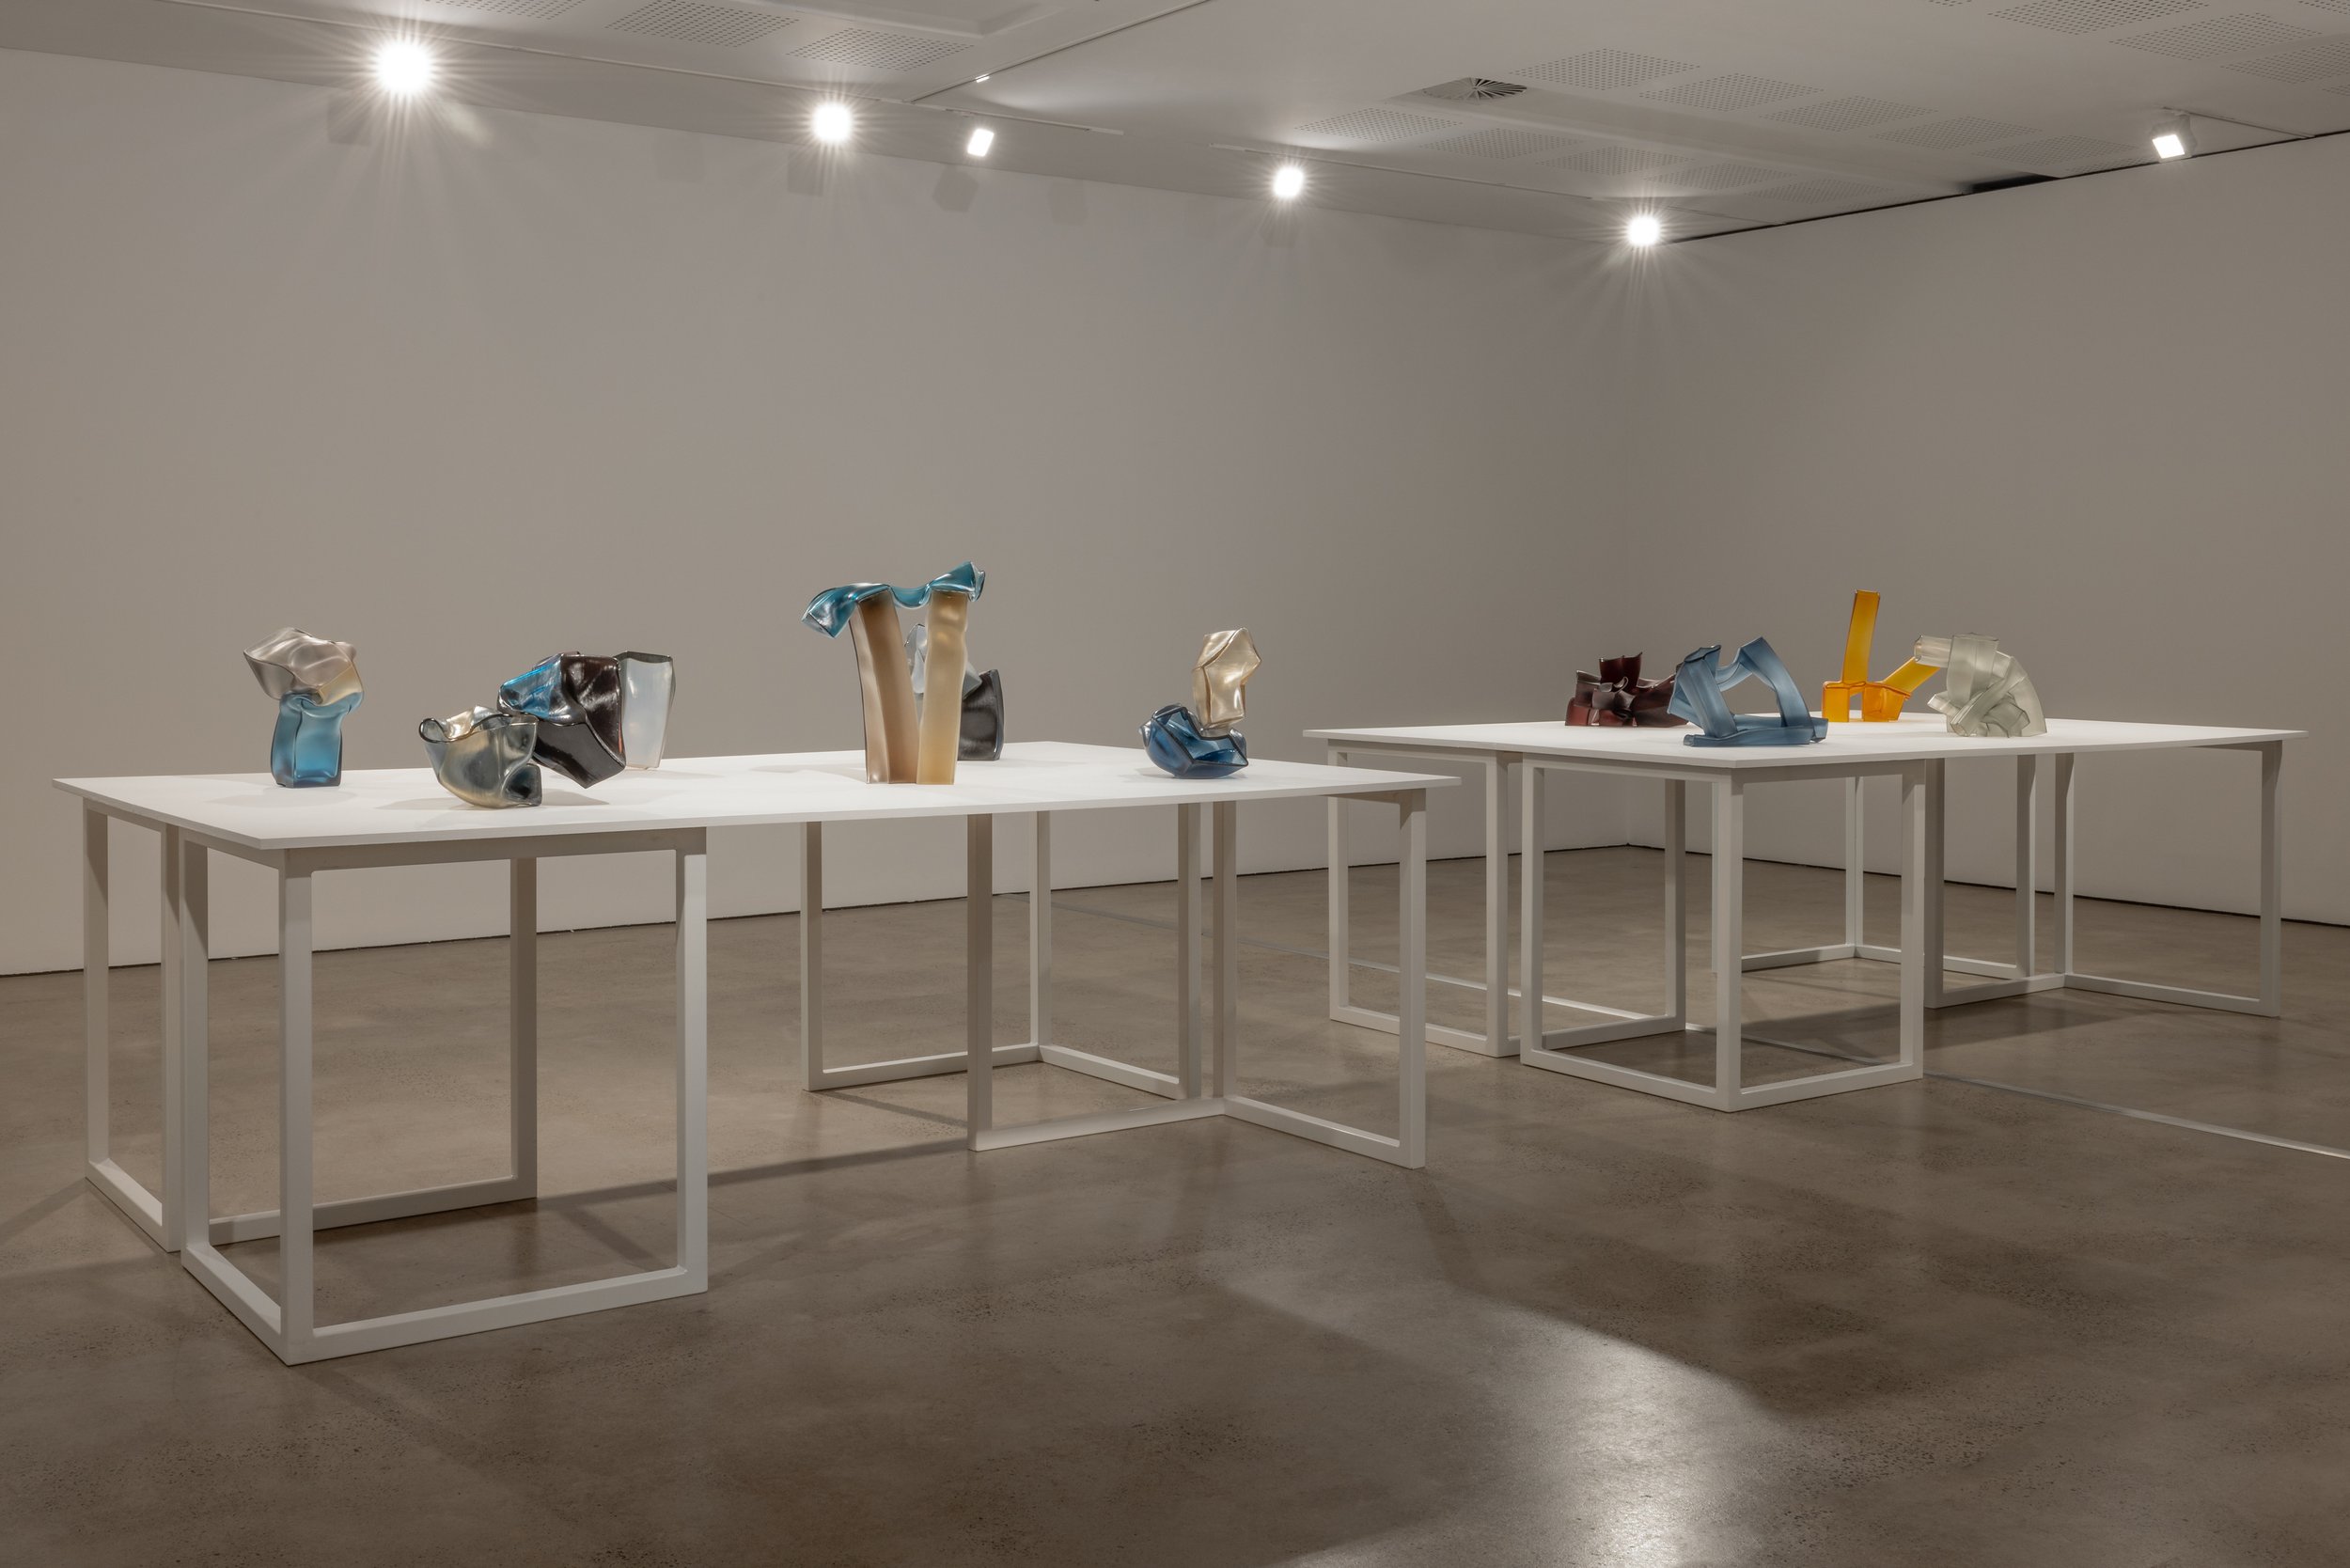
Exhibition UNSW Galleries

Exhibition UNSW Galleries

Exhibition UNSW Galleries
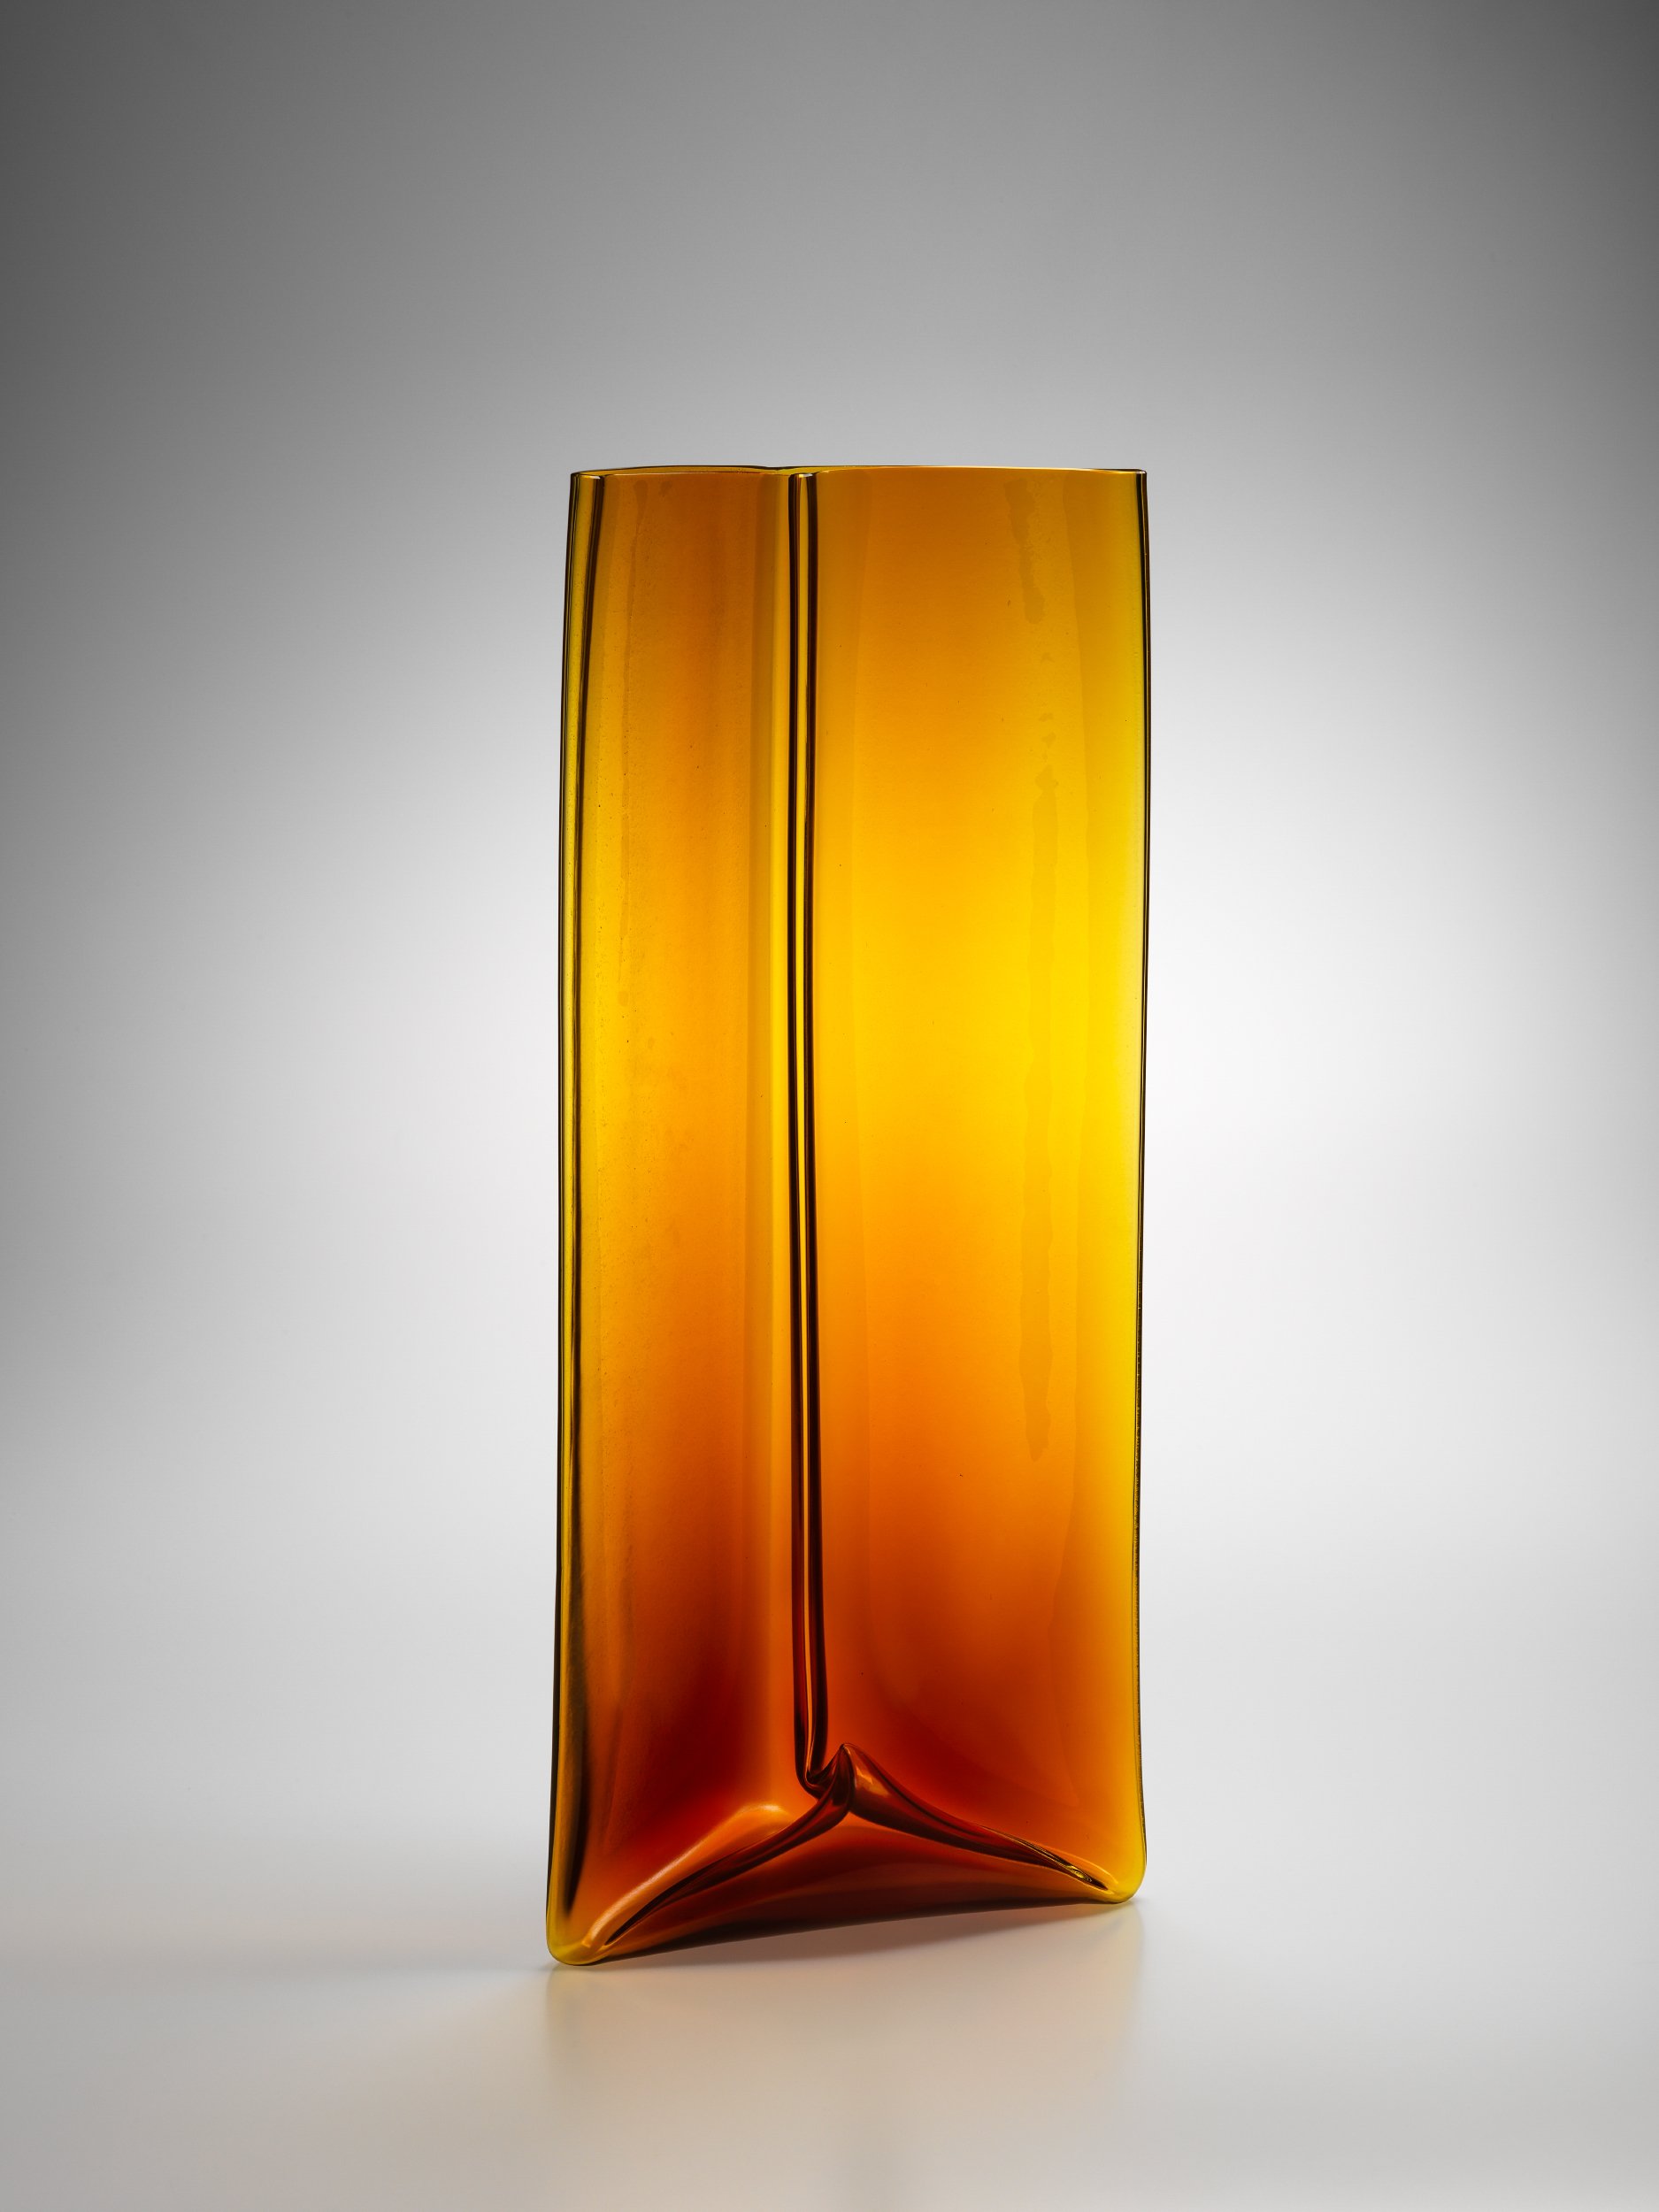
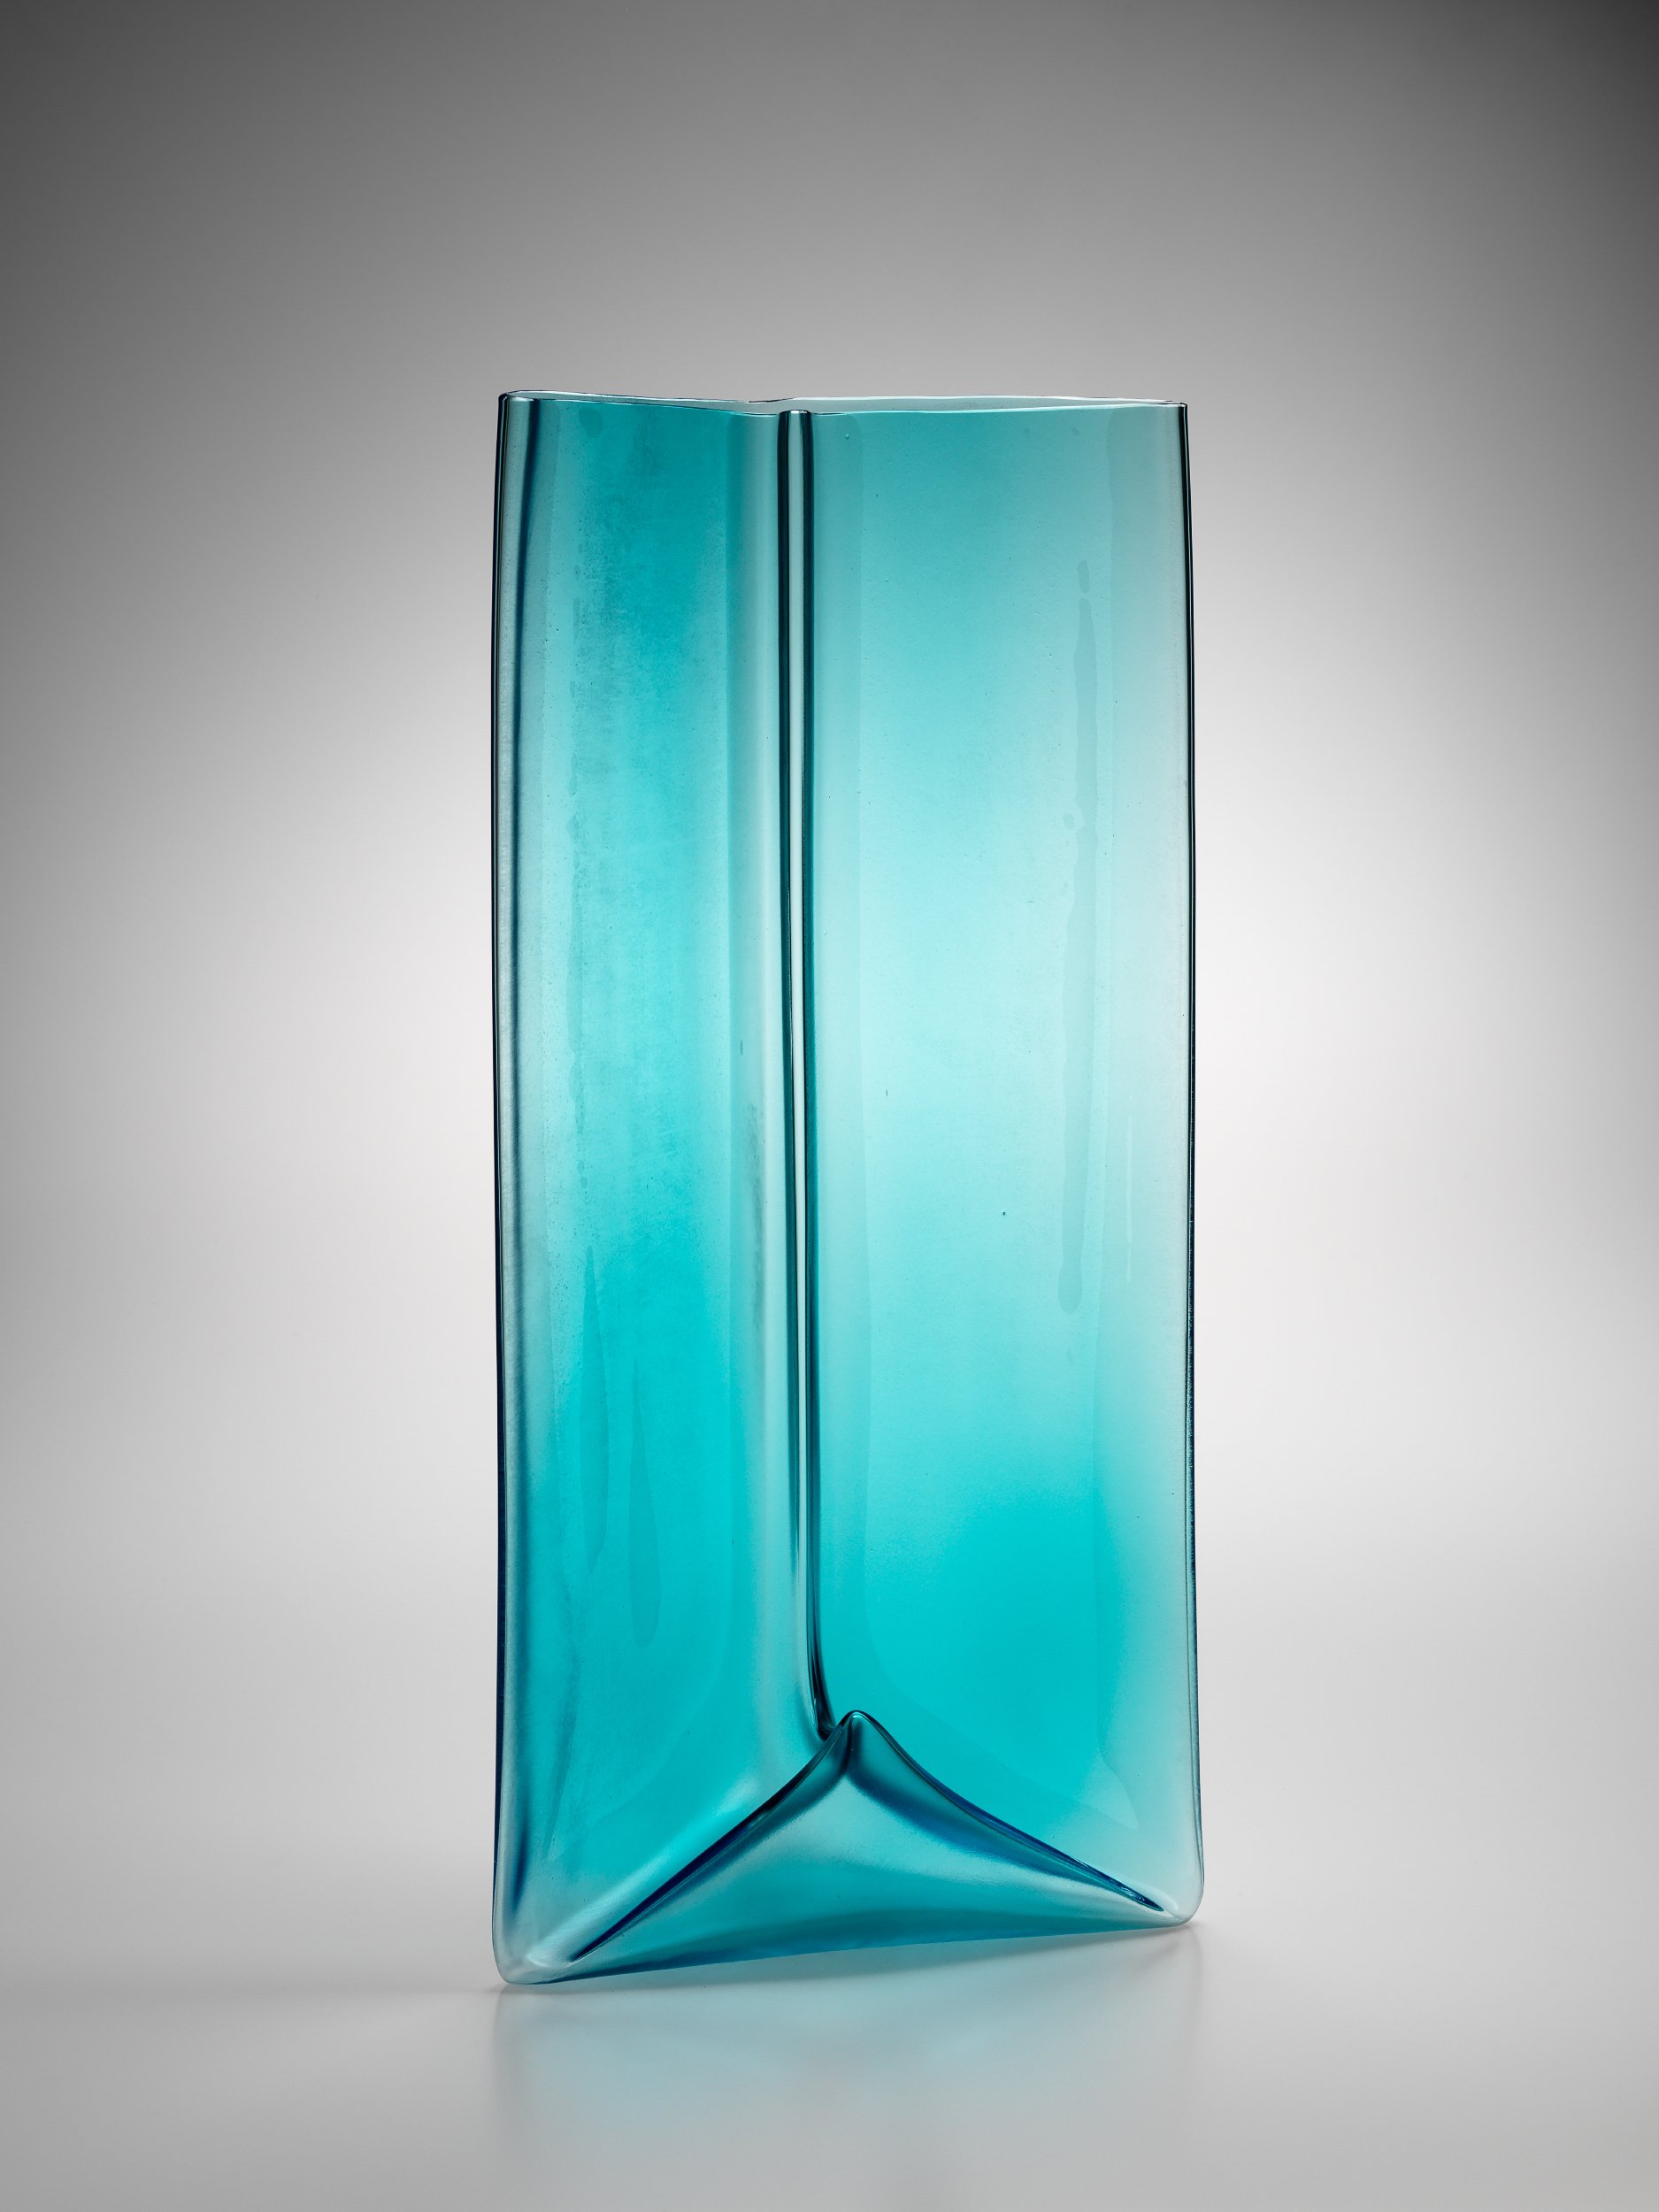
2022, mould blown glass, cold worked, fused and slumped, 450 h x 385 w x 140mm d
2022, Mould Blown glass, Coldworked, Fused and Slumped 320x220x200
2022, mould blown glass, cold worked, fused and slumped, 310 h x 280 w x 280mm d
2022, mould blown glass, cold worked, fused and slumped, 260 h x 310 w x 180mm d
2022, mould blown glass, cold worked, fused and slumped, 240 h x 400 w x 300mm d

2022, Mould Blown glass, Coldworked, Fused and Slumped, 330x230x230
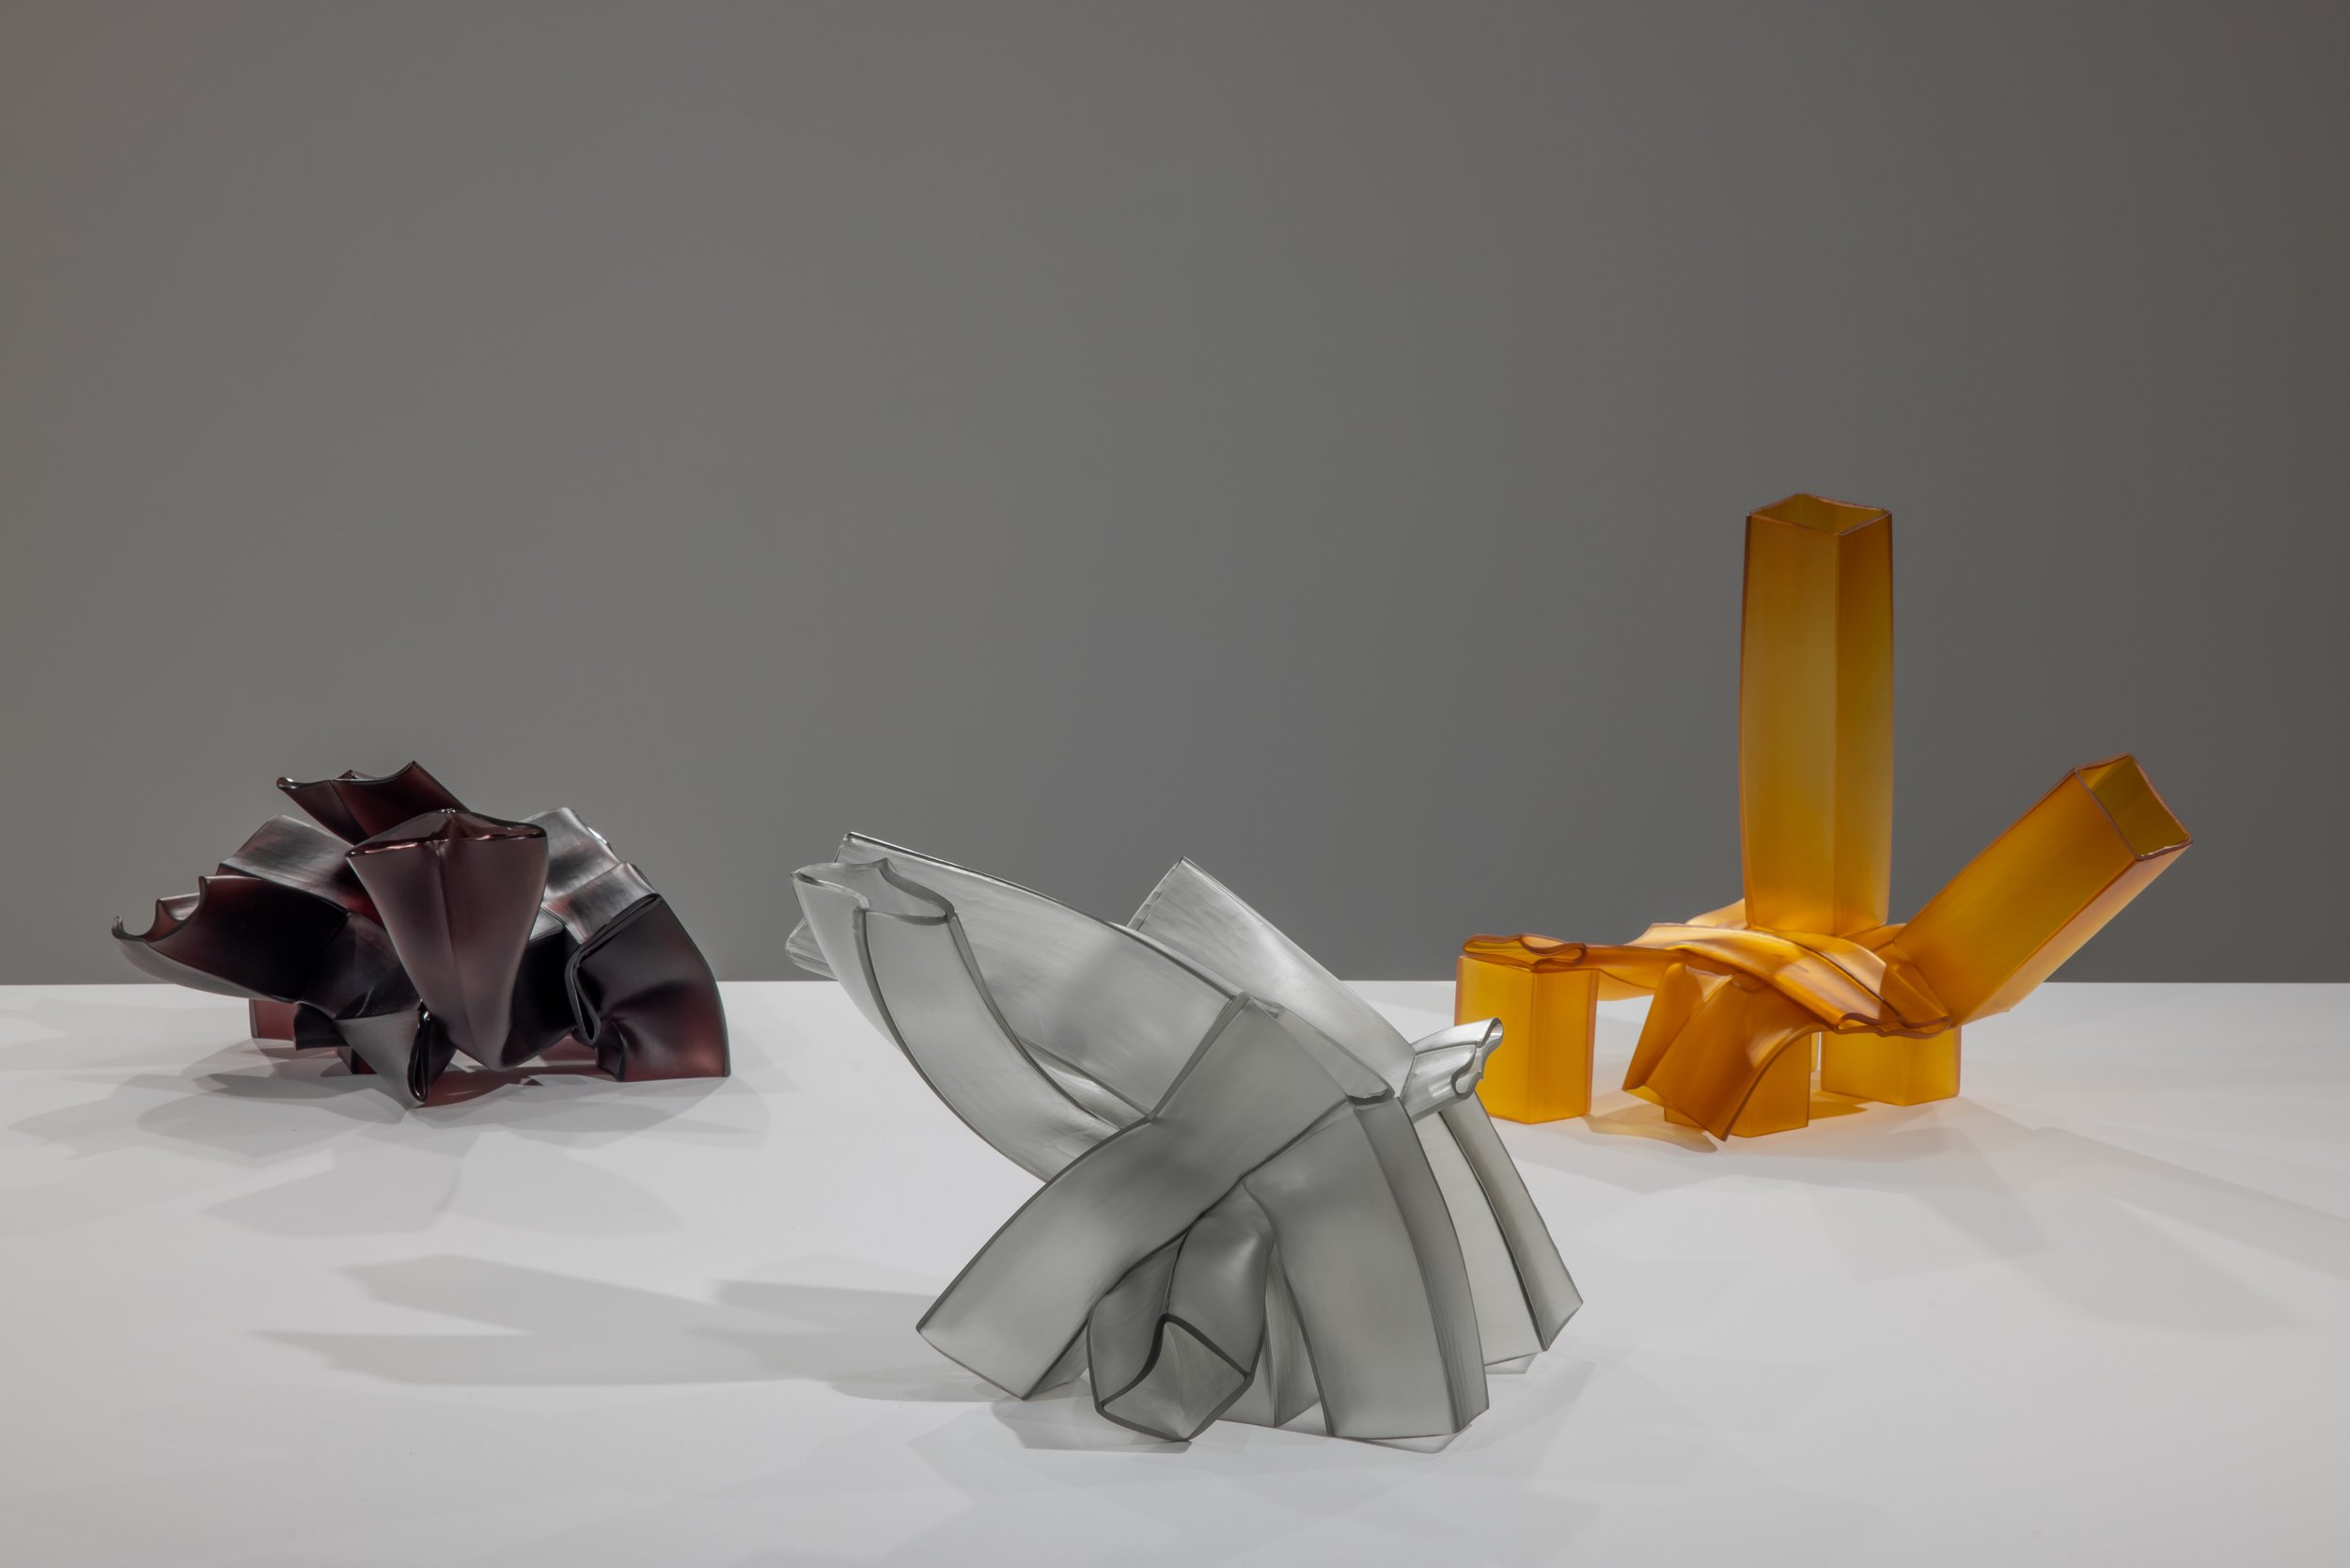
Falling Into Space Exhibition UNSW Galleries
2022, Mould Blown glass, Coldworked, Fused and Slumped, 400x290x410mm
2022, mould blown glass, cold worked, fused and slumped, 285 h x 470 w x 310mm d
2022, mould blown glass, cold worked, fused and slumped, 280 h x 420 w x 270mm d

2021, Mould Blown glass, Coldworked, Fused and Slumped 310x210x220mm
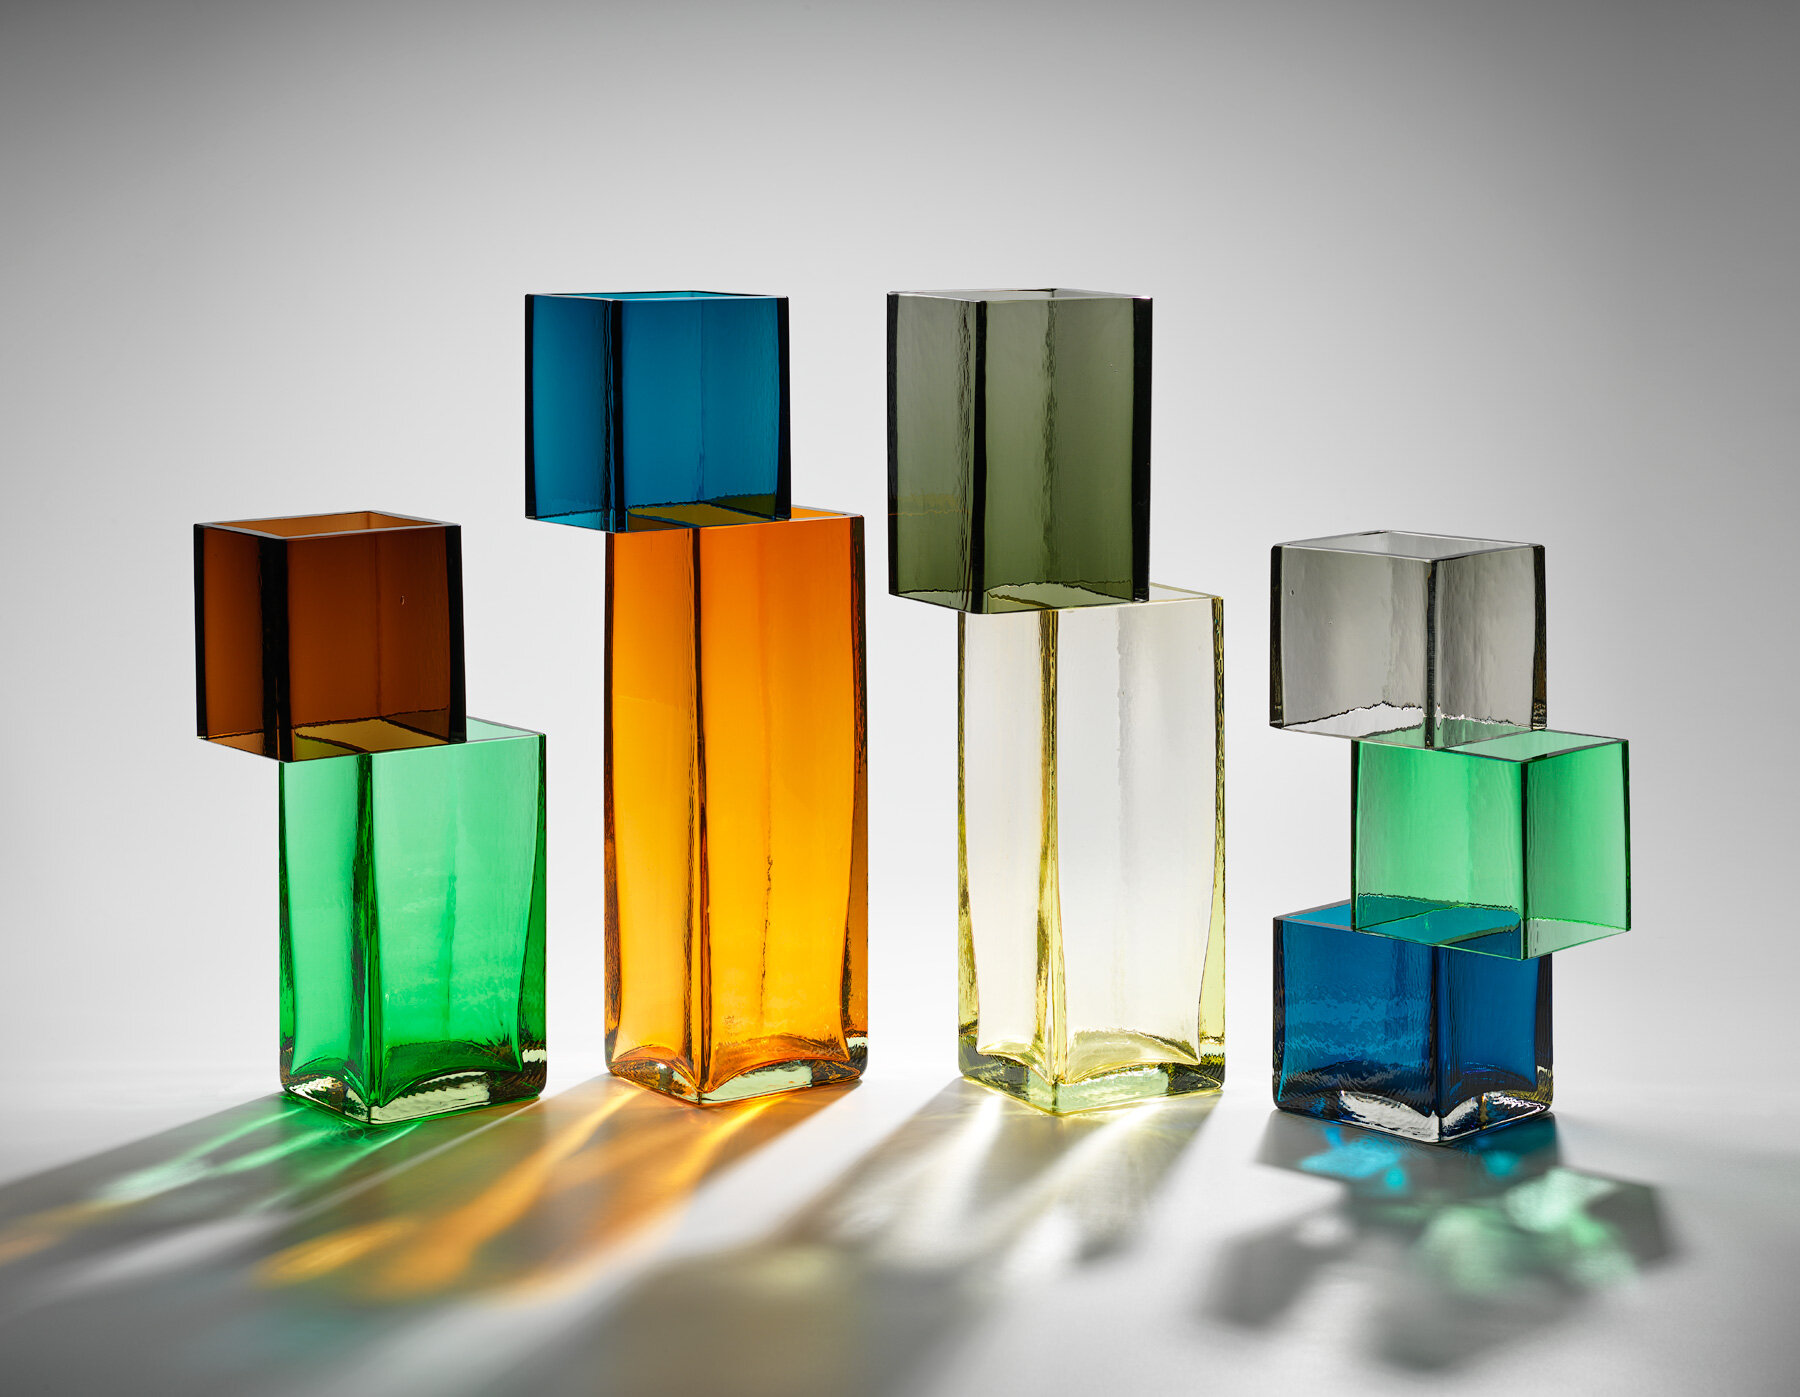
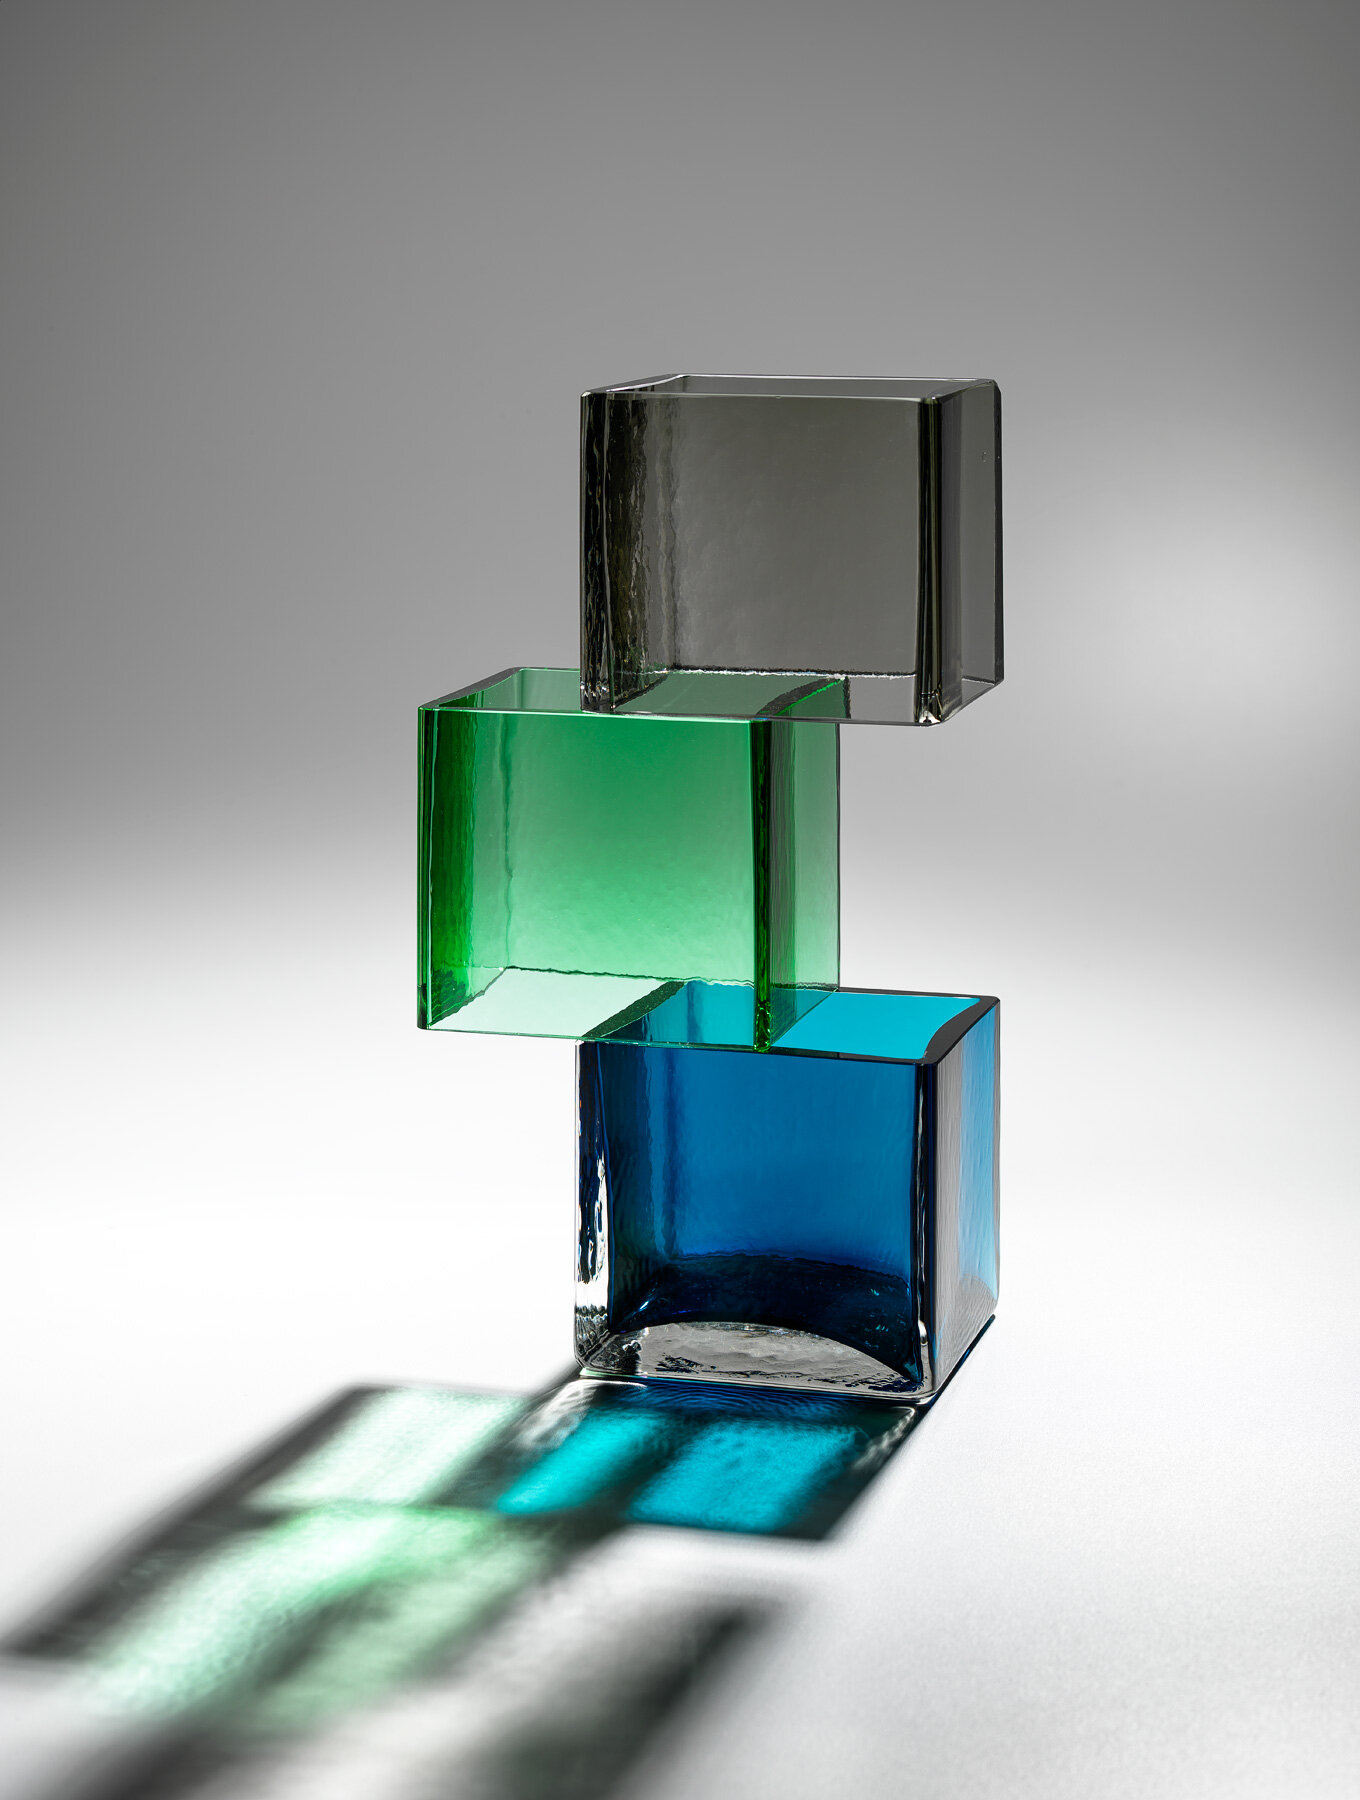
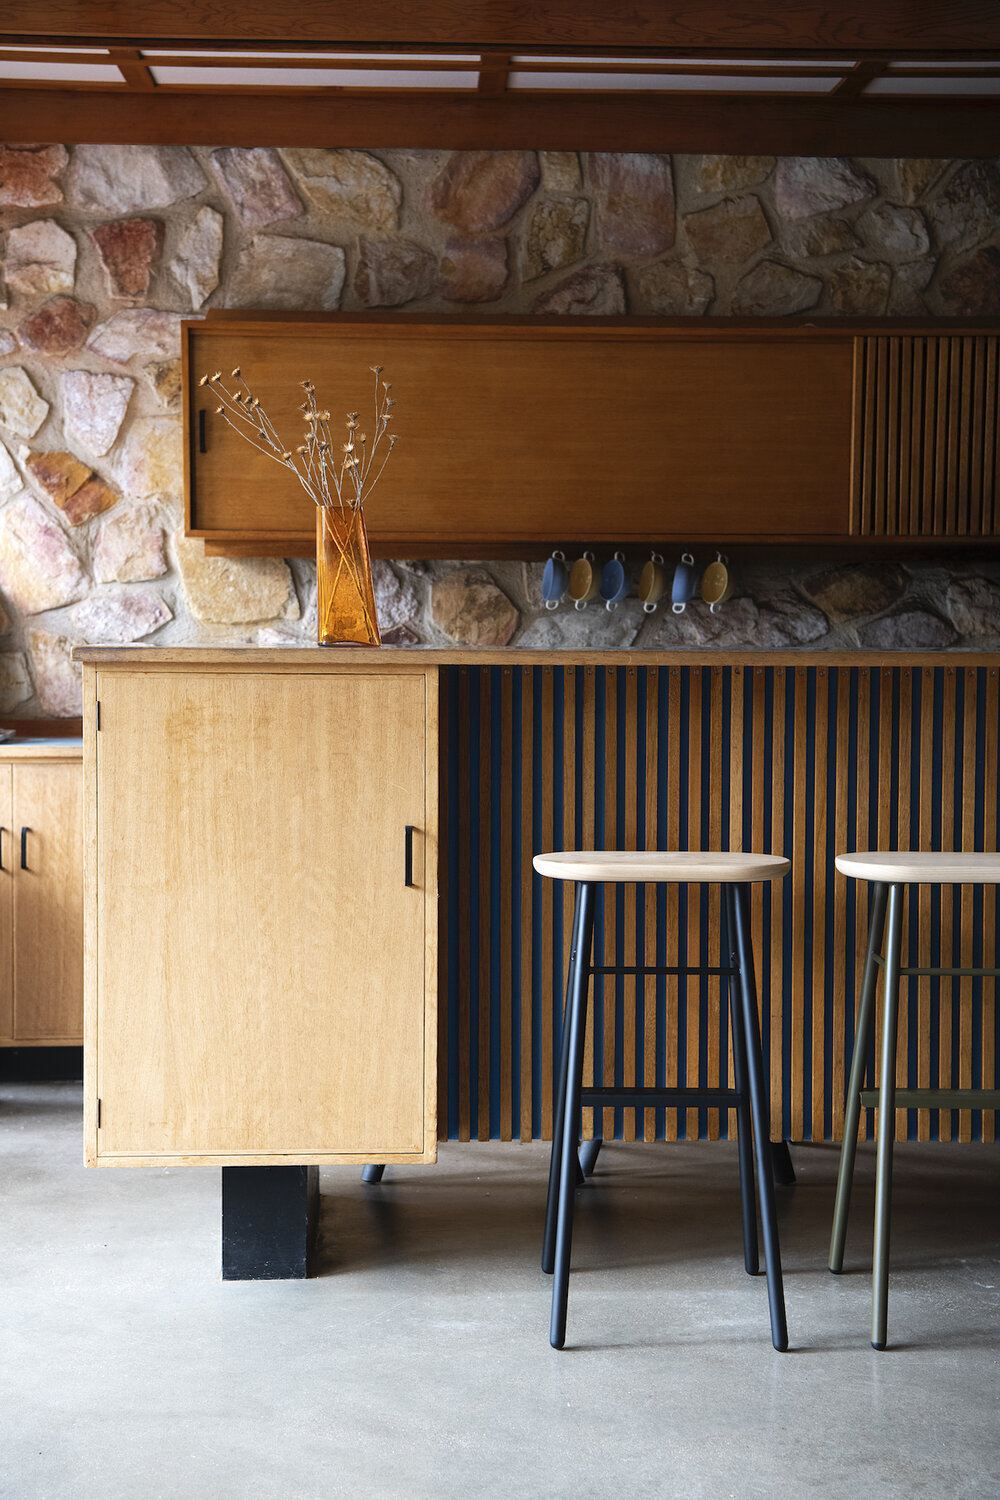
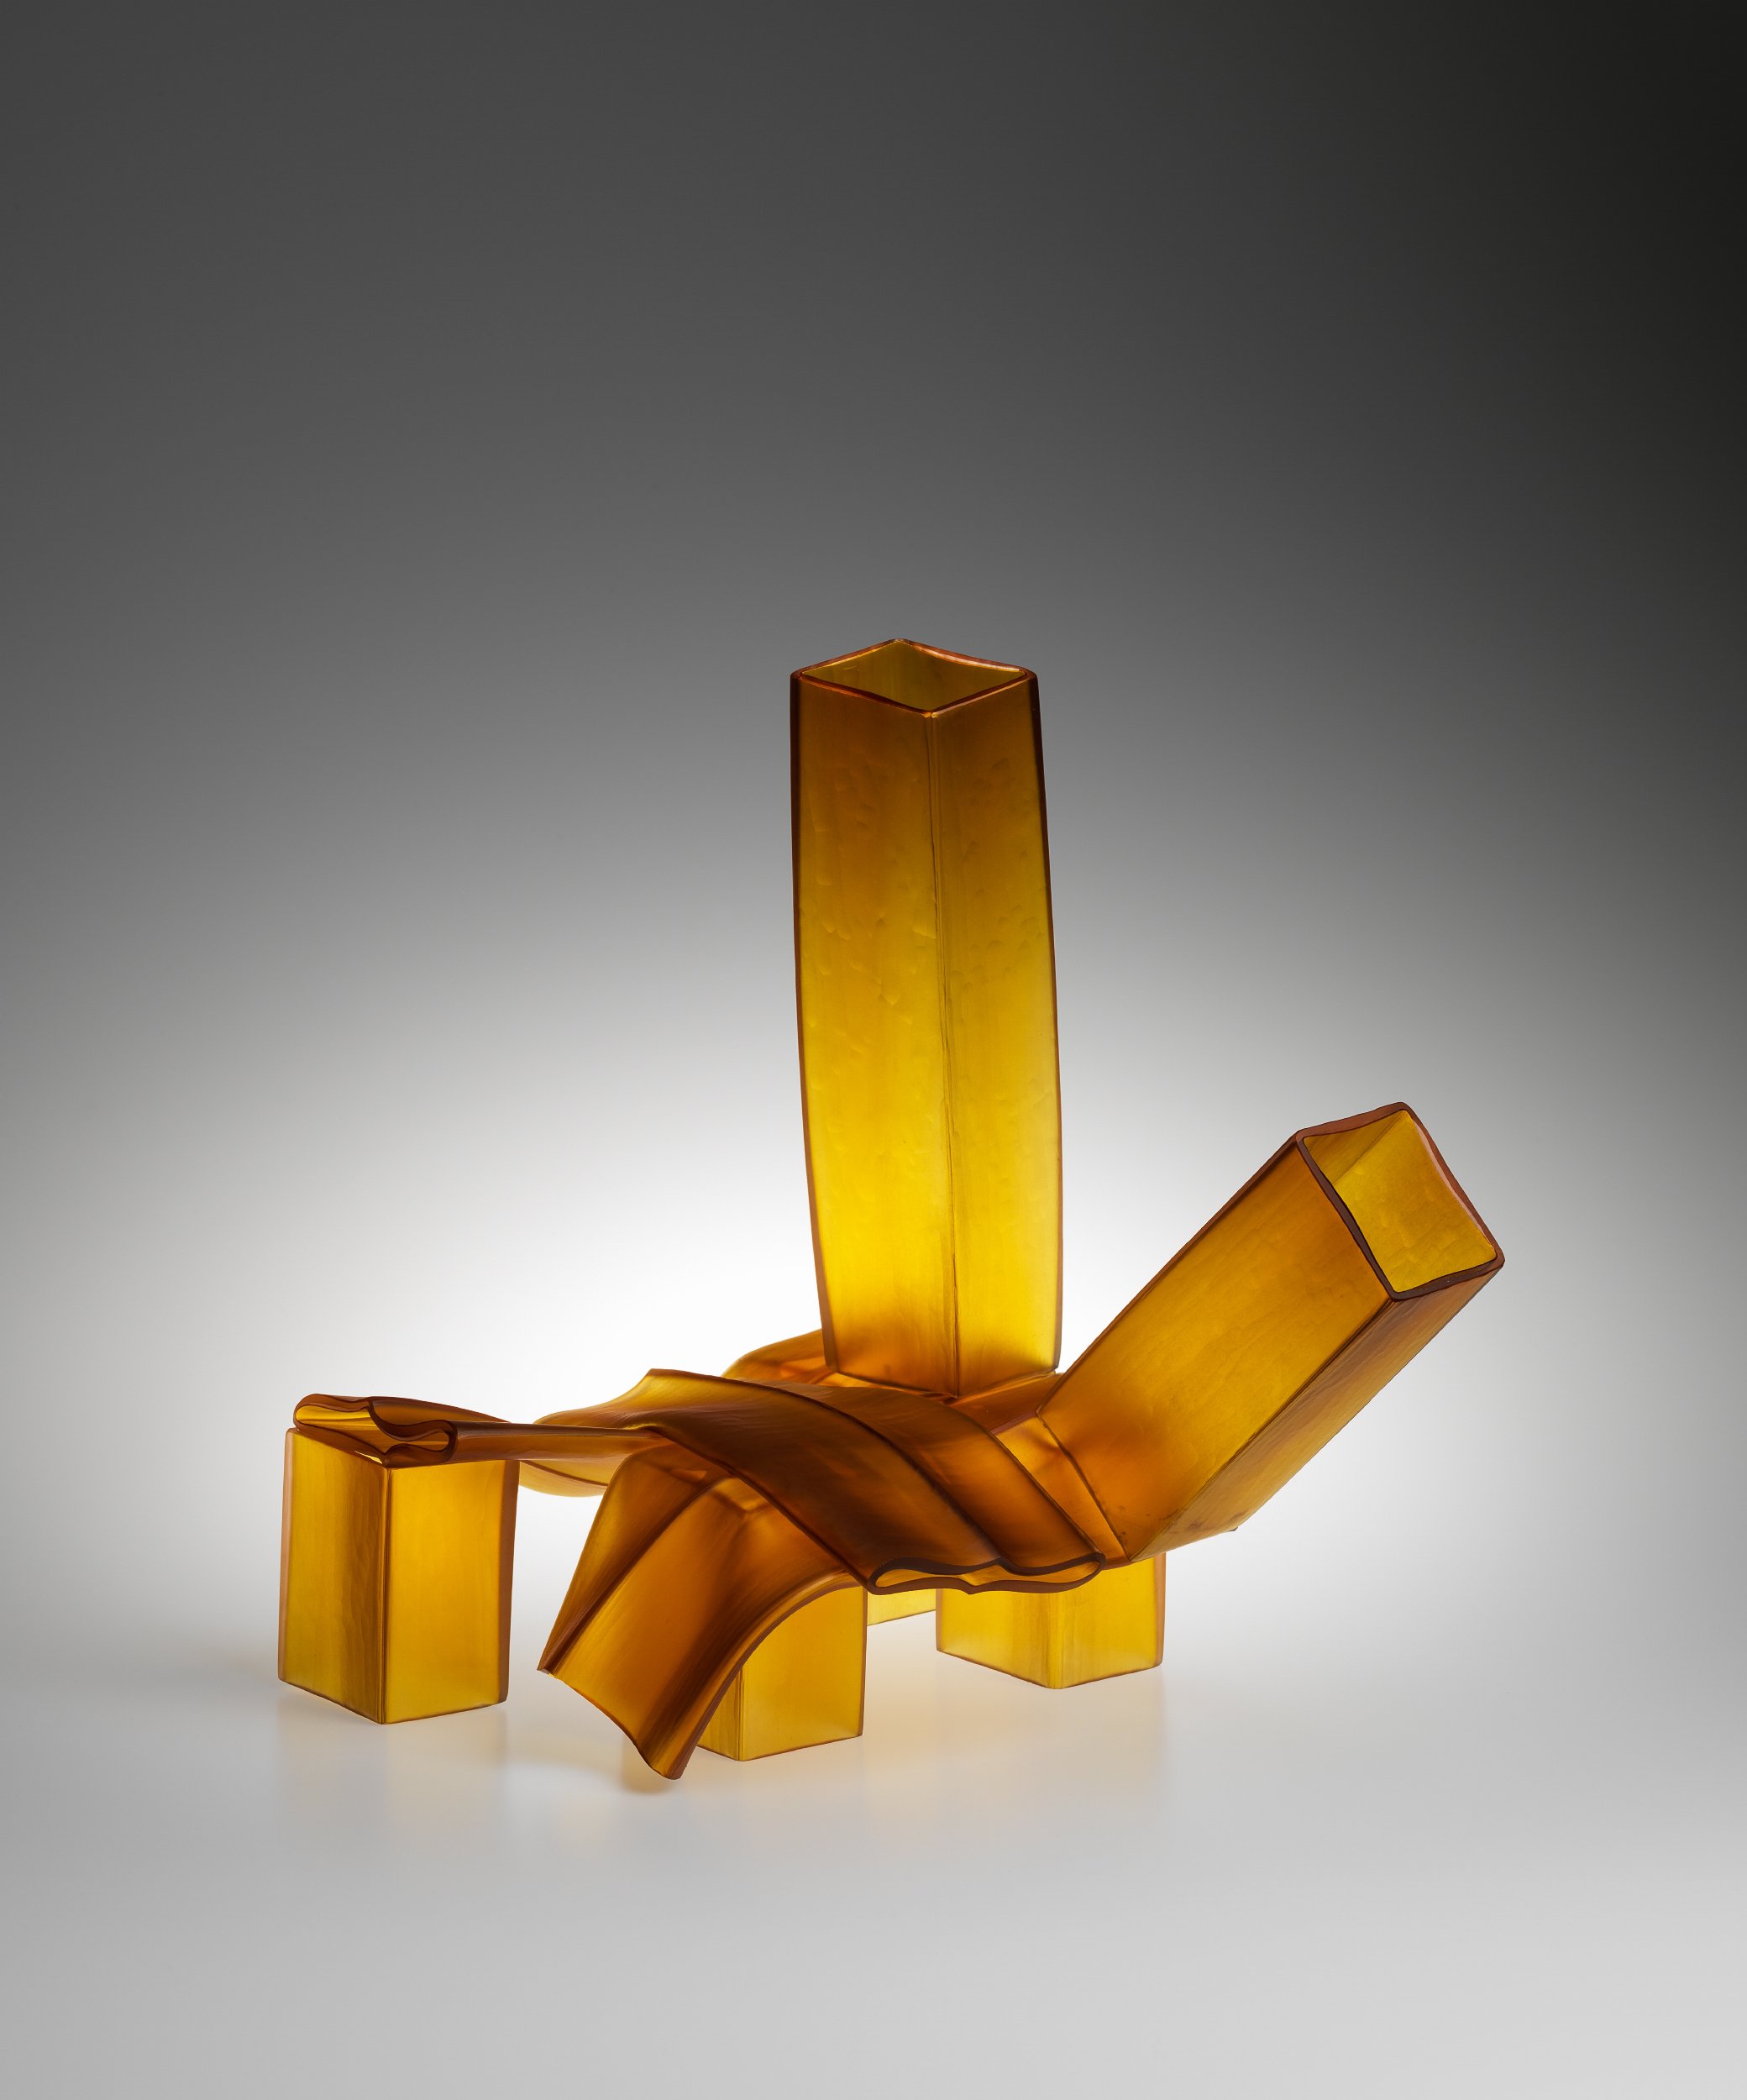
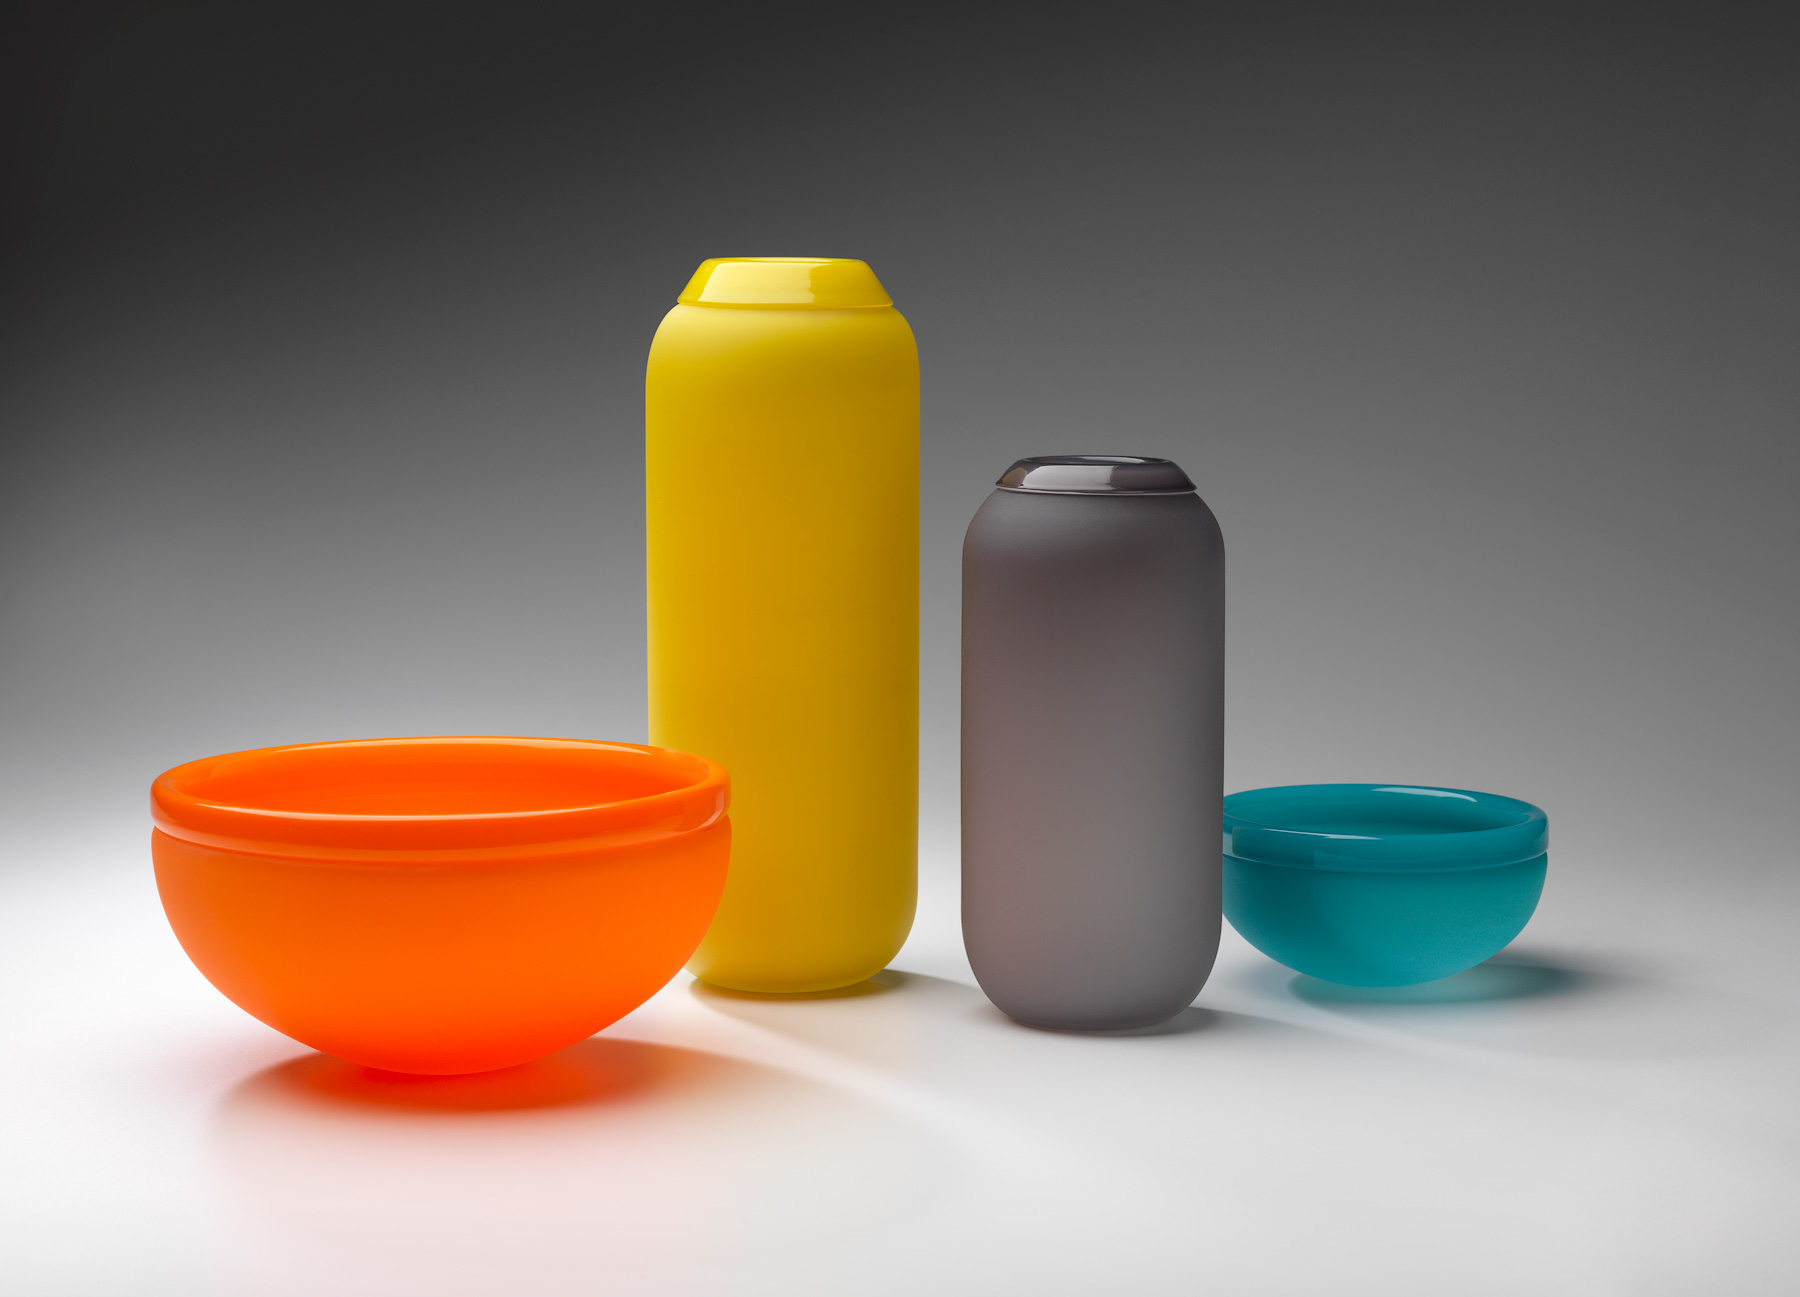
Flat, curved, angled and asymmetric the Pillar Vase is a reference to the supports, structures and angles of the built environment. The surface ripple, reflects and highlights the static mould blowing process used which is employed to create its form.
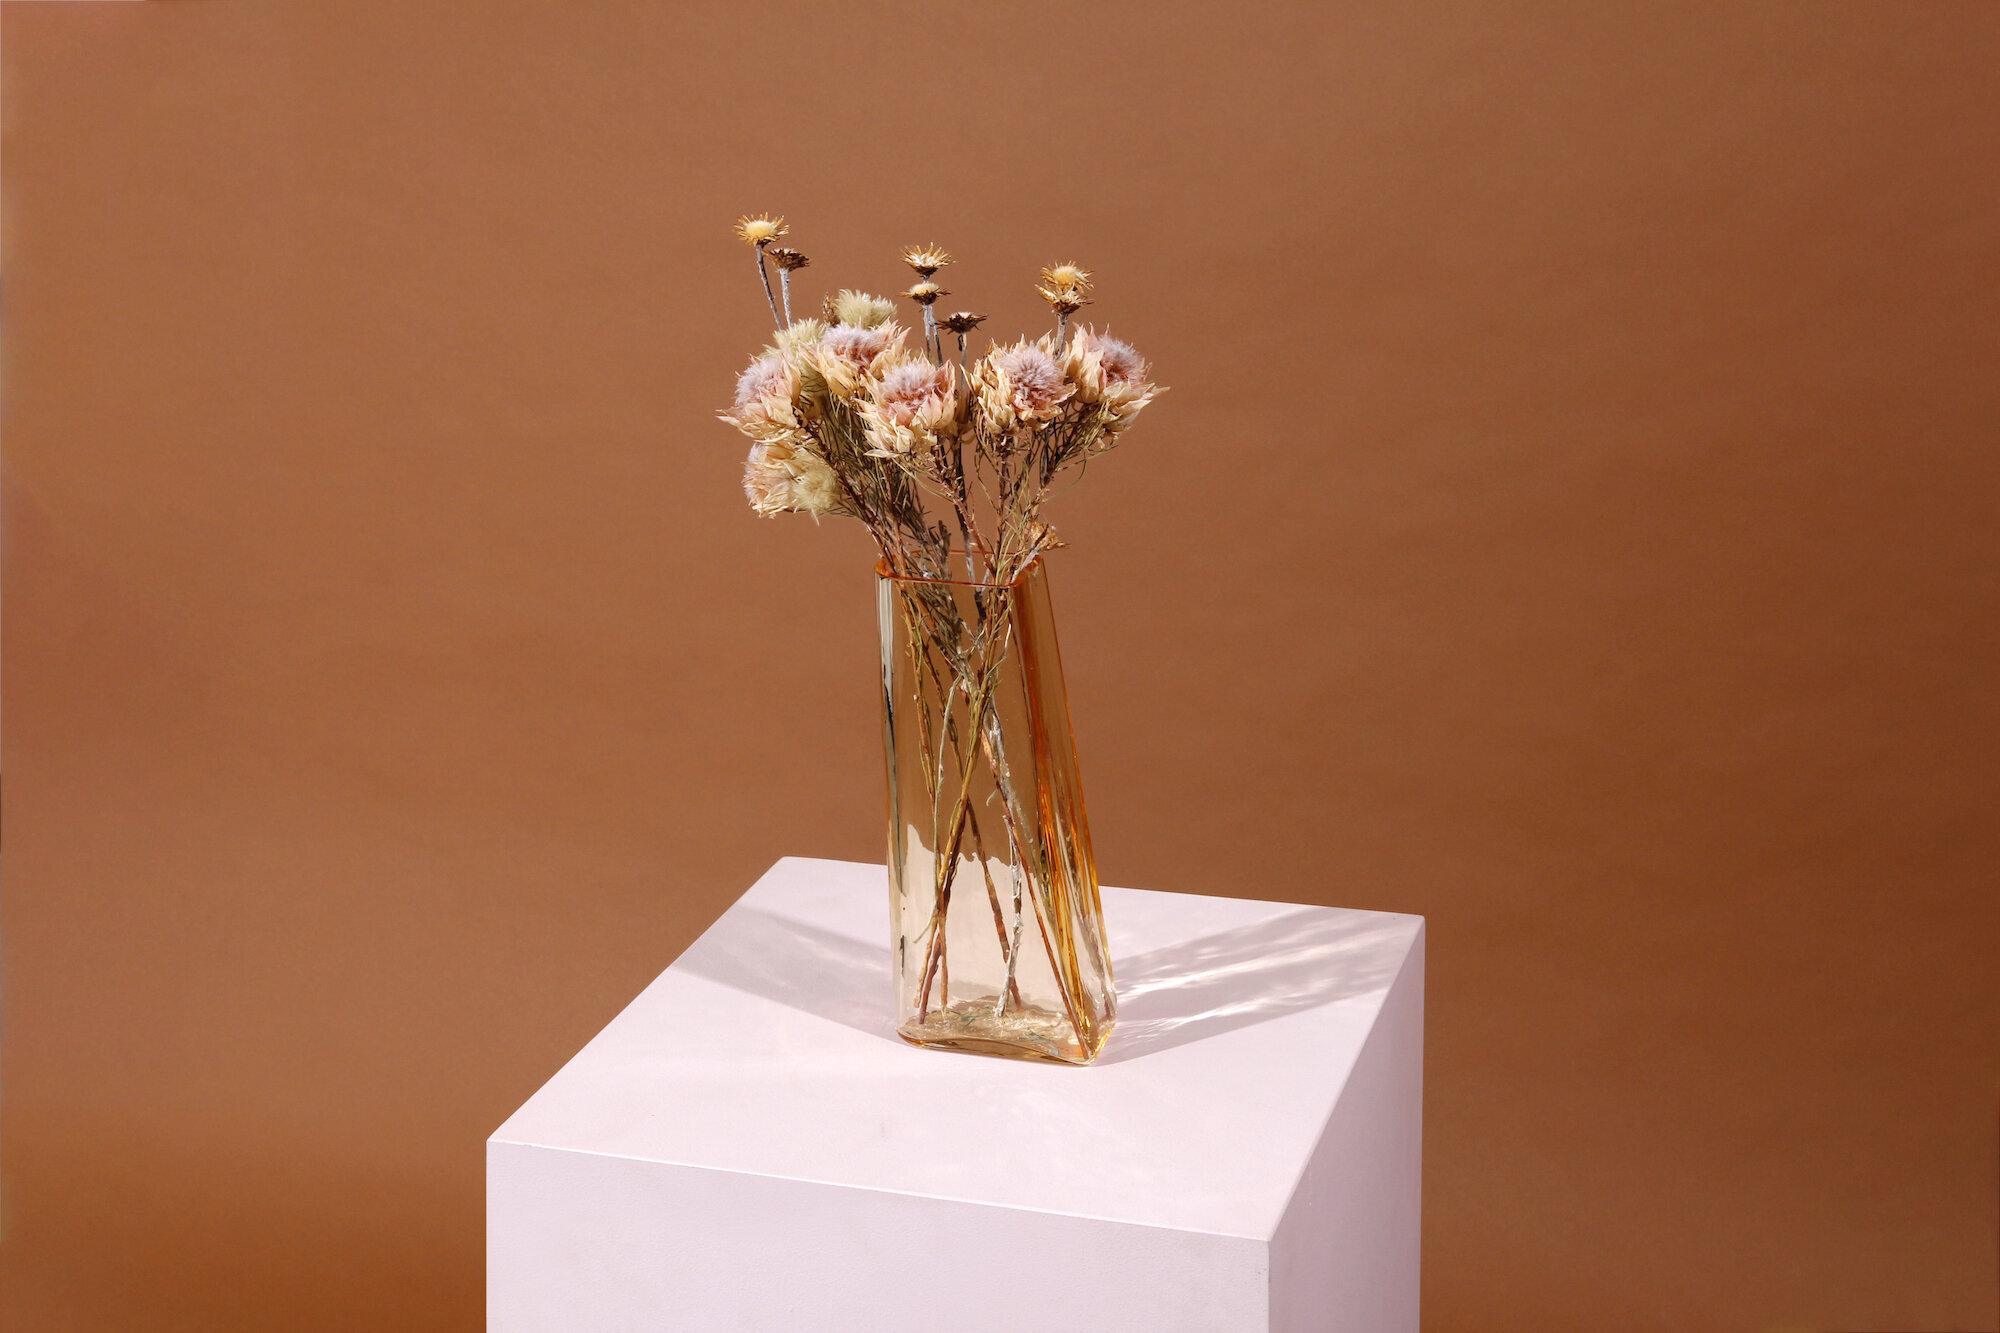
Flat, curved, angled and asymmetric the Pillar Vase is a reference to the supports, structures and angles of the built environment. The surface ripple, reflects and highlights the static mould blowing process used which is employed to create its form.

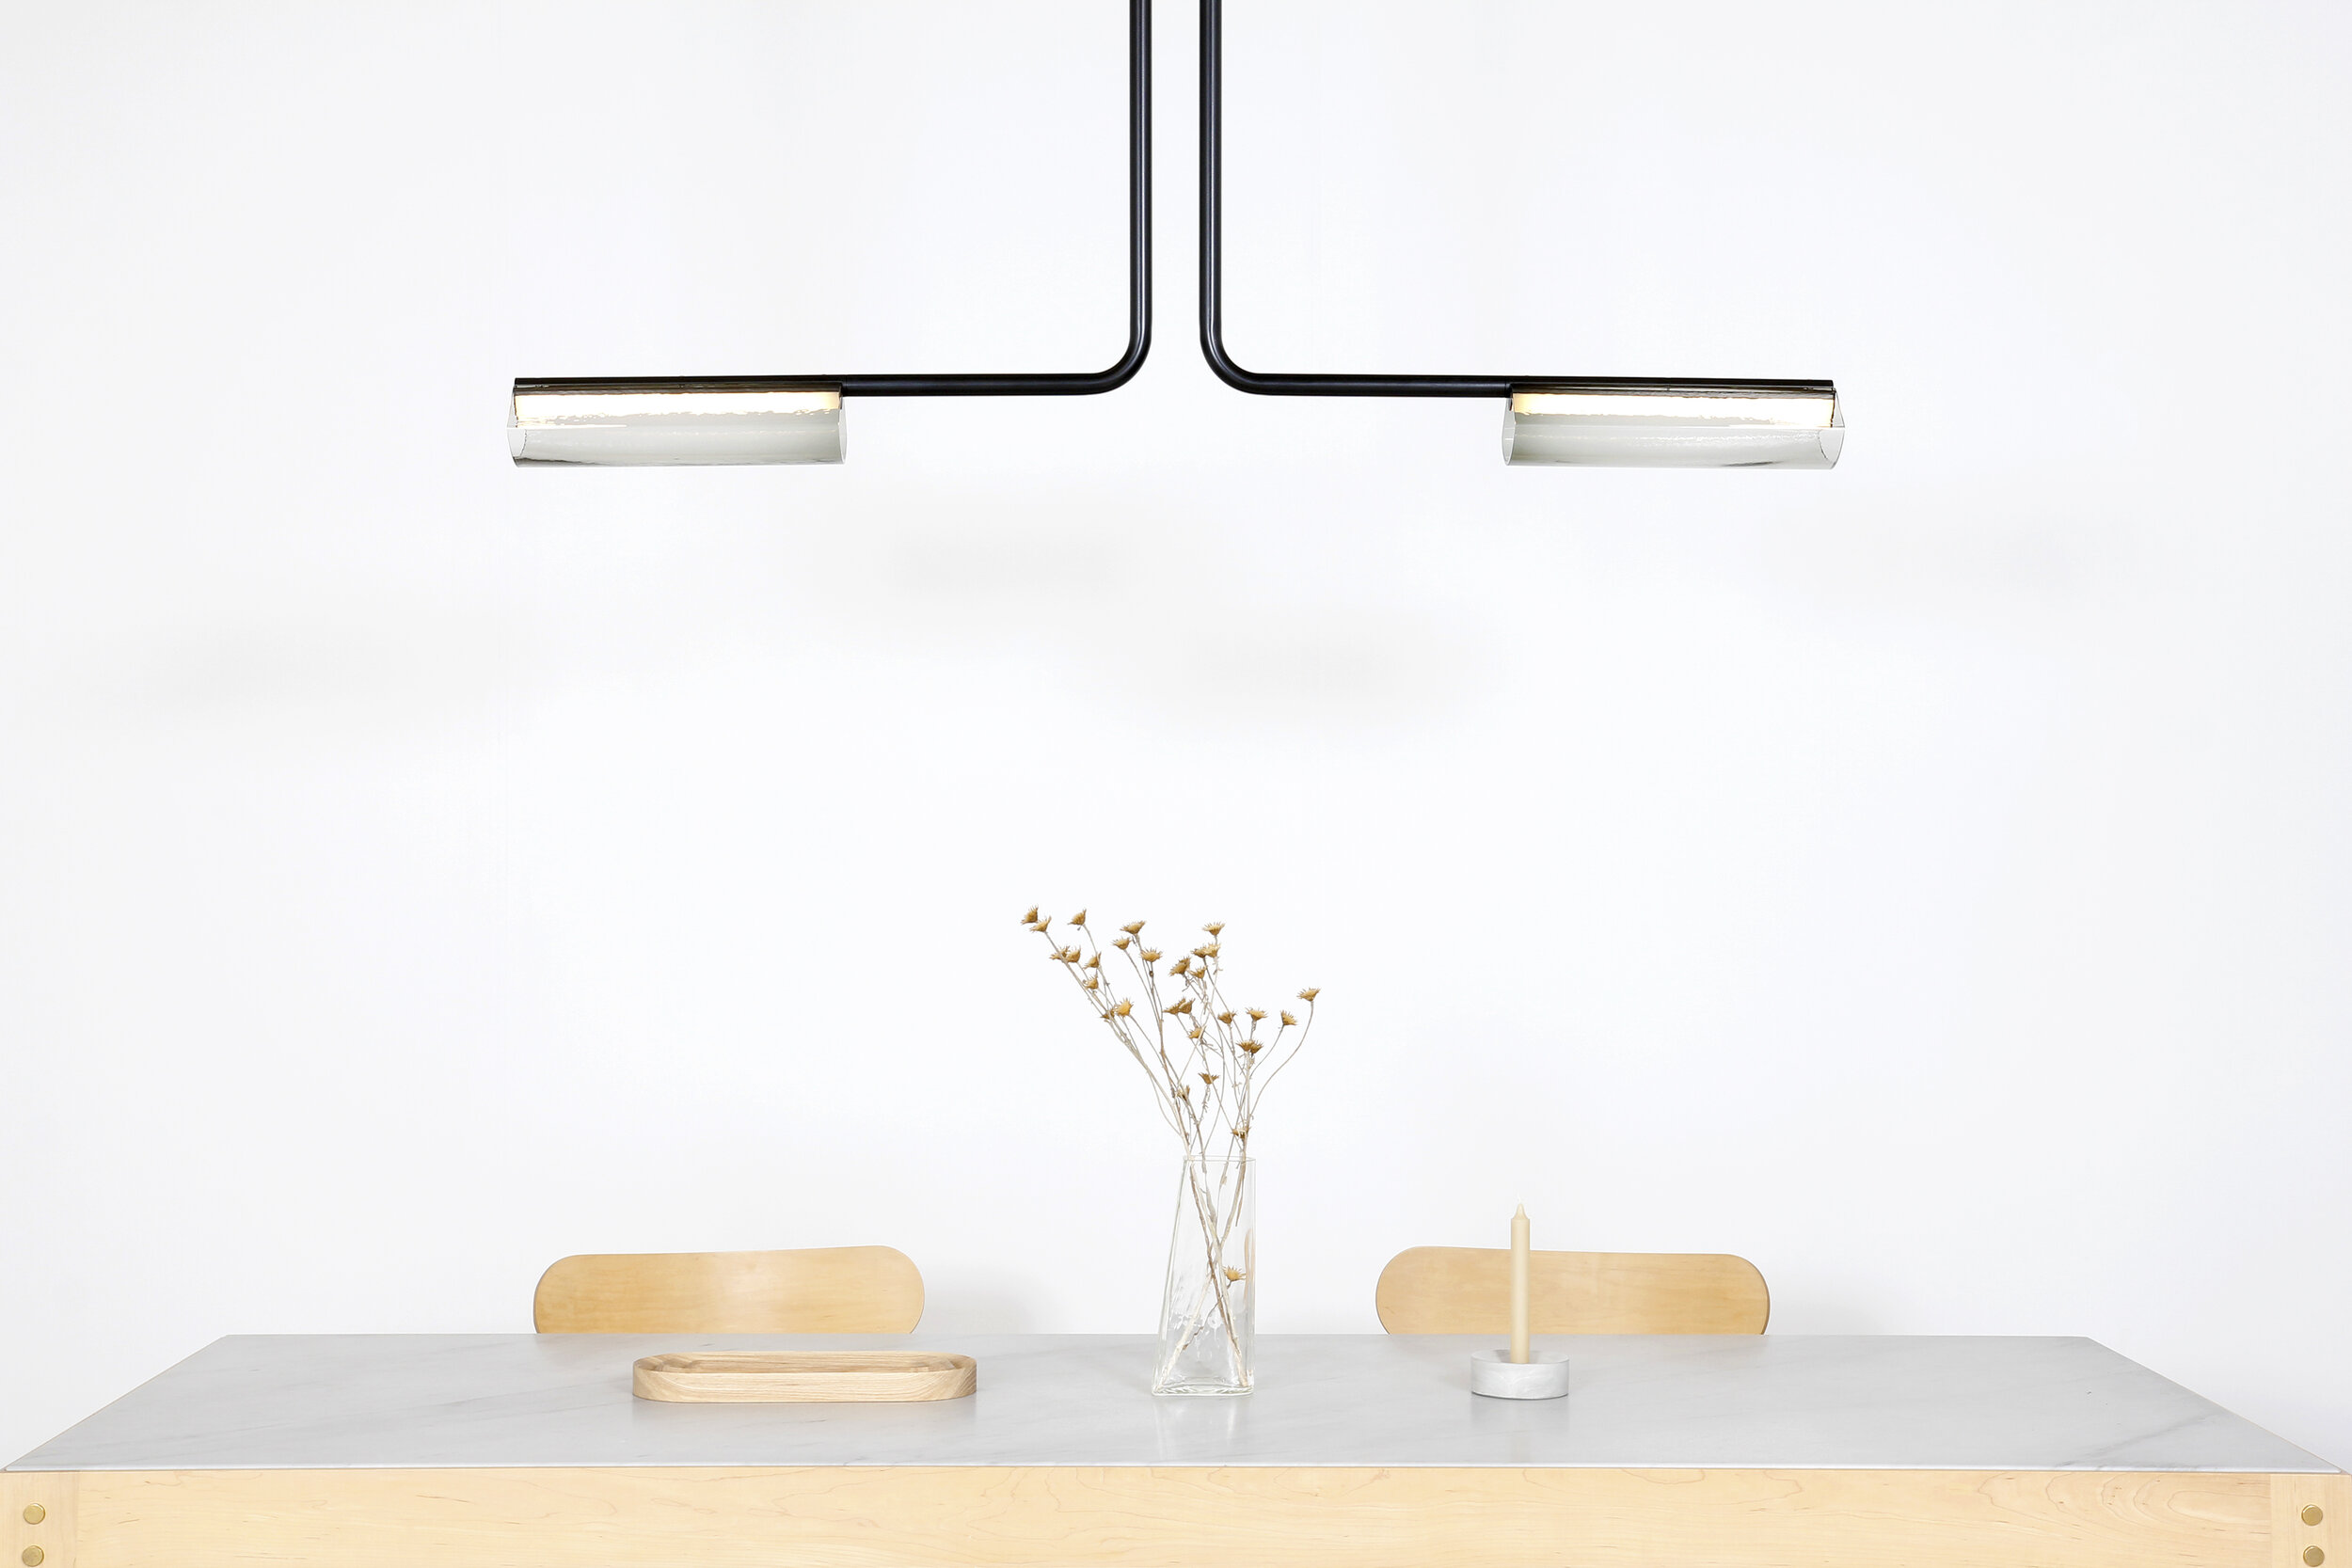
Collaboration with Dean Toepfer for JAM
Collaboration with Dean Toepfer for JAM

Collaboration with Dean Toepfer for JAM


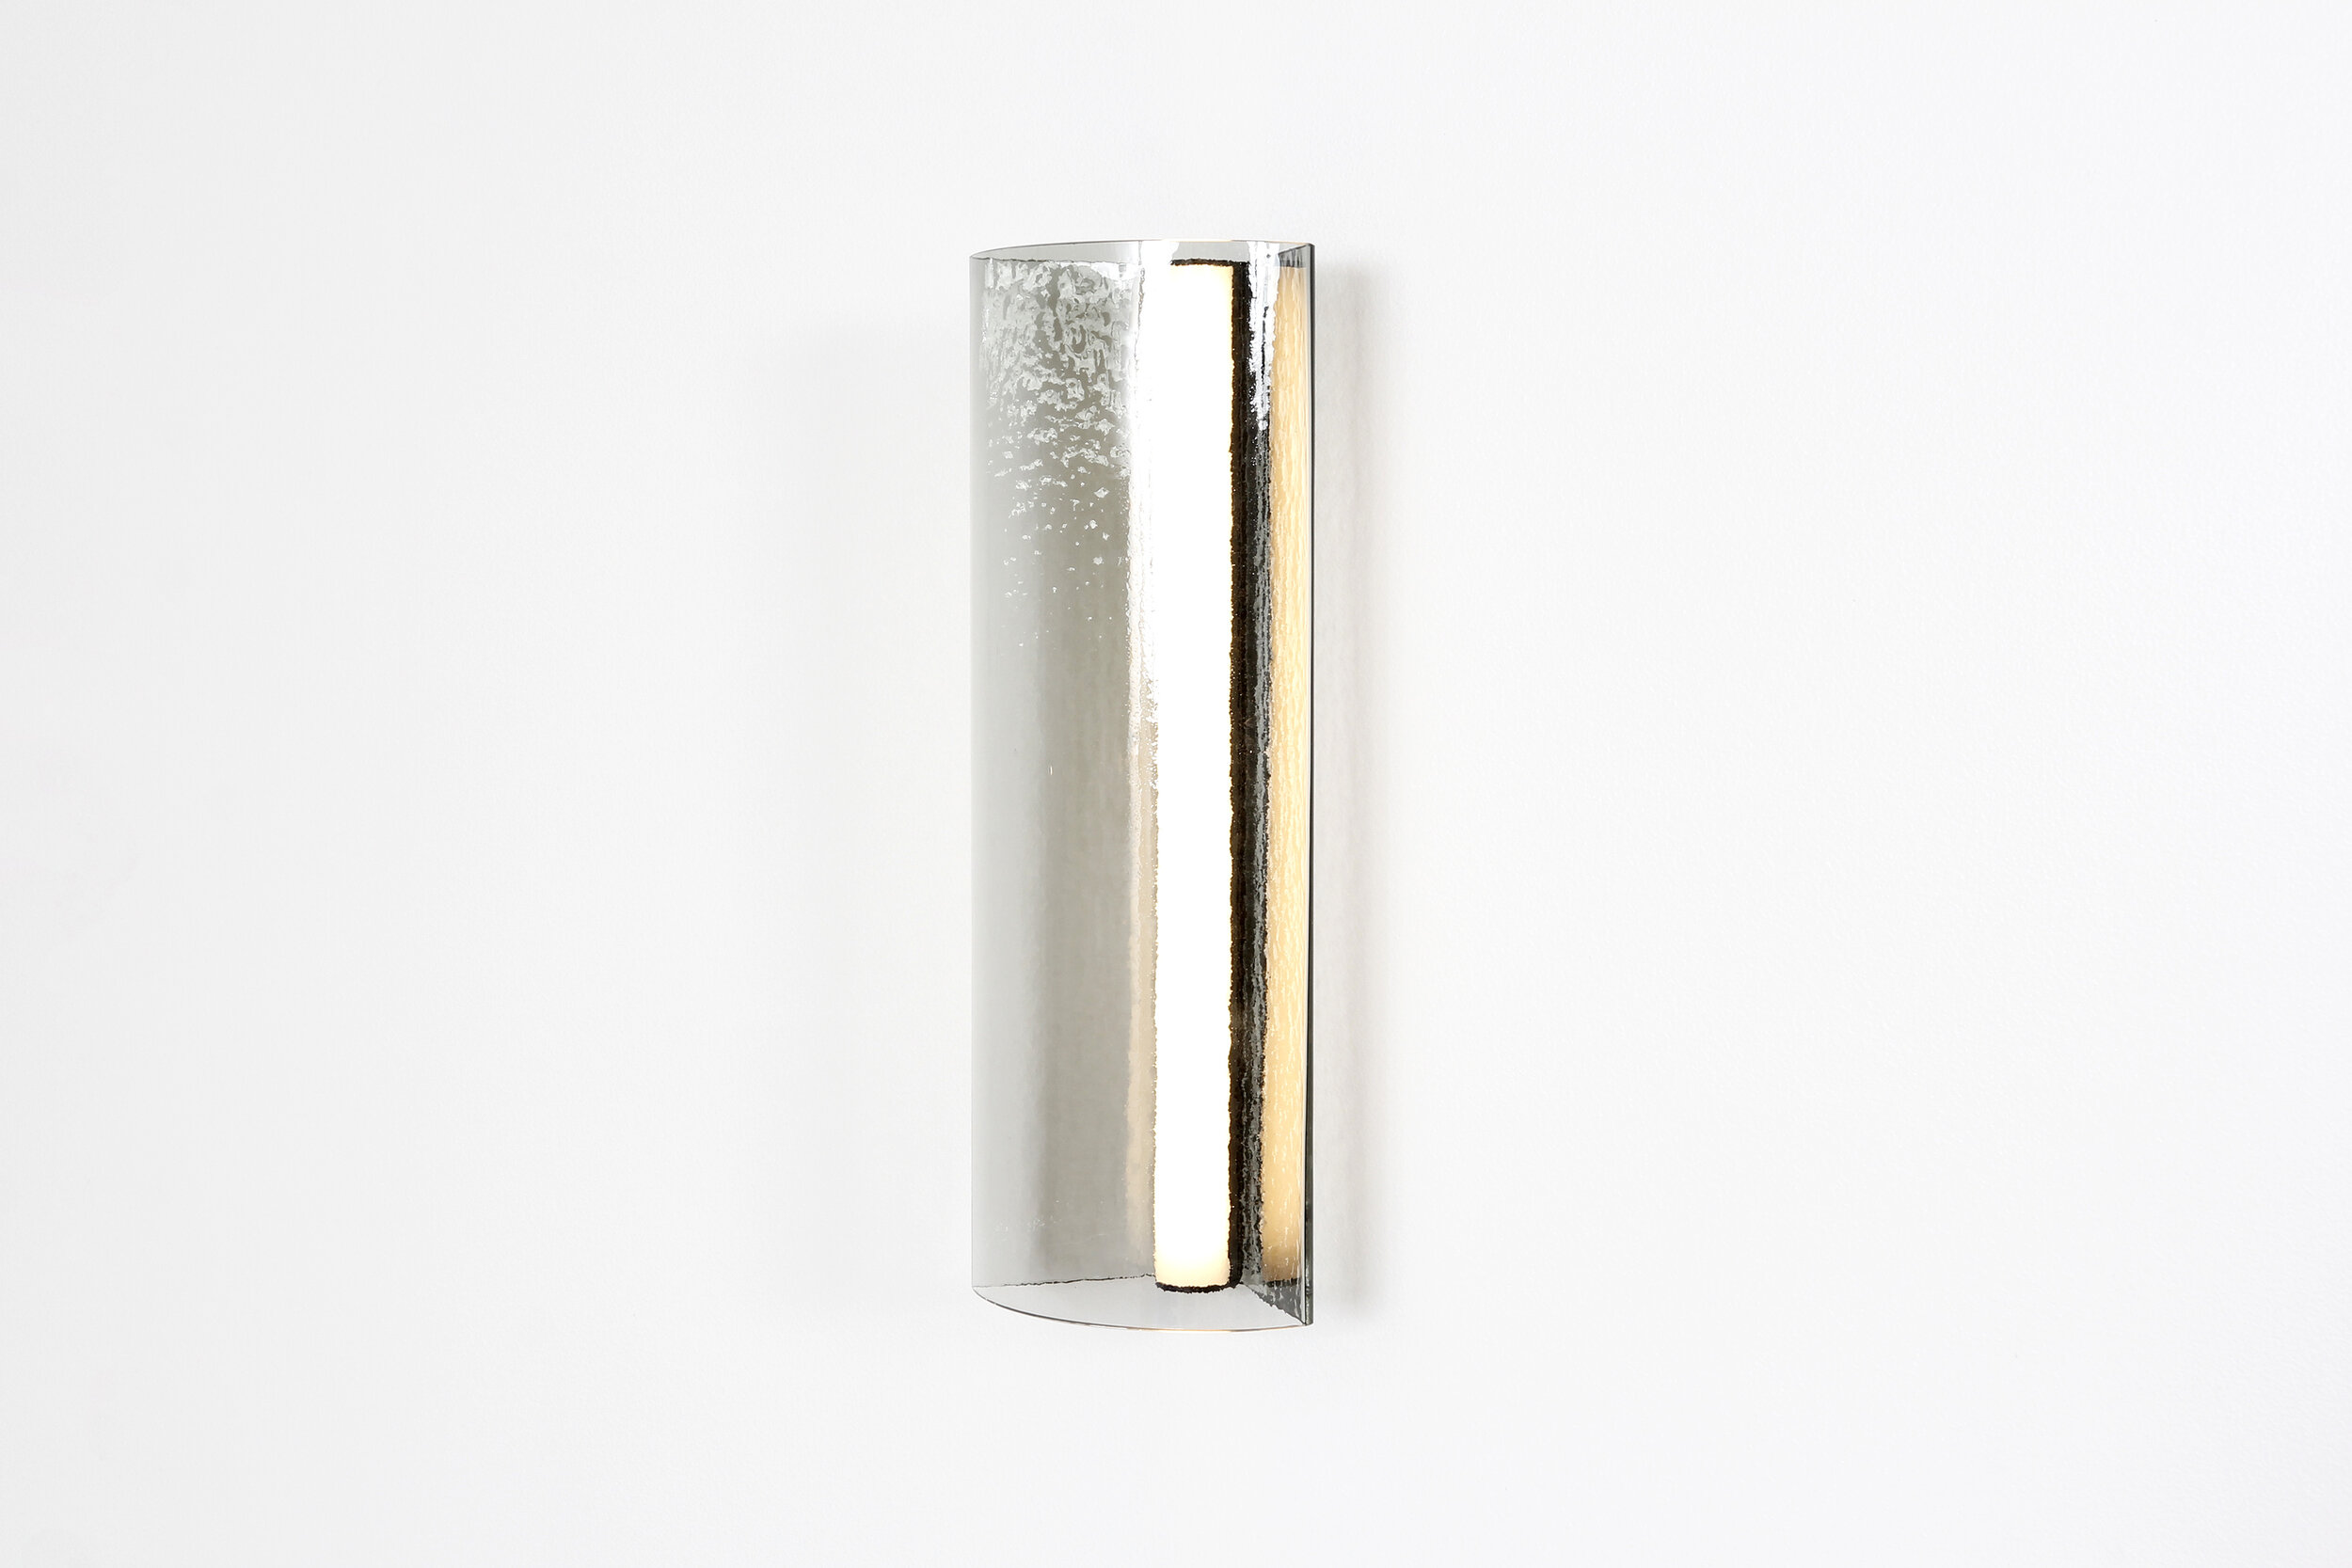
Collaboration with Jon Goulder